Monday, January 21, 2019

I adore you

Hi Everyone,

It's that time of year when everyone starts to think about hearts and flowers.  When I saw these Heart Playing Cards(that will be coming to the Gypsy Soul Laser Cuts store soon) I knew exactly what I wanted to do.
The cards come in two pieces.  You get the front decorative side and a plain piece of chipboard that makes up the back.

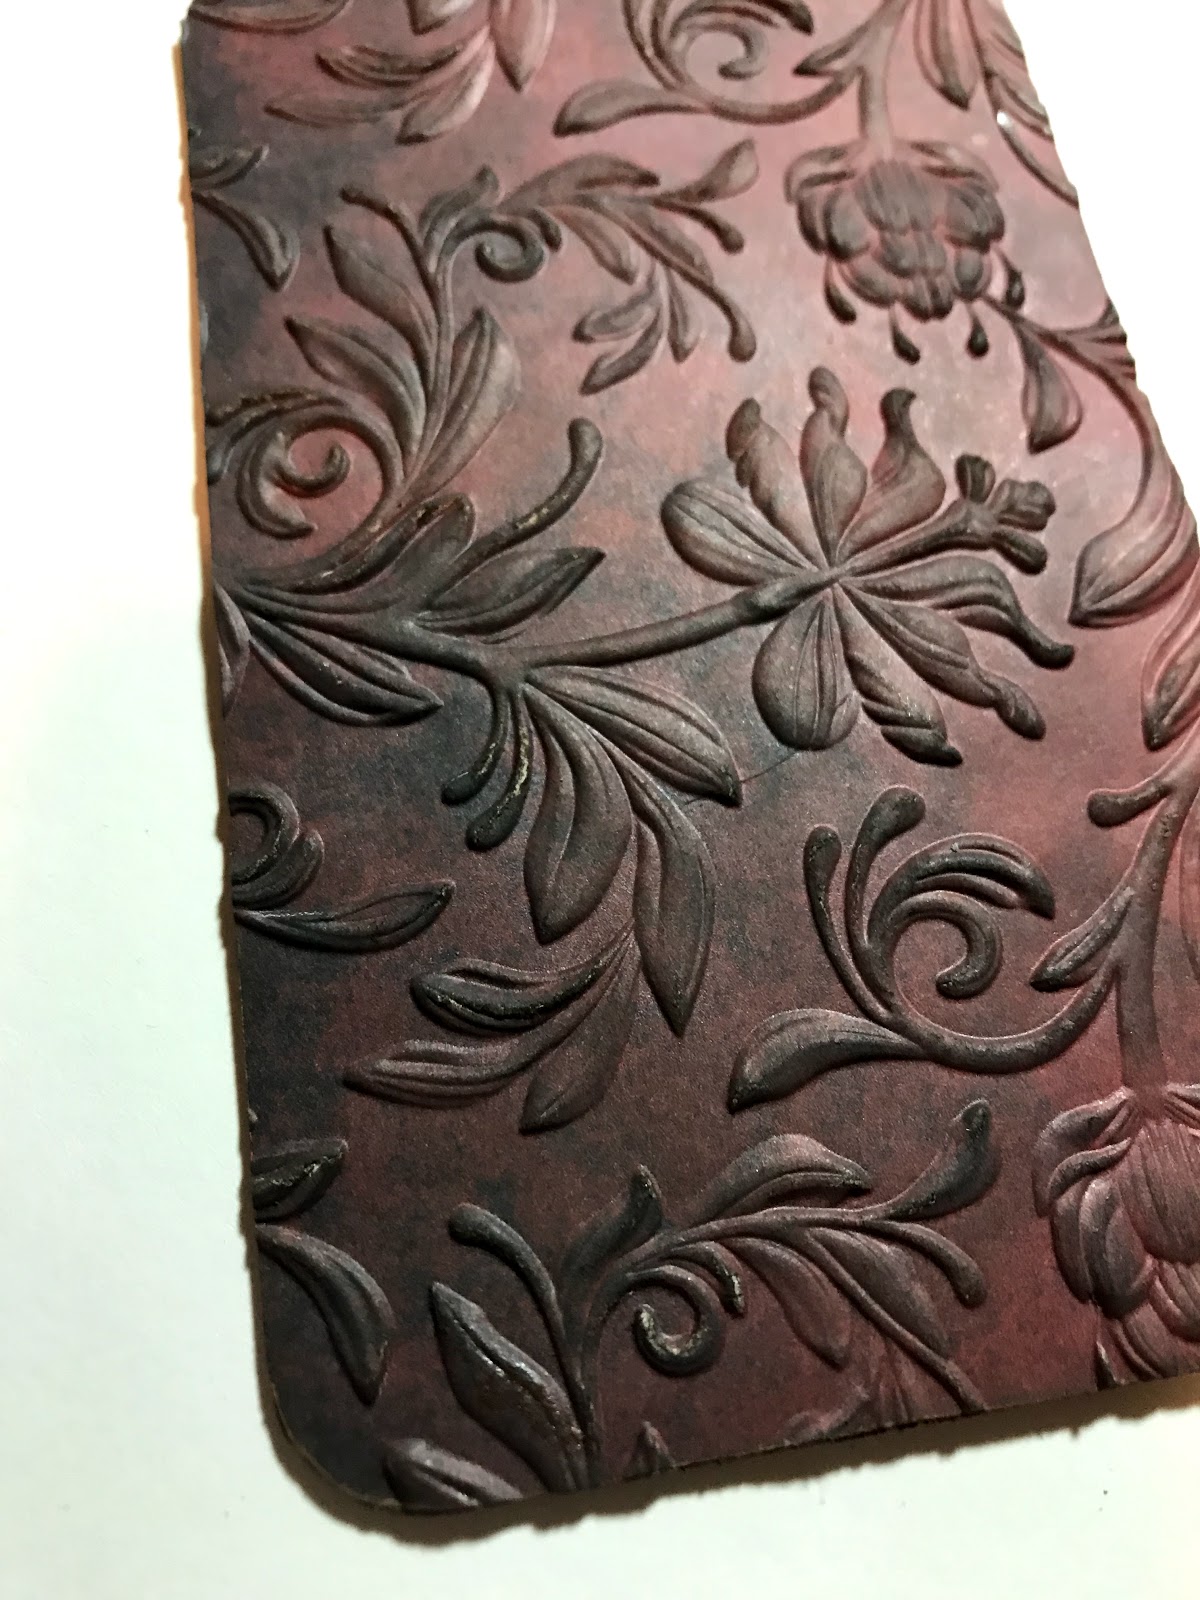
Start by running the back piece through your Xyron machine to cover the piece.  Add a piece of decorative paper, then emboss using the Tim Holtz 3d Botanical folder.  I wanted to make the back out of velvet, but I didn't have any velvet paper.  I tried several different things to create my own velvet paper and nothing looked quite right.  If you have ideas give me a shout! I ended up deciding to use this red paper that looked aged enough to appear as though it had been held many times over the years.
Paint the reverse side of the back piece using red paint.  I went with a metallic red, but really any red will do.  Don't worry about getting paint in all of the cracks as most of this will be covered and you won't see any patches.   Set the back pieces aside to dry.
While the back piece are drying take your photos(these are Tim Holtz found relatives, but you can use any old photos) and cover them with a layer of Vintage Beeswax embossing powder.
Once your powder is melted you get this wonderful look.  You can add lots of layers to make it smooth or even crack the finish.  This is a technique my fellow teammate Jennalee likes to use and you can see what that looks like here.
Emboss the heart overlay using Charred Gold embossing powder.  Adhere the photo and the overlay to the back panel.  See how the red just peeks out from behind.
Emboss your floral diamond with a very thin layer of Charred Gold powder.  Stipple on alcohol ink in slate, mushroom, and latte to age the finish.  
A couple metal ribbons help tie the cover together. 

Add a metal flower on top of the diamond and then add a typed token with a bit of twine on that to complete your cover detail.  
I hope you have a great week!
Jess


Monday, January 7, 2019

WInter Gift card Holder


Hi Everyone,
I had to make a gift card holder for my daughter's teacher and decided it needed to be extra pretty. 


 It might look complex, but really there's not much to it.
Start by cutting out your Sizzix and Tim Holtz gift card holder.  Since the gift card I was putting inside had snowmen on it I decided to go with a snowflake theme.
Take the mittens from the Snow Fun set from Gypsy Soul Laser Cuts and emboss them using Charred Gold embossing powder.  Using the Snowflake Shape Set Minis emboss two medium sized flakes with Soft Fallen Snow.  Emboss one tiny flake using Hammered Metal.
Glue one flake to each mitten and on the top mitten add the tiny snowflake. Edge the top of each mitten with tinsel twine that has been colored with alcohol ink in Mushroom. 
Glue the mittens to the front of the holder, right on the ribbon running down the center.
Emboss two flakes from the Snowflake Shape Set and glue them to the back of the holder.  You don't have to decorate the back of the holder, but this could be turned into an ornament so I wanted the front and back to look pretty.  

Cut out several metallic branches from the Tim Holtz Funky Festive die set.  Cut out a small berry branch in two shades of blue and white.  Assemble the berries so the centers are blue.  You just want a pop of blue.  Glue the branches under the bow.  
Stay warm! 
Jess

Disclaimer Notice

I've received products/compensation as part of the Gypsy Soul Laser Cuts Design teams. My projects, however, are 100% my own.