A few weeks ago I joined the Gelli printing trend. I know I am like five years late to the party. I wasn't sure I really needed one. I did. You do too.
These are a couple of the prints I made on my first day. It is so stinking easy to do. You slap on paint and layer on stencils. Boom-art! I had a blast. I even got my six year old daughter pulling prints.
So now I have this huge stack of prints and they are just hanging out. What do I do with them? I made some fun and funky postcards(I will share those a bit later as I am sending some out for swaps).
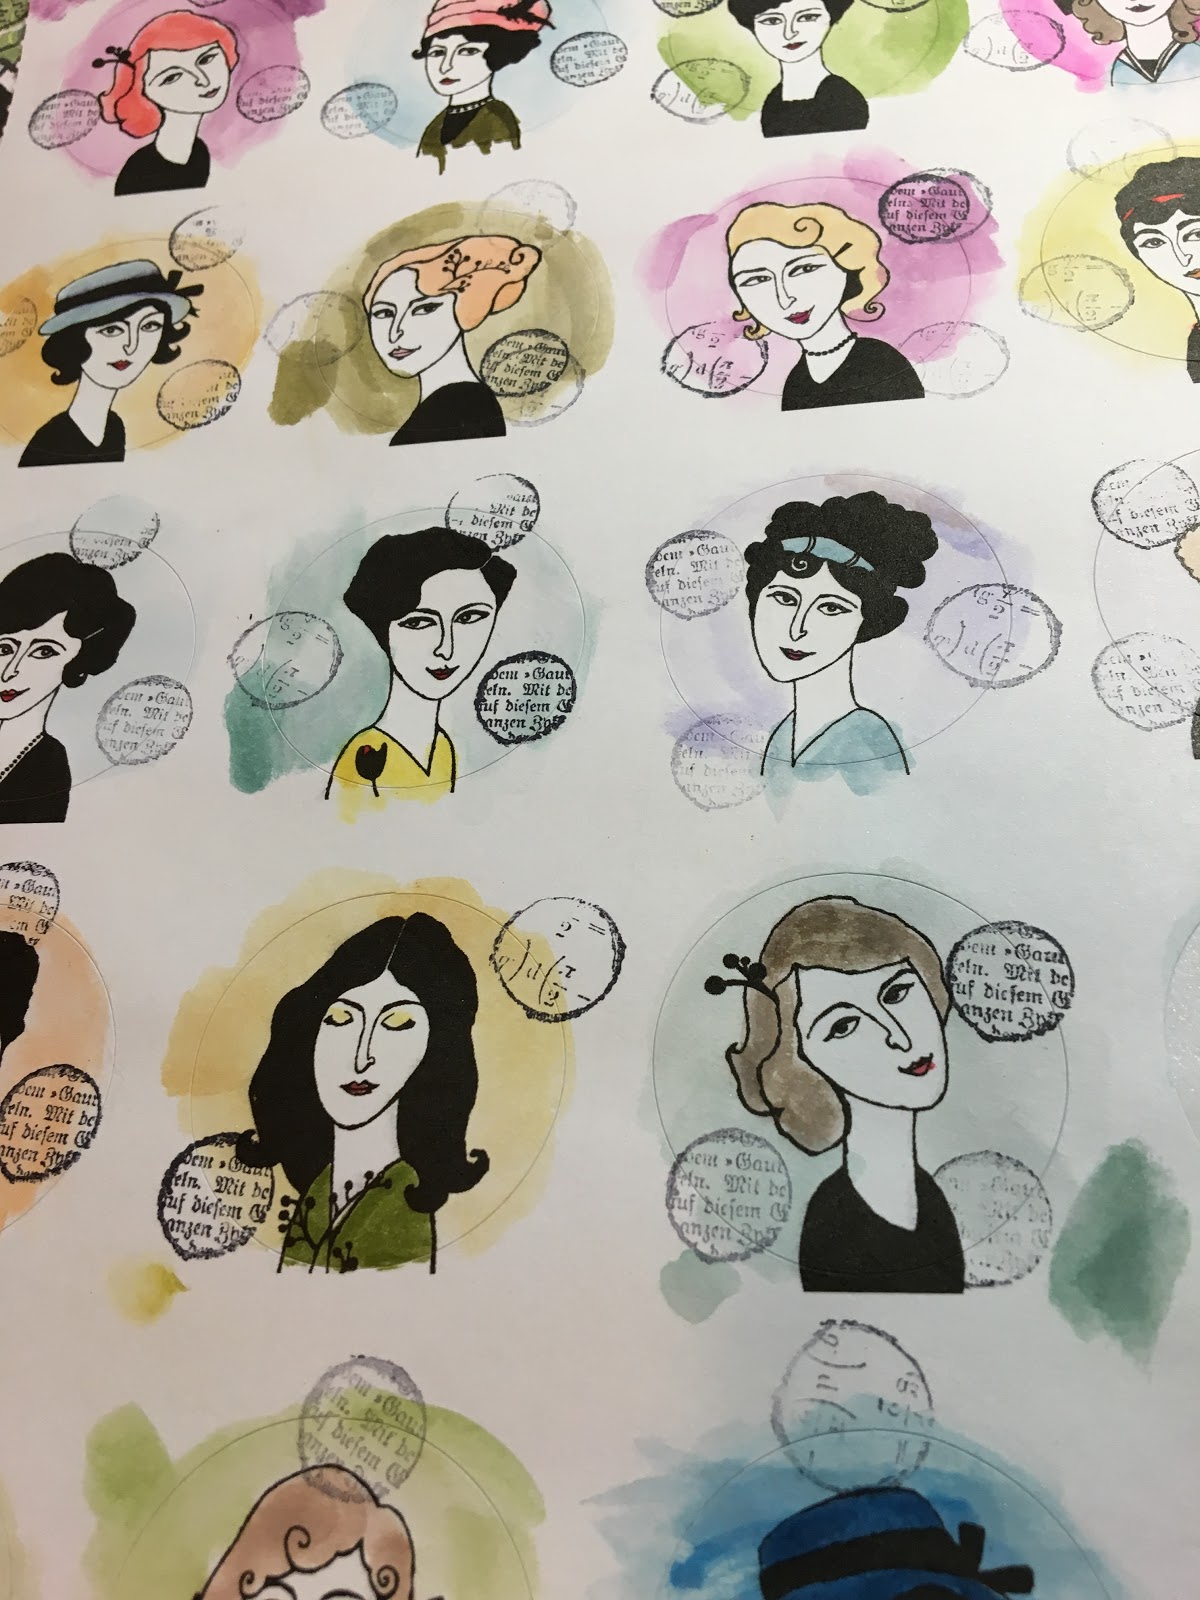
I also had these awesome black and white stickers from Flow magazine. I decided to color in the stickers using my Distress Markers and stamp on them a bit with a Finnabair stamp set.
Once these were colored in I realized they would look awesome on my Gelli prints. I had a bunch of leftover pieces that I punched into circles and I started layering.
I added some extra details using a black pen and a white pen. The words are Chit Chat from Tim Holtz.
They look pretty cool on their own. I took them down and had color copies made so I can play with them even more.
I poured resin on some of them to make magnets or maybe necklace pendants.
The rest I have been turning into badges.
All of the ones above are pins. I added extra touches on them like silver leaves, millefiori flowers, resin flowers, and crowns. Some just have ribbon danglers, but others have some beads as well.
These two are magnets. All of the circles are printed on cardstock and mounted on a heavy mat board for extra support.
I love how well the Gelli prints copied. I can make a bunch and still keep my originals.
How do you use your Gelli prints?
Jess