Showing posts with label Emerald Creek Embossing Powder. Show all posts

Monday, January 21, 2019

I adore you

Hi Everyone,

It's that time of year when everyone starts to think about hearts and flowers.  When I saw these Heart Playing Cards(that will be coming to the Gypsy Soul Laser Cuts store soon) I knew exactly what I wanted to do.
The cards come in two pieces.  You get the front decorative side and a plain piece of chipboard that makes up the back.
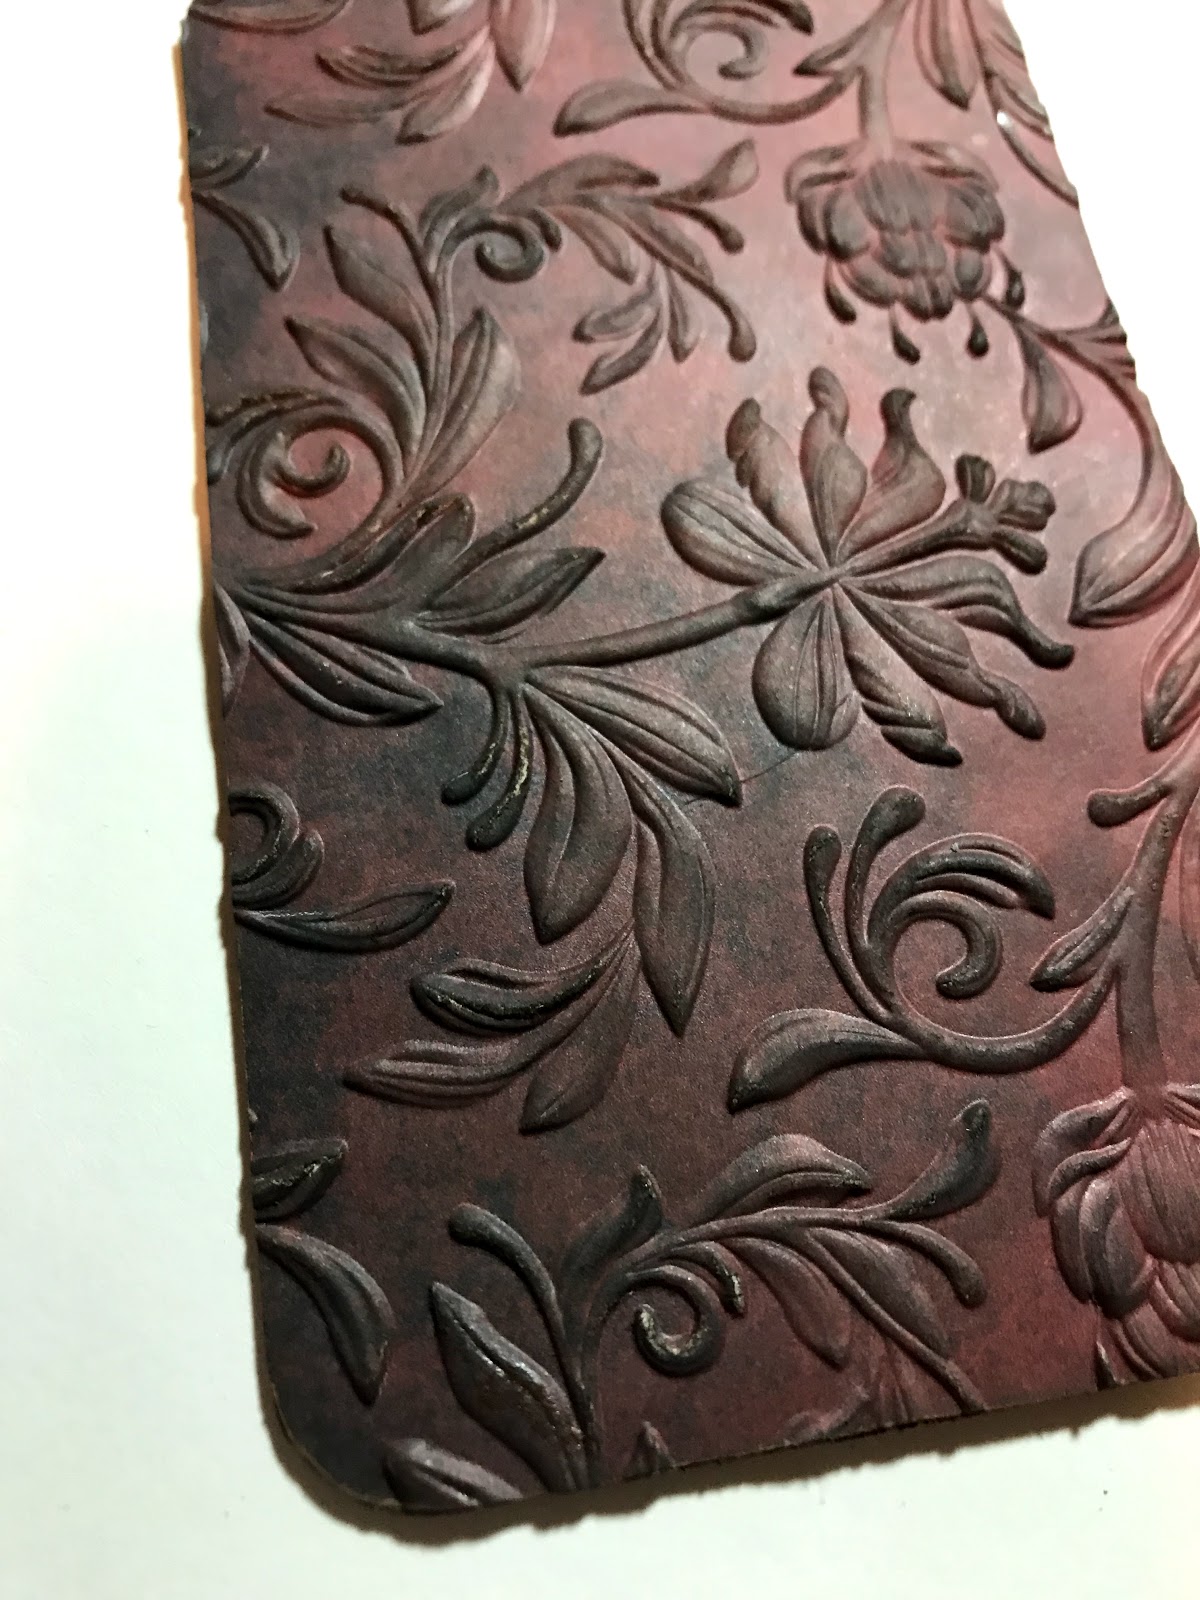
Start by running the back piece through your Xyron machine to cover the piece.  Add a piece of decorative paper, then emboss using the Tim Holtz 3d Botanical folder.  I wanted to make the back out of velvet, but I didn't have any velvet paper.  I tried several different things to create my own velvet paper and nothing looked quite right.  If you have ideas give me a shout! I ended up deciding to use this red paper that looked aged enough to appear as though it had been held many times over the years.
Paint the reverse side of the back piece using red paint.  I went with a metallic red, but really any red will do.  Don't worry about getting paint in all of the cracks as most of this will be covered and you won't see any patches.   Set the back pieces aside to dry.
While the back piece are drying take your photos(these are Tim Holtz found relatives, but you can use any old photos) and cover them with a layer of Vintage Beeswax embossing powder.
Once your powder is melted you get this wonderful look.  You can add lots of layers to make it smooth or even crack the finish.  This is a technique my fellow teammate Jennalee likes to use and you can see what that looks like here.
Emboss the heart overlay using Charred Gold embossing powder.  Adhere the photo and the overlay to the back panel.  See how the red just peeks out from behind.
Emboss your floral diamond with a very thin layer of Charred Gold powder.  Stipple on alcohol ink in slate, mushroom, and latte to age the finish.  
A couple metal ribbons help tie the cover together. 

Add a metal flower on top of the diamond and then add a typed token with a bit of twine on that to complete your cover detail.  
I hope you have a great week!
Jess


Monday, January 7, 2019

WInter Gift card Holder


Hi Everyone,
I had to make a gift card holder for my daughter's teacher and decided it needed to be extra pretty. 


 It might look complex, but really there's not much to it.
Start by cutting out your Sizzix and Tim Holtz gift card holder.  Since the gift card I was putting inside had snowmen on it I decided to go with a snowflake theme.
Take the mittens from the Snow Fun set from Gypsy Soul Laser Cuts and emboss them using Charred Gold embossing powder.  Using the Snowflake Shape Set Minis emboss two medium sized flakes with Soft Fallen Snow.  Emboss one tiny flake using Hammered Metal.
Glue one flake to each mitten and on the top mitten add the tiny snowflake. Edge the top of each mitten with tinsel twine that has been colored with alcohol ink in Mushroom. 
Glue the mittens to the front of the holder, right on the ribbon running down the center.
Emboss two flakes from the Snowflake Shape Set and glue them to the back of the holder.  You don't have to decorate the back of the holder, but this could be turned into an ornament so I wanted the front and back to look pretty.  

Cut out several metallic branches from the Tim Holtz Funky Festive die set.  Cut out a small berry branch in two shades of blue and white.  Assemble the berries so the centers are blue.  You just want a pop of blue.  Glue the branches under the bow.  
Stay warm! 
Jess

Wednesday, December 26, 2018

The Joy of Christmas

Hi Everyone,

I hope you all had a lovely Christmas.  I wanted to show you one of the Christmas cards I created this year.  Although Christmas is over, you can use this technique year round.
You don't need a ton of stamps to create a beautiful card.  This lovely  card uses just one stamp.
Start by trimming your card to the size you want it to be or use a pre-cut card.
Mount your Holly and Branches Stamp to your stamp platform.  Color the stamp using various markers Distress Markers.

Don't be afraid to layer your colors.  The leaves will all turn out just a tad different and add a more realistic feel to your card.  If the marker dries as you are coloring just breathe on the stamp and it will rehydrate the ink.

Cover the entire piece of the card.  Once the holly is all stamped cover the entire card with a bit of Pumice Stone Distress Ink to age it.  


Mount the base to the card.  Add a bit of ribbon.  
Punch a circle out and color it using a bit of Pumice Stone Distress Ink.  Use the outer ring of the Gypsy Soul Laser Cuts Doily and emboss it using Charred Gold.  Attach the doily to the circle.  Attach the circle to the card. 
Use the Tim Holtz Script to die cut the word "joy" and adhere it to the center of the circle.

Using the funky festive dies cut out some holly and pop it on the corner.  Your card is now complete.

I hope you are having a wonderful holiday season.  Have a happy and safe New Year!
Jess


Monday, October 1, 2018

Halloween Surprise Box

Hi everyone,


I am up on the Gypsy Soul Laser Cuts blog today with a tiny Matchbox Theater.  I absolutely love how this turned out and I hope you do too.

The theater has two pieces, start with the exterior piece first (the box).
Paint all of the outside seams with Black Soot Distress Paint.  Cover the box with paper from the new Halloween Paper Pad from Tim Holtz.  Watch your cuts so you can line up the pattern.  Using your Xyron Sticker maker adhere all the paper to the box and glue it together.

Emboss two pieces from the Circle Doily Set.  The outer circle was embossed using Emerald Creek's Mercury Rising.  The inner circle used Candy Orange.  The candy orange is super bright, almost fluorescent, so I toned it down using Mushroom Alcohol ink.  
Cut out the kitty from the Halloween side order and attach her to the doily.  Attach the doily to the top of the matchbox. 
Now it's time to work on the interior. 


Paint the interior piece of the theater except for the back panel.  Cover the back panel with Halloween Paper.  

The rest of the interior box was stamped using the Web stamp from an older Tim set(CMS093) and emboss using Emerald Creeks Hammered Metal.  At this time you can glue your box together.

Stamp, color, and die cut your witch from the Michael's exclusive set.  
Create a wobbler for the witch head.  Using a 1/2 inch circle punch cut out two circles.  Wrap a thin gauge wire around a marker a few times and snip it so you have a tiny spring.  Tape the edge of the spring to one of the circles and repeat for the other side.   
Using strong adhesive attach your witch to the wobbler. Make sure the depth of the wobbler works.  You don't want the witch to get caught when you're trying to open the box.  I added some halloween rub ons to the front of the interior box. 
Check it out! 


She's so fun.


The interior box just slides inside the wrap and you're done!
Enjoy!! 

Jess


Monday, July 16, 2018

The Queen Bee

Hi Everyone,
Jess here today with a bee-utiful tag to share.

 I am in love with the new Alphabet Stencils that will be coming to the store! They look like old fashioned stencils, but don't come with the huge price tag.
Start by embossing your chosen letter using the new 3d embossing folders from Sizzix.  To get the impression really crisp it is recommended to spritz your substrate(in this case chipboard) with water.  Once it's run through you can heat dry it or let it air dry.  Press in a book to get it flat it it curls.
Cover the stencil with Black Soot Distress Oxide ink using a blending tool.  Using your finger add Distress Oxide in Vintage Photo and Walnut Stain Distress Ink.  Grab your Distress Crayon in Tarnished Brass to highlight the high points of the embossed areas.  Vintage paper grounds the stencil and makes it pop.
Make your background paper using Mixed Media Heavystock. Cover the entire sheet with various shades of Yellow Distress Ink.  Add Distress Oxides in Fossilized Amber and Antique Linen. Stamp the Glorious Bouquet Stamp using Archival Ink in Coffee.  Stamp wildflowers and honeycomb from the Mixed Media Set Using Oxides.  While the ink is still wet use a clean blending foam and smudge the image.   Use the paper to cover one of the giant Tag Super X.  This tag was was bit larger than I wanted for this project, so I cut a couple inches off the bottom.
Emboss your Bee with Oil Rubbed Bronze Embossing Powder from Emerald Creek.  Rub the bee in Distress Oxide Ink in Black Soot and spritz with water.  Set aside to dry.  
Adhere your stencil and add alpha dice.  
Play with the placement of the Honeycomb.  Once you are happy emboss the honeycomb using Charred Gold Embossing powder from Emerald Creek.  Add the alphabet dice just below the stencil.  

Cut out a circle to use as your reinforcer. Emboss metal tape using a 3d embossing folder and color the tape using alcohol inks.  Emboss the tape using Frosted Crystal Antiquities powder. 
Add a crown to your paper doll and color her necklace using a gel pen. 
Your tag is complete!

Happy Crafting,


Wednesday, April 25, 2018

New Stamps from Blank Page Muse Part 2

Hi Everyone,
I am back today with the project I created using Cathy Frailey's new Soulful Dolls stamps. 
This is a canvas pennant flag that I grunged up using Distress Inks in Worn Lipstick, Vintage Velvet, and Fossilized Amber.  I used Tim Holtz's Floral stencil and used the various ink shades to add the flower pattern. 
Once the flower pattern was on there I flicked on Distress Paint in Black Soot and Dina Wakley Paint in Gilt.  I used Distress Crayons around the edge of the banner.  
The chipboard frame(Gypsy Soul Laser Cuts) was embossed using Charred Gold Embossing powder(Emerald Creek).  I cut a piece of yellow Tim Holtz cardstock to fit in the frame. Then using the Fossilized amber and the stencil, I added more flowers. 
The doll stamp is stamped in Jet Black Archival and then colored using Distress Crayons.  I added wings and colored them the same way.  SHe is holding a tiny love letter and wearing a paper flower in her hair.
I used foam tape to raise her up in the frame a bit.  The sentiment is also stamped in Jet Black Archival and mounted with foam tape.  
Large paper flowers finish out the banner.  

I hope you like the new stamps as much as I do! 
Happy stamping,
Jess


Disclaimer Notice

I've received products/compensation as part of the Gypsy Soul Laser Cuts Design teams. My projects, however, are 100% my own.