Monday, July 16, 2018

The Queen Bee

Hi Everyone,
Jess here today with a bee-utiful tag to share.

 I am in love with the new Alphabet Stencils that will be coming to the store! They look like old fashioned stencils, but don't come with the huge price tag.
Start by embossing your chosen letter using the new 3d embossing folders from Sizzix.  To get the impression really crisp it is recommended to spritz your substrate(in this case chipboard) with water.  Once it's run through you can heat dry it or let it air dry.  Press in a book to get it flat it it curls.
Cover the stencil with Black Soot Distress Oxide ink using a blending tool.  Using your finger add Distress Oxide in Vintage Photo and Walnut Stain Distress Ink.  Grab your Distress Crayon in Tarnished Brass to highlight the high points of the embossed areas.  Vintage paper grounds the stencil and makes it pop.
Make your background paper using Mixed Media Heavystock. Cover the entire sheet with various shades of Yellow Distress Ink.  Add Distress Oxides in Fossilized Amber and Antique Linen. Stamp the Glorious Bouquet Stamp using Archival Ink in Coffee.  Stamp wildflowers and honeycomb from the Mixed Media Set Using Oxides.  While the ink is still wet use a clean blending foam and smudge the image.   Use the paper to cover one of the giant Tag Super X.  This tag was was bit larger than I wanted for this project, so I cut a couple inches off the bottom.
Emboss your Bee with Oil Rubbed Bronze Embossing Powder from Emerald Creek.  Rub the bee in Distress Oxide Ink in Black Soot and spritz with water.  Set aside to dry.  
Adhere your stencil and add alpha dice.  
Play with the placement of the Honeycomb.  Once you are happy emboss the honeycomb using Charred Gold Embossing powder from Emerald Creek.  Add the alphabet dice just below the stencil.  

Cut out a circle to use as your reinforcer. Emboss metal tape using a 3d embossing folder and color the tape using alcohol inks.  Emboss the tape using Frosted Crystal Antiquities powder. 
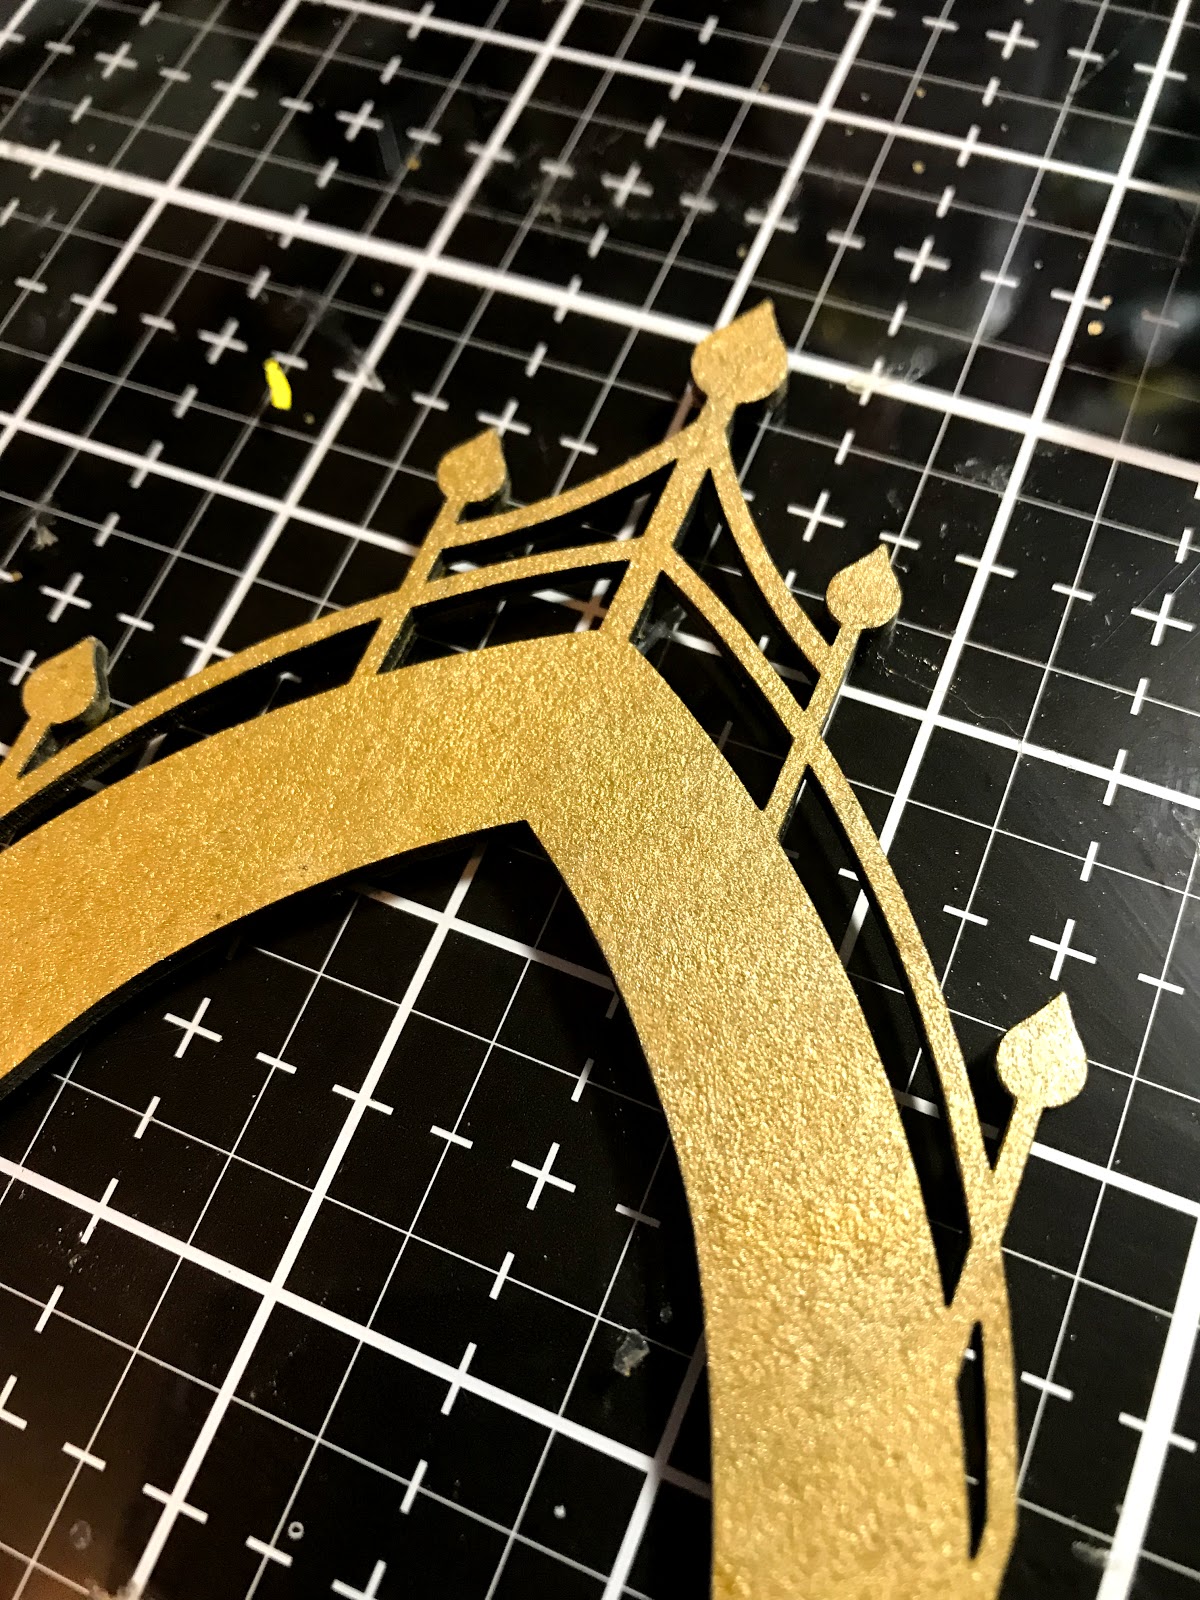
Add a crown to your paper doll and color her necklace using a gel pen. 
Your tag is complete!

Happy Crafting,


Tuesday, July 10, 2018

The Golden Age of Travel


Hi Everyone,
I have a really cool Blank Page Muse project for you today. 

Remember when people used to get dressed up to go on vacation? You never used to see people on airplanes in pajamas and yoga pants.  I can't imagine these ladies not looking put together.  I pictured them shopping in Paris and sending a postcard to a friend back home.  
Here are the supplies you need to gather to create your own postcard.

Stamps used:

Other Supplies:
Jet Black Archival Ink
Archival Ink in Coffee and Hydrangea
Distress Collage Medium
Distress Markers
Distress Collage Paper
Distress Ink
Cardstock
Stabilo Pencil
Clear Gesso

Let's get started!
Stamp out your main images across the postcard using Jet Black Archival ink.
Create masks, using post it notes, and stamp all over to fill in white space. 
Once you have finished stamping your background use Distress Collage Medium to apply Distress Collage Paper to various areas of the postcard. 
Add your paperdoll and color in the dresses using Distress Markers(to make sure the ink stays on the image coat your paper doll in clear gesso).   Add Distress Ink to the edges to make the postcard appear to be vintage.  Use your Stabilo pencil to add shadows around the paper doll and around the edges of the collage paper.  
Turn your postcard over and add the Script and postmark stamp to the back.  Use Distress Ink to age the paper.  Color in the postmark using Distress Ink. 
Just like that your card is complete.  
Here are a few more glamour shots.


It was really fun to see how many stamps I could add to the collage feel of the card.  I haven't done a masking technique in a long time and it was fun to play around with it again.  
I hope you feel inspired to play with your stamps too.


If you're looking for more inspiration stop by these great places:
The Blank Page Muse Shop https://blankpagemuse.com/ FB Fan Page https://www.facebook.com/groups/bla... Instagram - Shop https://www.instagram.com/blankpage... Instagram - Blog https://www.instagram.com/blankpage... Twitter https://twitter.com/BlankPageMuse Pinterest https://www.pinterest.com/blankpage...


Happy Stamping,
Jess

Monday, July 2, 2018

Old World Butterfly Shrine

Hi Guys,
I am up on the Gypsy Soul Laser Cuts blog today with an old world inspired ATC Shrine.

Paint the Reliquary Tower Top using Dina Wakley Paint in Gilt.  
While the paint is drying assemble your ATC Shrine Box.  I like to adhere my paper before I glue the box together.  Since the top of the box is visible under the arch I dabbed a little paint on there too.  The outside edges of the shrine  are covered in washi tape with butterflies.   

The outside edges of the shrine  are covered in washi tape with butterflies.   


 Cover you arch with a crackle medium and when it's mostly dry blast it with the heat gun to make it bubble and peel.  Use a black acrylic paint wash over the arch and then rub off quickly so it seeps into the cracks.   To make areas a bit darker use a Distress Crayon in Black Soot.  Attach the arch to the shrine.

Cover a butterfly from Relics and Artifacts with Vintage Distress Collage Medium.  Use the black acrylic wash on the entire butterfly and wipe away so it just highlights the details.  Add color to the butterfly using Distress Markers.  Emboss the base of a tiny lightbulb using Charred Gold powder.  Glue the bulb to the butterfly and then add the butterfly to the shrine. 

Use the Sizzix Butterfly Frenzy die to cut out a ton of butterflies.  Glue the butterflies all over the shrine.
 Add a base to the shrine and Tim Holtz chipboard sentiment.  
Your shrine is complete!


Happy Crafting,

Disclaimer Notice

I've received products/compensation as part of the Gypsy Soul Laser Cuts Design teams. My projects, however, are 100% my own.