Monday, February 26, 2018

Fanciful Flight

Hi Everyone,
I have a fun card for you over on the Blank Page Muse blog today.  There is a full tutorial on how you can make this whimsical card.
Thanks for popping by,
Jess

Monday, February 19, 2018

Salvaged Heart


Hi Everyone,
I'm up on the Gypsy Soul Laser Cuts Blog today with this beautiful shabby chic piece.
This was really simple to put together.  Start by covering both sides of  your Dress Form Tag with the paper of your choice.  I inked the edges of my paper. 
  
Cover the largest set of wings from the Wings Assortment with gold embossing powder. Once the wings have cooled off attach them to the back of the tag using a strong adhesive. 

 Cover the base of your Flourished Heart Frame with DIna Wakley Media Paint in Blushing.  This is a bold pink and I used a wash of cheap brown acrylic paint to tone it down for this project.  

Cover the top of your frame with Finnabair Paint in Royal Red.  While the paint is still wet cover the heart with Distress Embossing Powder in Vintage Photo.  This makes the heart look old and kind of crusty.  Perfect for this project.     


Glue your frame together and attach it to the dress form tag.  Finishing the main part of the piece just took using a Tim Holtz Chip word that I banged on the side of my desk to ding it up.  Vintage photo Distress Ink covers the chip word.  
I used an old spindle to make my base.  I stuck a Tim Holtz Memo Pin in the top and then wedged the finished project into it.  I love the look of sari ribbon for making bows.  This one has a large off white bow and a smaller pink bow to cover where the pin got stuck into the spindle. 
The spindle is fun because you can just pop this piece out and change it up for the season.  
Enjoy! 


Saturday, February 10, 2018

Listen to your Heart

Hi Everyone,
I'm up on the Blank Page Muge Blog today, sharing my take on this month's theme of Blue Heart and Time.


I started by cutting three small tags out on my Sidekick. I stamped and embossed the Heart with small Crackle.
I also stamped and embossed the Steampunk Pocket Watch. I didn't want the wings so I didn't really ink them. 

You can see both of these pieces look a little messy.  There's embossing powder residue on both pieces and I am ok with that.  I like the little speckles and spots the extra powder leaves behind.  My work often has powder randomly sprinkled on anyhow.  
Using a waterbrush I wet the heart and then sprinkled on watercolor powder.  I like using these powders since they aren't a solid color, but flecks of varying shades.  I used a crayon to color the outside and then spritzed a black marker to make the speckles.  
I added my watch tag between the two halves of the heart and colored it in a similar manner.  I glued them together and then added my sentiment stickers.  To finish the centerpiece I scribbled around the stickers and stamps using a black pen.  
I mounted the tags on top of a piece of distressed cardstock.  The distressed piece was adhered to the card base using a tiny stapler.  
I hope you enjoyed my step out for today.  
Don't forget to enter in the challenge.  You can do so right here.  
Jess


Monday, February 5, 2018

Love Bugs


Hi Everyone, 
I'm up on the Gypsy Soul Laser Cuts Blog  today with the cutest little captured Love Bugs! When I saw these new canning jars I knew I needed to capture something adorable in them. Scroll down and see how you can capture your own. 


Cover your 
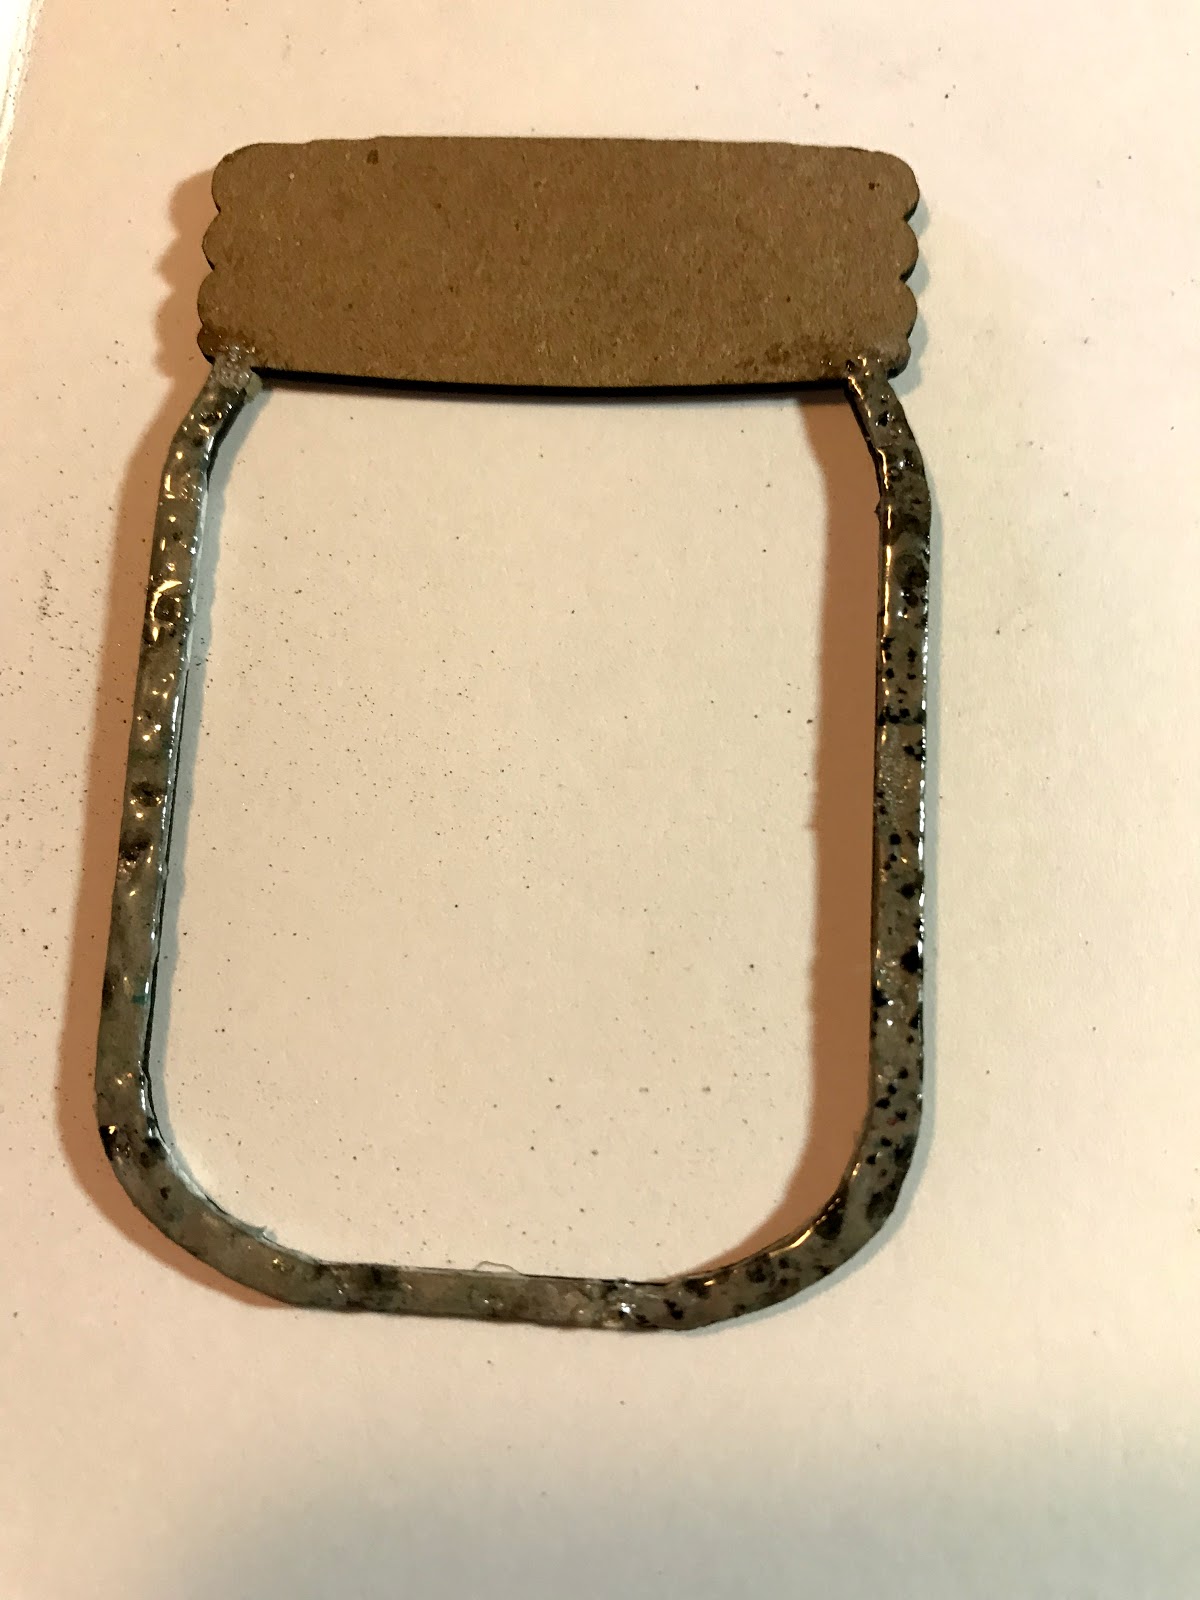
Mini Canning Jar lid using a Hammered Metal embossing powder.  While the powder is still hot press in your scissors to make the lines on the lid.
Cover the edges of your jar with Fractured Ice embossing powder. 

Cut a piece of acetate to line the back of your jar.  It doesn't need to look pretty, it just needs to cover up to the edges.  

Cut wings out using the Tim Holtz Butterfly Frenzy Die.  This die has a ton of different small butterflies on it, so you can mix and match your wings.  I edged all of the wings using Distress Inks. Color in your paper doll using Distress Markers.  I used the smallest of the paper dolls in these jars.  Give each doll a heart and place them on a small piece of paper from the Tim Holtz wallflower paper collection.    
Glue your paper doll to the paper and glue the paper to the jar.  Trim your paper so nothing shows from the sides.  Cover the Chunky ATC blanks using vintage book paper and embellish with rub ons,  clipping stickers, and scribbled gel pen. Glue your jar to the ATC.  Add a stick pin to the top of the jar. Another tiny rub on works perfectly on the stick pin.  

Paint the back of your ATC black and add a little story using stickers.  These are from the Tim Holtz clippings pack.  Use gel pen to doodle and scribble around the stickers.  

There are three cards in the Chunky ATC blanks package, so I created a trio of Love Bugs.  


The little guy was actually my first Love Bug.  I got so excited when I made him that I didn't take my step out photos.  

I love how I was able to get twins in this jar! 

To complete the display I painted the ATC Stand black and edged it in gold.  Now my fairies can be displayed properly. 
I hope you enjoy and try to catch some love bugs of your own!

Try it ON Tuesdays- Fire and Ice (I used Fractured Ice embossing powder)

Disclaimer Notice

I've received products/compensation as part of the Gypsy Soul Laser Cuts Design teams. My projects, however, are 100% my own.