Showing posts with label Jess Madaglia. Show all posts

Friday, August 10, 2018

Artist Trading Coins

Hi Everyone,
Jess here today.
Have you jumped on the Artist Trading Coin bandwagon yet? They are super fun and quick to make.  Today I will show you how I made a bunch of coins using a single sheet of cardstock.  


Blank Page Muse Stamps Used:


Other Supplies:
Jet Black Archival Ink
Distress Inks
Tim Holtz Chit Chat Stickers
Adhesive
Gel Pens
Circle Punches


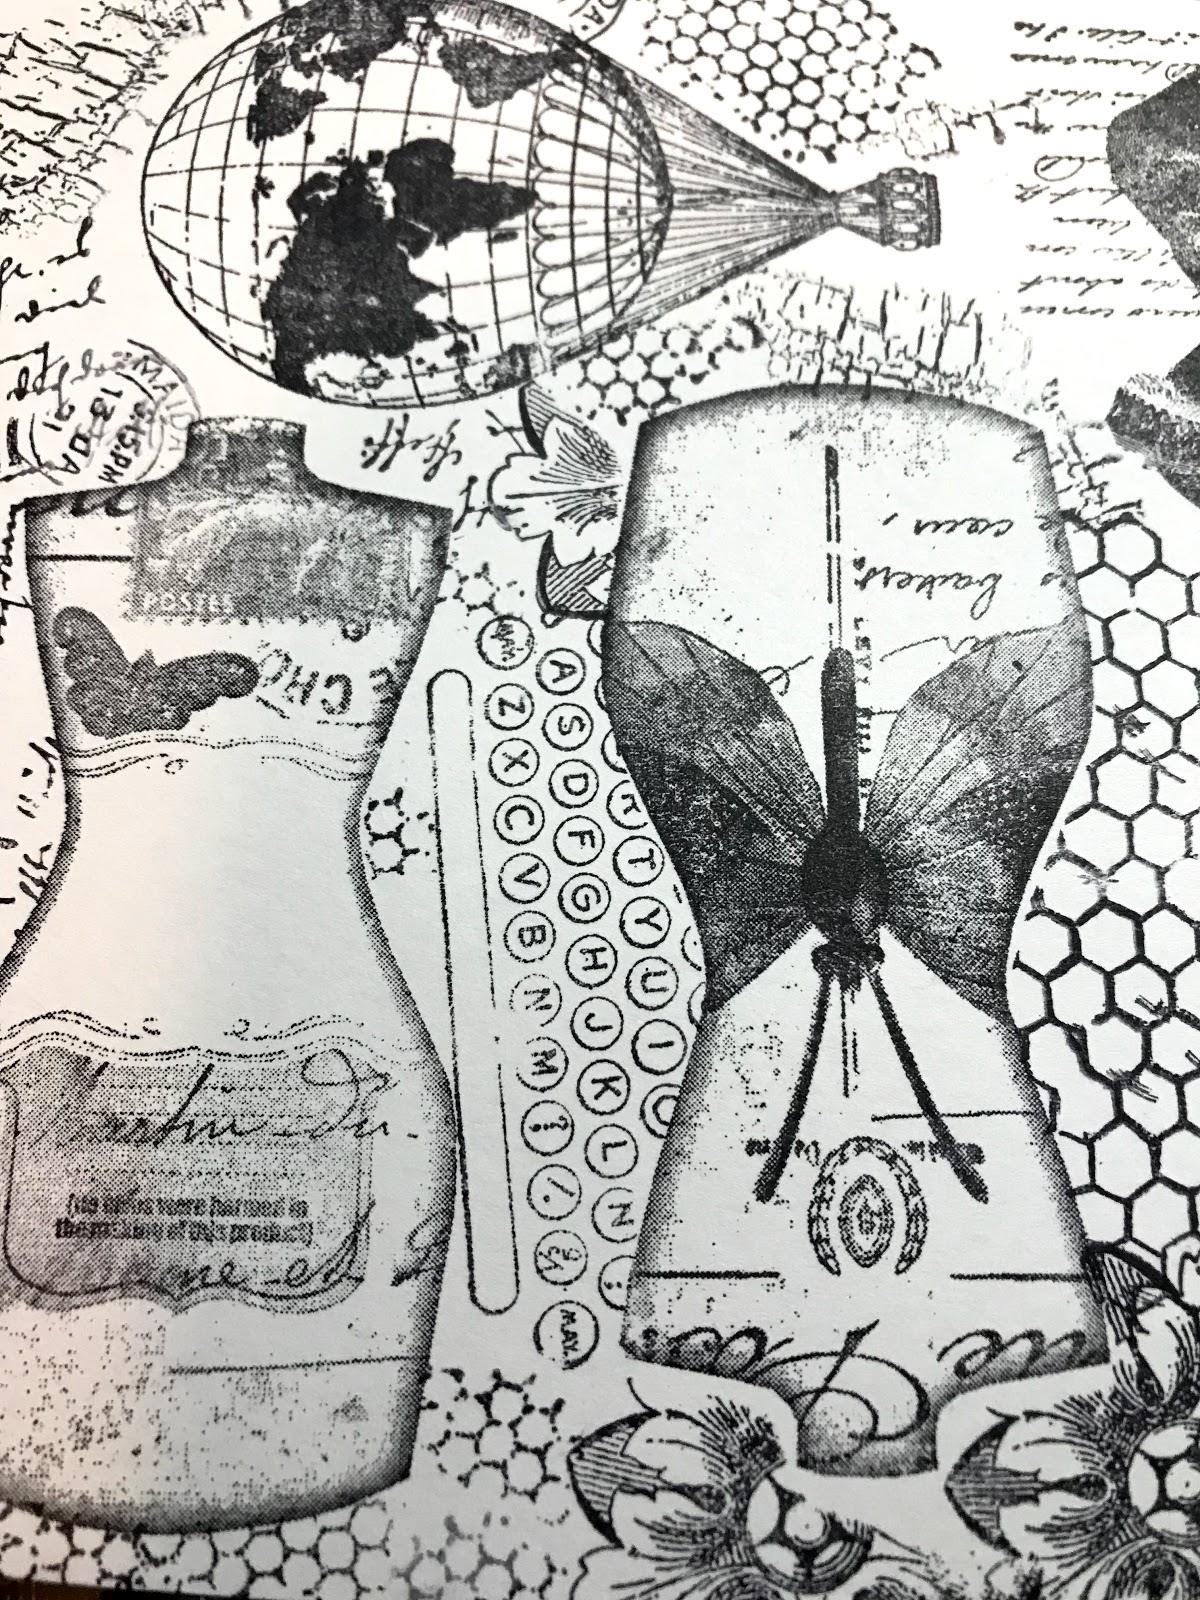
Start by stamping your largest images on a sheet of white cardstock. Using masks, made from post it notes, add your smaller images until you have filled the entire sheet.  
Using the two and a half inch punch(this is the ATC size) randomly punch out circles.  
Once you have punched as many circles out as you can go back with smaller circle punches and punch out more.  Use as much of the paper as possible.  
Here's an example of the different size circle punches I used to create the coins.  
Use Distress Ink to add color to your coin.  Flick water to create drips and splatters. 
Don't forget to ink your edges!
Layer your circles together and glue them down.  Don't feel you have to use the entire circle.  Experiment with your layers.  Trim the circles up if you like.  
Add word stickers and highlight areas using gel pens. 


I hope you enjoy and share your coins with us in the fan group.


Tuesday, July 10, 2018

The Golden Age of Travel


Hi Everyone,
I have a really cool Blank Page Muse project for you today. 

Remember when people used to get dressed up to go on vacation? You never used to see people on airplanes in pajamas and yoga pants.  I can't imagine these ladies not looking put together.  I pictured them shopping in Paris and sending a postcard to a friend back home.  
Here are the supplies you need to gather to create your own postcard.

Stamps used:

Other Supplies:
Jet Black Archival Ink
Archival Ink in Coffee and Hydrangea
Distress Collage Medium
Distress Markers
Distress Collage Paper
Distress Ink
Cardstock
Stabilo Pencil
Clear Gesso

Let's get started!
Stamp out your main images across the postcard using Jet Black Archival ink.
Create masks, using post it notes, and stamp all over to fill in white space. 
Once you have finished stamping your background use Distress Collage Medium to apply Distress Collage Paper to various areas of the postcard. 
Add your paperdoll and color in the dresses using Distress Markers(to make sure the ink stays on the image coat your paper doll in clear gesso).   Add Distress Ink to the edges to make the postcard appear to be vintage.  Use your Stabilo pencil to add shadows around the paper doll and around the edges of the collage paper.  
Turn your postcard over and add the Script and postmark stamp to the back.  Use Distress Ink to age the paper.  Color in the postmark using Distress Ink. 
Just like that your card is complete.  
Here are a few more glamour shots.


It was really fun to see how many stamps I could add to the collage feel of the card.  I haven't done a masking technique in a long time and it was fun to play around with it again.  
I hope you feel inspired to play with your stamps too.


If you're looking for more inspiration stop by these great places:
The Blank Page Muse Shop https://blankpagemuse.com/ FB Fan Page https://www.facebook.com/groups/bla... Instagram - Shop https://www.instagram.com/blankpage... Instagram - Blog https://www.instagram.com/blankpage... Twitter https://twitter.com/BlankPageMuse Pinterest https://www.pinterest.com/blankpage...


Happy Stamping,
Jess

Sunday, December 17, 2017

Dashing through the snow

Hi Everyone,
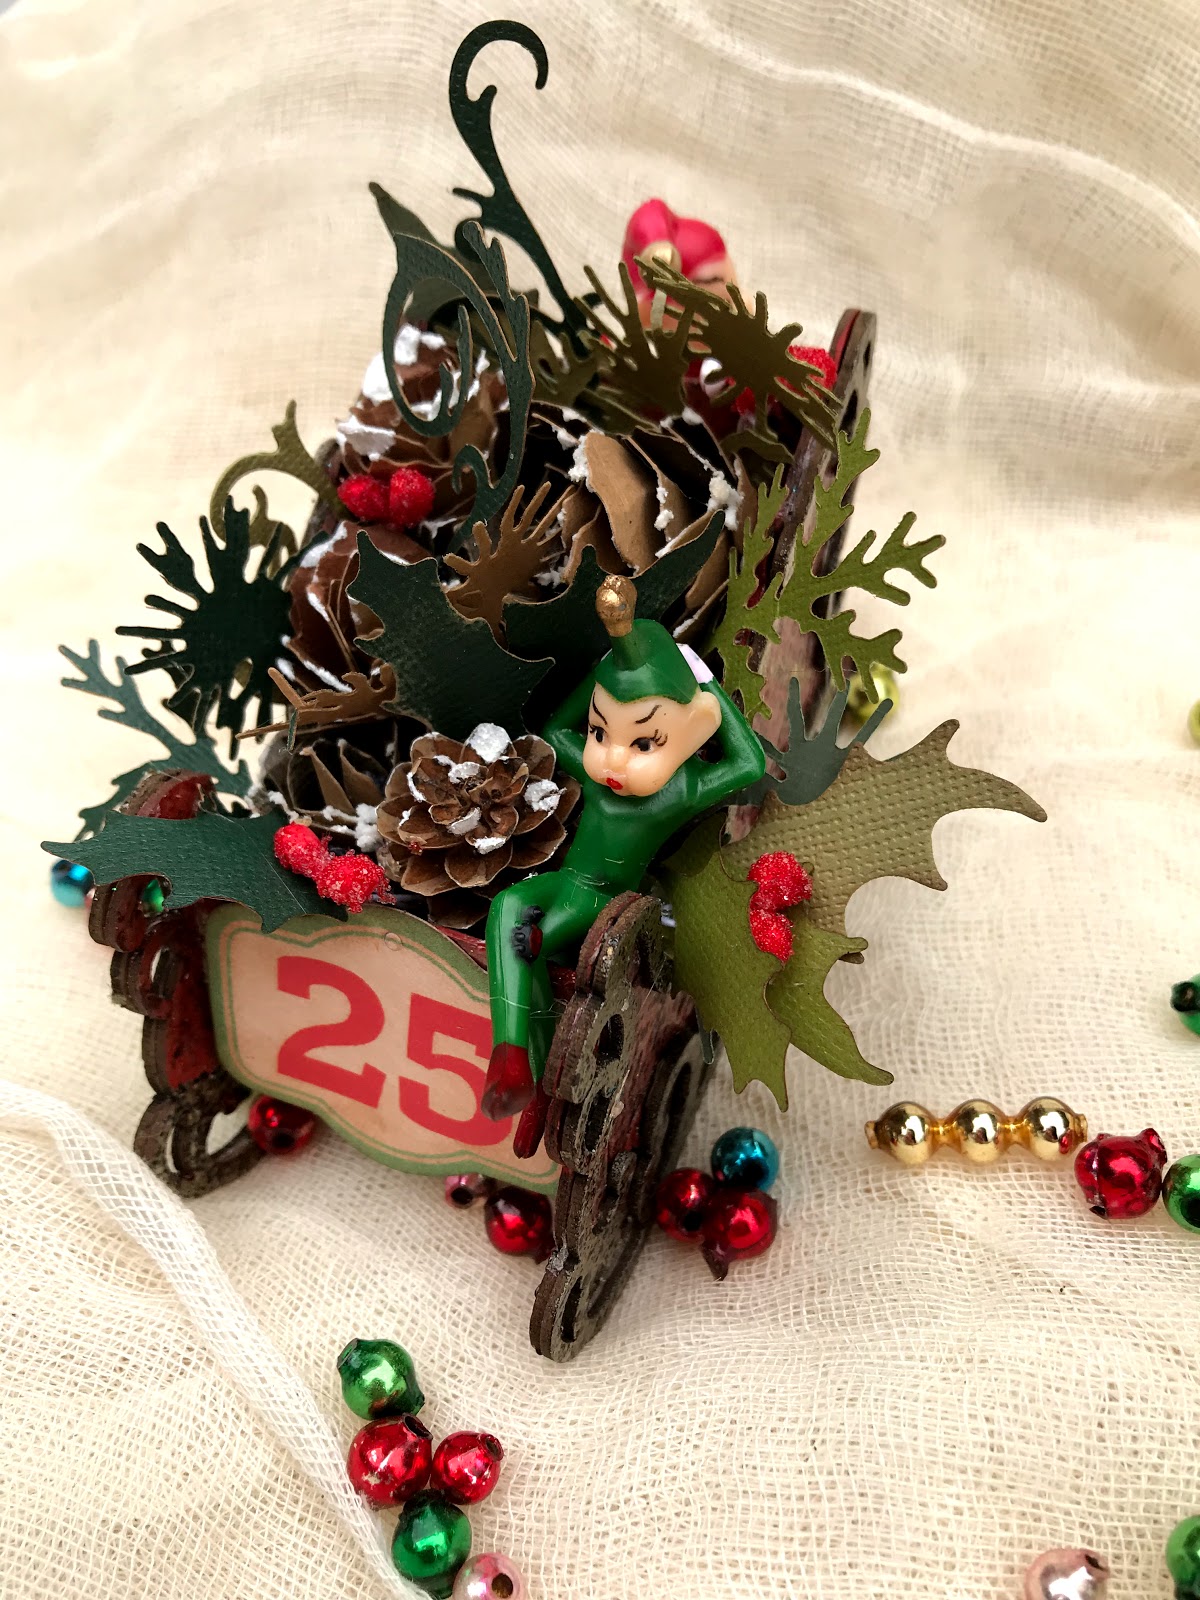
I have the cutest little sleigh ornament for you today.

I started with my slight ornament from Gypsy Soul Laser cuts.

Paint all of the solid pieces using red acrylic paint.  

Emboss the fancy edge pieces using Charred Gold embossing powder. 
Cover the solid slight pieces in Fractured Ice embossing powder and then glue on the fancy gold parts.  The sleigh has slots and tabs, making it easy to assemble.  I always assemble my pieces together before I start any project so I can be sure I assemble them correctly when I am done embellishing them. 
Another great tip- if you emboss a lot you need to invest in one of these Embossing Daubers.  They are amazing!
Cut out a bunch of greenery using the Tim Holtz Holiday Greenery Die.  Then cut out several pinecones using the tattered pinecone die.
Add grit paste and Soft Fallen Snow Embossing Powder or Distress Rock Candy Glitter to add snow to your pinecones. 
There are several pieces from the Tim Holtz Christmas Ephemera pack that fit right in the front of the sleigh. You could also cut a piece of paper to fit and stamp out names if you would want to use these as place card holders.   I chose the vintage pricing sign and aged it using Vintage Photo Distress Ink. 
Color several Beaded Berry Stems. I used Candied Apple Distress Stain to color mine.  
Once all of your greenery, pinecones, and berries are ready you fill the sleigh.  
I added the vintage elves to the sleigh for my finishing touch. 
Look at the sparkle from the Fractured Ice!
This little guy is hanging on tight!
This little guy is relaxing.  
Here's a little aerial view so you can see how everything is just tucked in to fill the sleigh. 

Happy Crafting!

Friday, October 20, 2017

Potions Book

Hi Everyone,
Are you ready to get your creep on? Pop over to the My Rusty Crown Blog to see how I made this postions book using Eileen Hull's Journal Die.


Here's a little sneak peek for you.
Jess


Disclaimer Notice

I've received products/compensation as part of the Gypsy Soul Laser Cuts Design teams. My projects, however, are 100% my own.