Showing posts with label steampunk. Show all posts

Monday, August 12, 2019

One can be both weird and fabulous

Hi Everyone,
I know it's been quiet on the blog, but I do post a bit more on Instagram if you want to follow me over there.

 I have been really into creating oversized cards lately.  This one measures just over 5x7.  I started with a piece of precut mixed media heavy stock and used Distress Oxide Sprays in Peeled Paint, Abandoned Coral, and Peacock Feathers.
I misted the paper first to get the blend.  Once that was dry I added a bit of Frayed Burlap ink to the edges.  The Oxide colors mixed and made a bit of brown,  so the touch of Burlap really tied it together.  I used a bit of embossing powder and a stencil from the Studio Light Grunge Collection to add the yellow numbers in the background.

 It's pretty cool that they blend in even though I didn't use any yellow for the original background colors.  I went back in with the stencil and using Distress Ink in Brushed Corduroy added more of the numbers.  I finished the background with a touch of DecoArt Metallic Lustre Paste in Brilliant Turquoise on the every edge of the paper.


The focal image is from the Steampunkesque set from IndigoBlu.  I stamped the lady using Black Soot Archival Ink and then colored her using Distress Inks and my waterbrush.  I added glossy accents to the glasses and light bulb.  Once everything was dry I fussy cut her and added a halo behind her using a 3d impresslit.

I had to position her on the paper to see how I wanted to add my sentiment and just decided to stamp it right on the background using Black Soot Archival ink.  The ink goes right over the embossing powder.  I used my stamp platform to be sure I got a good dark image.  The sentiment stamp is also from the Steampunkesque set.

To complete the card I used used plain brown card stock and a couple sheets of Distress cardstock.  A bit of scribbling with my gel pen in random spots made it feel finished.


I hope you enjoyed my card.

Happy crafting,
Jess

Monday, July 15, 2019

Remember the Past

Hi Everyone,
This project was really fun to create.  I got caught up and didn't take step out photos, but I can walk you through how I created it.

I started by taking a large chipboard tag from Gypsy Soul Laser Cuts and covering it with metal foil tape.  I ran the tag through my Vagabond using the Mechanics 3d embossing folder from Tim Holtz.  I then pounced on PaperArtsy fresco paint in Buff, Toffee, and Green Patina using a foam blending tool.  I added a bit of black paint with my finger so I could really control where it went.  Once the paint was dry I sanded it off to reveal the metal underneath.
I stamped out the Steampunk man from the Stamperia Capture the Moments Stamp set on Mixed Media Heavystock.  I painted it using various colors of Distress Ink and Paints.  I added some gears and brads to the reels on the hat.  I cut out the hat and using foam tape adhered it to the Found Relative's head.  Using the same paint colors I used for the foil tape I added some chipboard wings behind the gentleman.  I added a touch of Tarnished Brass Distress paint so they would not blend in completely with the background. The wings are actually a heart shaped piece, from Gypsy Soul Laser Cuts, that I cut in half and spun around. I glued the wings to the gentleman's back and then using more foam tape I adhered him to the background.

A few layers of washi tape were added across the bottom of the photo and help draw your eye to the sentiment.
The sentiment is from the same Stamperia stamp set and was given a light wash of Hickory Smoke Distress Ink using a waterbrush.  I glued on some Tim Holtz Hardware Heads and adhered the sentiment to the tag. 
Have a great day,
Jess

Monday, February 4, 2019

You altered my heart

Hi Everyone,


I was totally inspired by a class Tim Holtz just taught at the recent Creativation show(and he was inspired by Paula Cheney).  I wanted to create something similar to what I had seen done, but put my own twist on it.


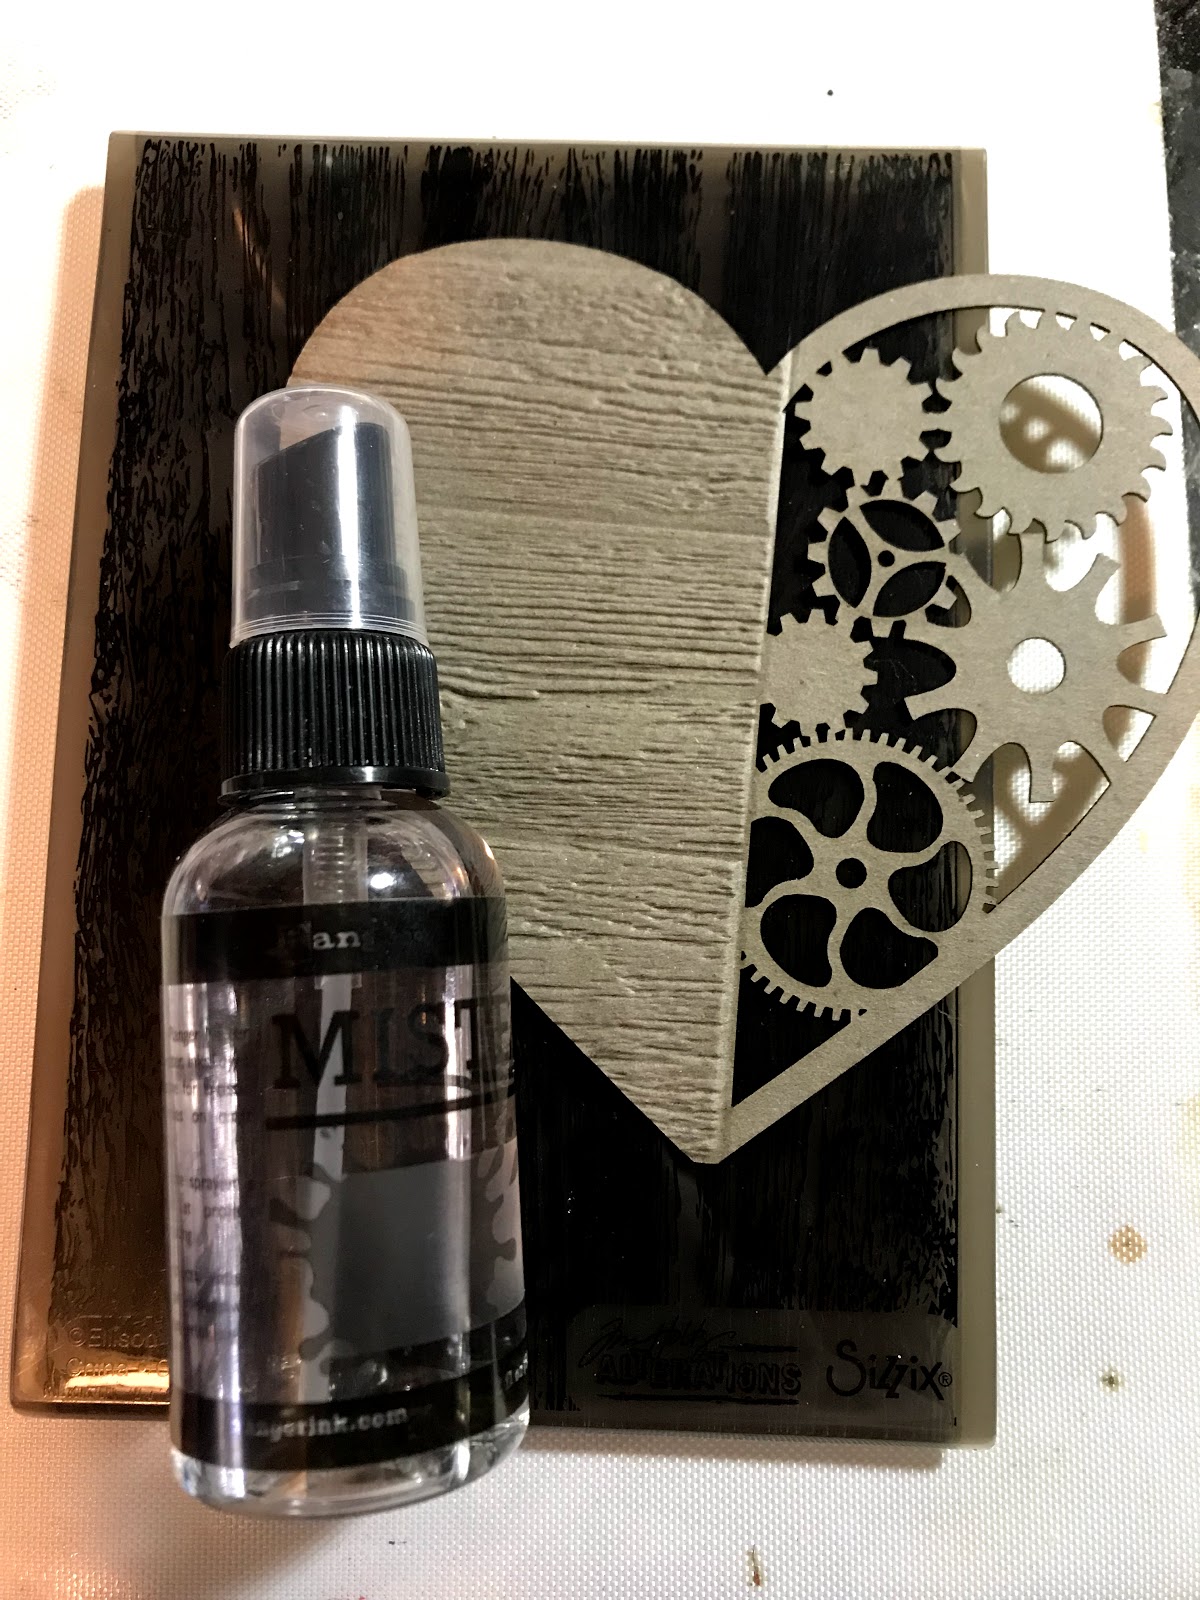
Start by running the solid half of your Steampunk heart through your die cutting machine using a 3d embossing folder.  Spritz the chipboard on both sides before using the embossing folder so the chipboard really gets nice texture.
Using collage medium adhere Floral college paper to the embossed half of the heart.  I did a thin layer on the heart and adhered the collage paper.  I applied another layer on top and really worked the paper in with my fingers so you could see the embossed texture.
Paint the gear side of the heart using Dina Wakley media paint in Umber.  Paint the gears using Dina Wakley Media paint(Gilt and Ancient) and Tim Holtz Distress Paint(Brushed Pewter).  Add metal gears on top of some of chipboard gears for dimension.  Add embossing powder and crackle texture paste randomly on the heart for even more visual interest.  When the crackle paste is dry rub in a bit of Gathered Twigs Distress Crayon.

Take one of your Extra Large Tags and cut about three inches off the bottom.  Cover the entire tag with patterned paper.  Add bits of ephemera and adhere them to your tag.  I used a mix of vintage and reproduction ephemera here.  I love to mix old and new.  The entire tag gets a coat of collage medium. 
Once the collage medium is dry smoosh Distress Oxide inks onto your craft sheet and tap the tag into the ink.  The ink will stay beaded up on the craft sheet and you get neat splotches of color.  When you have a bit of color on your tag spritz with water and allow to air dry. Do this step several times until you achieve the color you like.
   Use the mini gear stencil from Tim Holtz to add a bit of grit paste to the top corner.  

Then add random blobs of grit past on the sides of the tag.  Once the paste is dry, use the same Oxide inks to color the grit paste.  Add Distress Crayon in Black Soot to the edges of the tag.  Splatter the tag with white, black, and gold paint.  
Using foam tape adhere the heart of the tag.  Give the paper doll a layer of clear gesso and color in his suit using Distress Marker in Mowed Lawn. Add a resin flower to his suit.  Glue the ruler to the heart and using foam tape adhere the man so he appears to be sitting on the ruler.  
Use Chit chat stickers to create your sentiment.  
Color in the word token using Distress Crayon in Picket Fence and add a jump ring.  Take an old paint brush and add a jump ring to the top. Add the rings to a vintage laundry pin and stick the pin through the fabric at the top of the tag.  The fabric at the top of the tag is actually a piece of my clean up rag I use in the studio.  I just cut a piece off because I really liked the colors on it.  To complete my tag I took some gel pens and made marks all over the piece.


Happy Monday
Jess


Friday, October 26, 2018

Son of a Witch!

Hi Everyone,
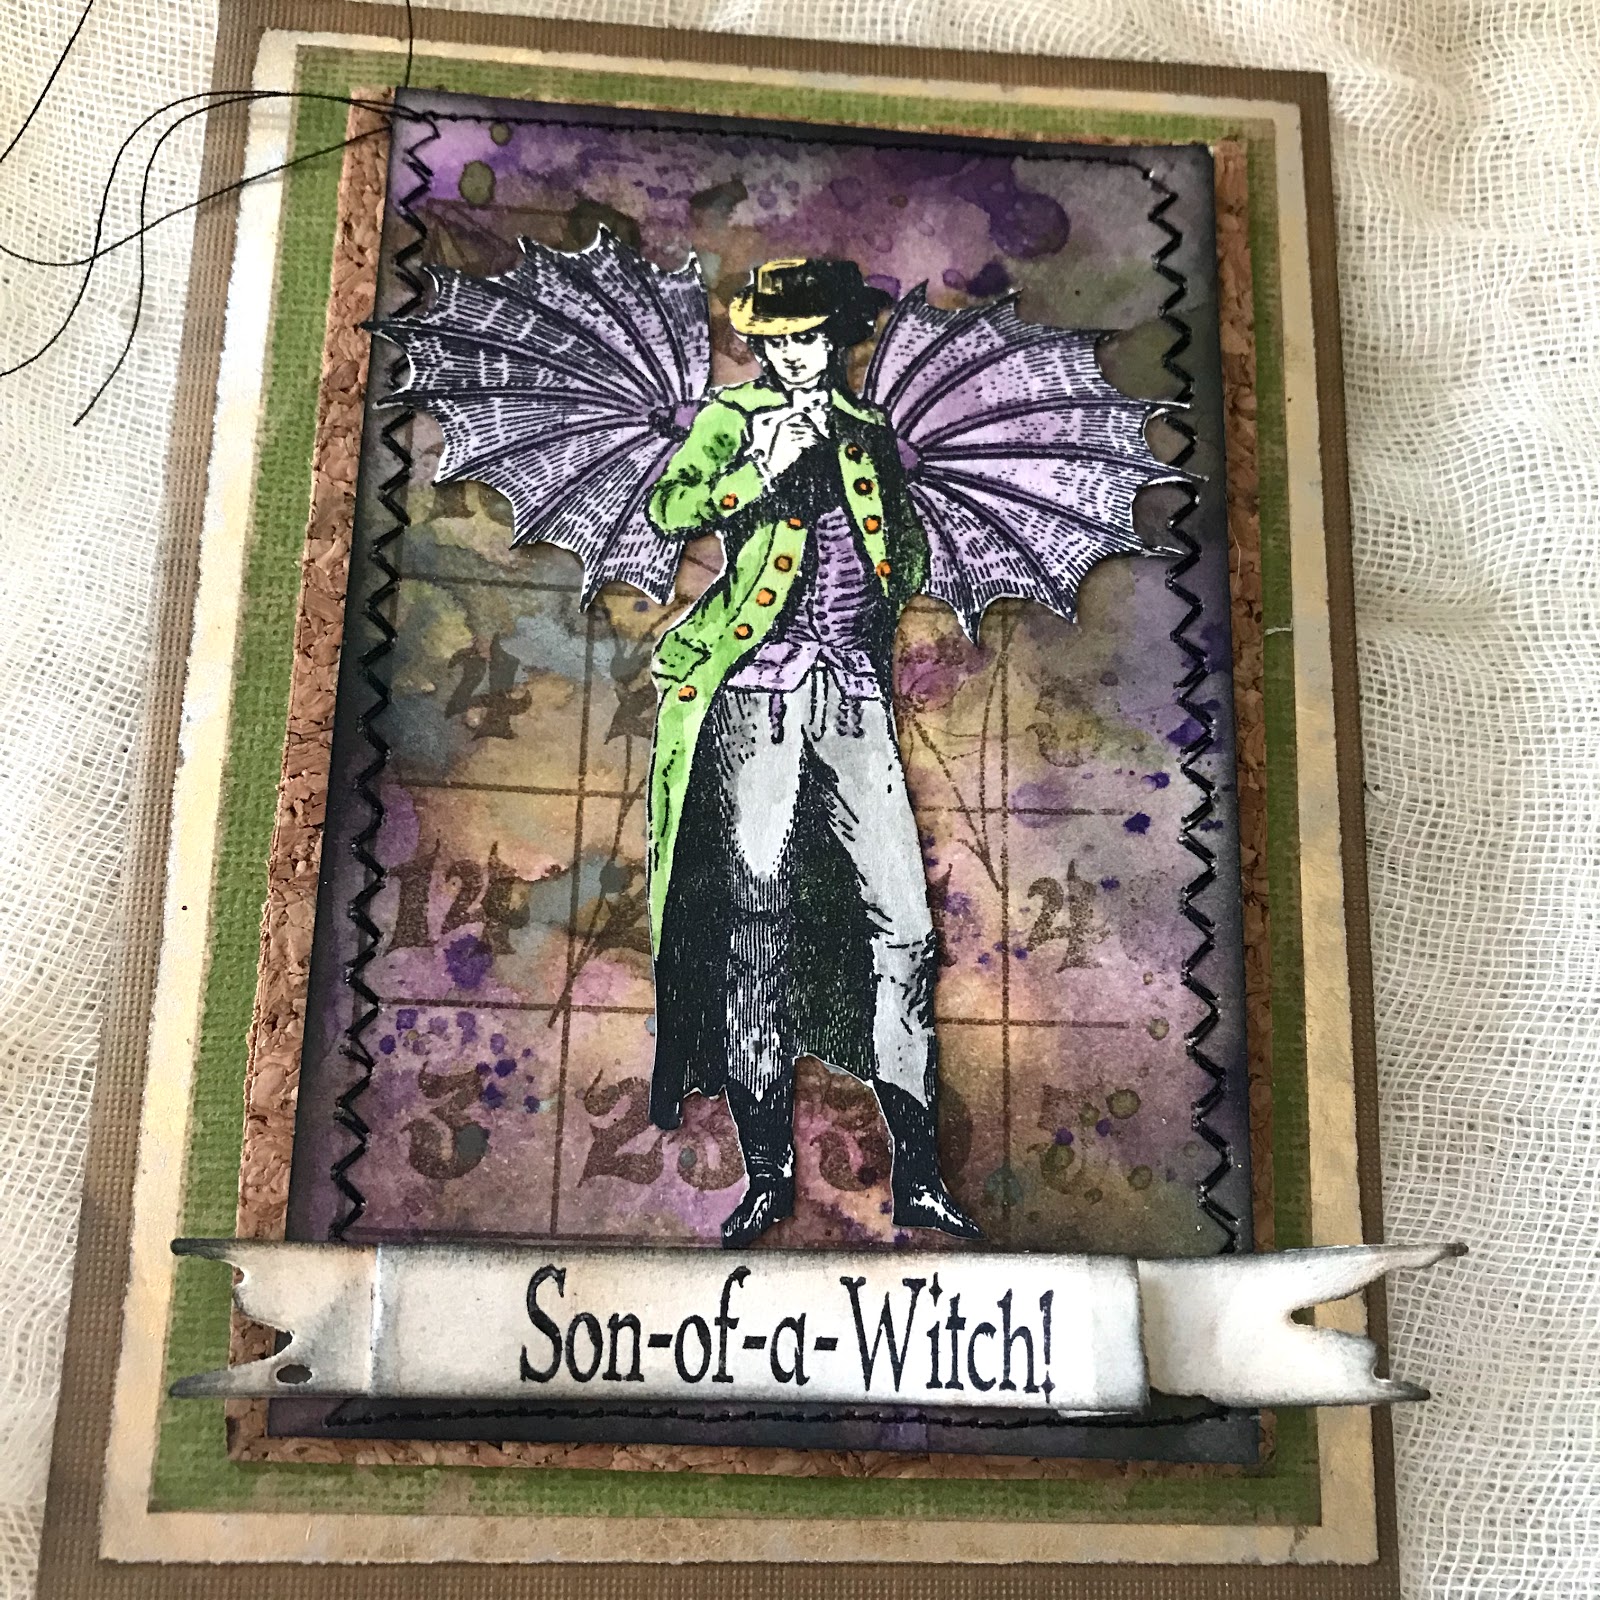
I am up on the Blank Page Muse blog today with this grungy Halloween card. 'Tis the season for witches, but let's not forget the Warlocks! This dapper Steampunk dude just screams Halloween to me.


On your craft mat smoosh on the purple shades of  Distress ink and run your Distress Mixed Media Heavystock paper through so the entire surface is covered. Wipe your ink up( wipe ink up between each layer)  Dry the base layer and smoosh more purple on the craft mat to get splats and dots. Dry this layer.

 Smoosh greens on the craft mat and tap the paper into the ink.  Don't rub or you'll get mud.  Dry the greens.

Smoosh on Hickory Smoke Oxide ink and tap the paper into the ink.  Let this layer air dry.  It's important to let the Oxide air dry to get the oxide effect.
Stamp the Halloween Bingo Board on the background using Coffee archival ink.  Edge the paper with black soot DIstress ink.  Stitch all around the edge of the cardstock.
Using the Tattered Banner Die cut out the banner and stamp on the Oh, Son-of- a-Witch stampin Jet Black Archival Ink.  You can alter your stamps by either not inking the word or snipping the saying apart.  For this card the "oh" wasn't used.  Stamp the saying onto the banner. Ink the banner using Black SOot and Pumice Stone Distress Ink  Adhere the banner to the bottom of the background. 


Stamp the Steampunk Gentleman on heavy watercolor cardstock.  Color in the gentleman using a waterbrush and Distress Markers (Hickory Smoke, Dusty Concord, Mowed Lawn, Dried Marigold, Antique Linen, and Mustard Seed)  Cut out the gentleman and then ink all the edges with black soot ink.  Glue the Steampunk Gentleman to the background.


The rest of the card is just layered up with various cardstocks.


I hope you like my Steampunk warlock!
Happy Halloween,
Jess


Monday, February 26, 2018

Fanciful Flight

Hi Everyone,
I have a fun card for you over on the Blank Page Muse blog today.  There is a full tutorial on how you can make this whimsical card.
Thanks for popping by,
Jess

Saturday, February 10, 2018

Listen to your Heart

Hi Everyone,
I'm up on the Blank Page Muge Blog today, sharing my take on this month's theme of Blue Heart and Time.


I started by cutting three small tags out on my Sidekick. I stamped and embossed the Heart with small Crackle.
I also stamped and embossed the Steampunk Pocket Watch. I didn't want the wings so I didn't really ink them. 

You can see both of these pieces look a little messy.  There's embossing powder residue on both pieces and I am ok with that.  I like the little speckles and spots the extra powder leaves behind.  My work often has powder randomly sprinkled on anyhow.  
Using a waterbrush I wet the heart and then sprinkled on watercolor powder.  I like using these powders since they aren't a solid color, but flecks of varying shades.  I used a crayon to color the outside and then spritzed a black marker to make the speckles.  
I added my watch tag between the two halves of the heart and colored it in a similar manner.  I glued them together and then added my sentiment stickers.  To finish the centerpiece I scribbled around the stickers and stamps using a black pen.  
I mounted the tags on top of a piece of distressed cardstock.  The distressed piece was adhered to the card base using a tiny stapler.  
I hope you enjoyed my step out for today.  
Don't forget to enter in the challenge.  You can do so right here.  
Jess


Wednesday, January 10, 2018

Mistress of Myself

I am super excited to share my first post for The Blank Page Muse Rubber Stamp Company!  Our theme this month is Turquoise, Silver, and Sparkle.  Here's what I came up with for you.
I started by using an image from the A Wing Above the Rest Stamp Set.  This little beauty comes with some wings already, but I wanted to add a little more.  Once I stamped my image I just trimmed off the wings. 
I colored the Image using Distress Crayons and a waterbrush.


The chipboard wings were painted a shimmery turquoise and then embossed.  

I stamped the Chain link Pattern Background onto tissue paper.  I then adhered the tissue to a canvas banner using Pellon Ez-Steam. 

Once the tissue is adhered I colored it using inks in various blue hues.  I love embossing the edges for a grungy look. 

I sprinkled embossing powder randomly on the pennant and heat to set. 

I stamped the sentiment from the Words by Jane Sentiments set and then edge using black ink. 

Finally. I adhered everything to the pennant and used black tulle behind the focal point.  


Don't forget to stop by the blog and the facebook page for more inspiration!
Jess

Wednesday, June 18, 2014

Faux metal box

I had this little wooden box and it's cute, but I wanted to grunge it up.  I decided the best way to do it was to make it look rusty.
Have you tried the faux patina paint from Ten Seconds Studio? This stuff is awesome.  A couple coats of paint and you can make anything look old.  
Once I painted my box it was time to decorate.  While it was drying I dug out some rusty goodness.  
The rose was the perfect addition to the box.  I knew I wanted it to be the focal point.  I had the brass "hers" placard forever.  I used alcohol inks to age it and the brad.  
I rubbed some black paint and alcohol ink one the key plate.  This brass was shinier and just using the alcohol ink wasn't toning it down enough for me.  

Watch gears and remnant rubs finish out the decorating.

Now I have a rusty treasure box to add to my jewelry table. 

What have you been crafting?
Jess


Disclaimer Notice

I've received products/compensation as part of the Gypsy Soul Laser Cuts Design teams. My projects, however, are 100% my own.