Showing posts with label vintage. Show all posts

Tuesday, May 29, 2018

The Traveling Salesman

Hi Everyone,
I made this a couple weeks ago, but hadn't had a chance to blog it yet.
Meet the Traveling Salesman.
I used a mixture of new and vintage pieces here.


It was nice to create without a deadline or project in mind.


Fiddling with the details is always the best part. 

Even the edges got a rusty makeover. 

I hope you like him as much as I do. 
Jess


Monday, February 19, 2018

Salvaged Heart


Hi Everyone,
I'm up on the Gypsy Soul Laser Cuts Blog today with this beautiful shabby chic piece.
This was really simple to put together.  Start by covering both sides of  your Dress Form Tag with the paper of your choice.  I inked the edges of my paper. 
  
Cover the largest set of wings from the Wings Assortment with gold embossing powder. Once the wings have cooled off attach them to the back of the tag using a strong adhesive. 

 Cover the base of your Flourished Heart Frame with DIna Wakley Media Paint in Blushing.  This is a bold pink and I used a wash of cheap brown acrylic paint to tone it down for this project.  

Cover the top of your frame with Finnabair Paint in Royal Red.  While the paint is still wet cover the heart with Distress Embossing Powder in Vintage Photo.  This makes the heart look old and kind of crusty.  Perfect for this project.     


Glue your frame together and attach it to the dress form tag.  Finishing the main part of the piece just took using a Tim Holtz Chip word that I banged on the side of my desk to ding it up.  Vintage photo Distress Ink covers the chip word.  
I used an old spindle to make my base.  I stuck a Tim Holtz Memo Pin in the top and then wedged the finished project into it.  I love the look of sari ribbon for making bows.  This one has a large off white bow and a smaller pink bow to cover where the pin got stuck into the spindle. 
The spindle is fun because you can just pop this piece out and change it up for the season.  
Enjoy! 


Monday, August 21, 2017

Wicked Witch

 Hi Guys, 
I am posting for Gypsy Soul Laser Cuts today.
 Meet the sweetest wicked witch ever.  

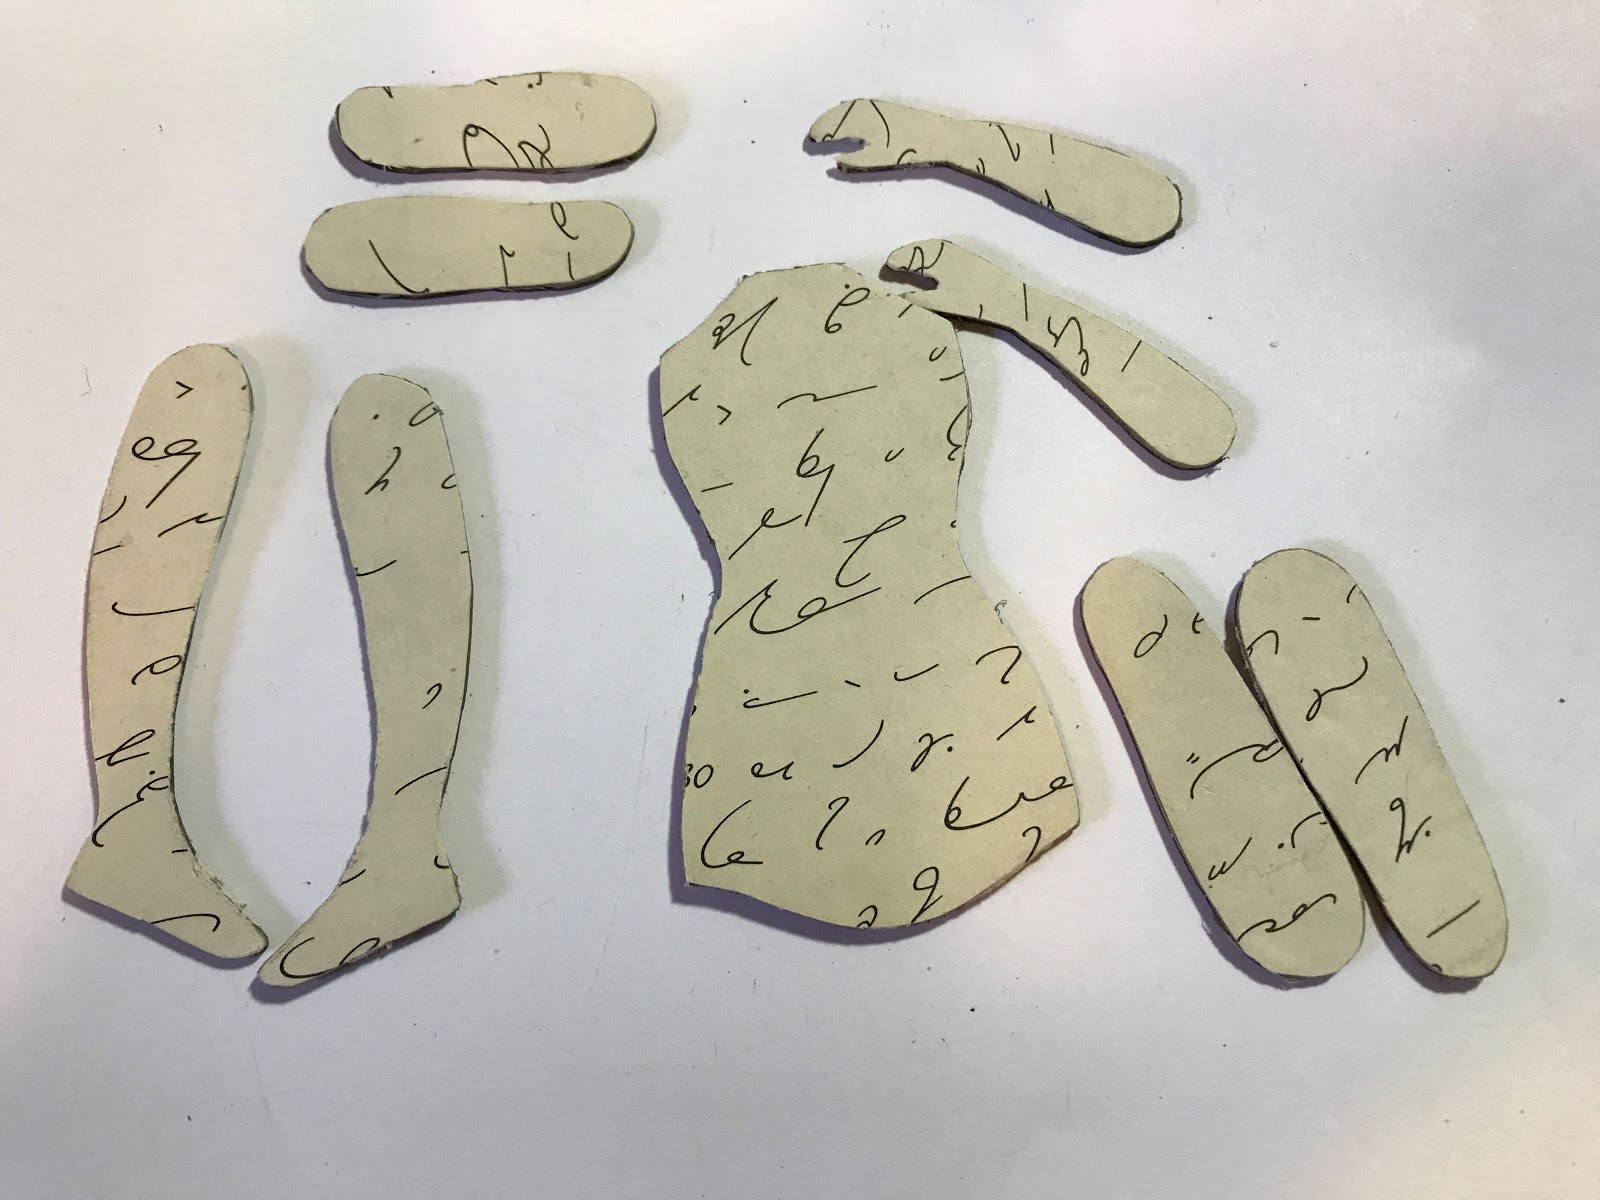
Using a gel medium, cover your art doll with the paper of your choosing.  I covered the front and back of my doll using pages from an old shorthand book. 
Go around all of your edges with Distress Ink in Antique Linen. Using an awl make holes in your doll for her joints and put her together using brads.  
You might notice she is missing her head. I used an image and then popped a witch hat on her head. 
I just glued the head to the body.  
The witch hat is mounted on a scrap of chipboard that was the edge of something I had from Gypsy Soul.  I ran the hat through my Xyron sticker maker and then just trimmed the chipboard around my new sticker.  The fabric on her hat is that same as her skirt.  I took white cheese cloth and sprayed it with Distress Stains.  The vintage bingo marker has a little spider rub on. 
The Bird Cage is covered with Emerald Creek Embossing Powders.  Instead of carrying a bird, she has a little bat in there.  
I cut her boots put of cardstock.  They are a little wonky since I freehanded them, but witch shoes don't have to be pretty.  

I love the brad on her belt and the necklace details too.
Here she is one more time.
Jess


Medium Art Doll
Bird Cage

Thursday, March 30, 2017

The Easter Fairy

I will put wings on anything(in case you hadn't already noticed that about me).  I was playing around and made this little Easter fairy today.  
I lined the inside of my vignette box with paper from the Etcetera pack and gave it a layer of crackle medium.  When the crackle was dry I added distress crayon in Hickory Smoke and Bundled Sage.   
The sparkle on the edge is the thin roll of design tape from the Chatter pack. I colored it using alcohol inks.  
I'm still playing with the paper dolls and gave her wings from the botanical layers.  The paper flower in the back is from the botanical layers set too.  I added color using Distress Markers.  The other flowers are vintage from the hoard, as are the spools, the bunny, and the egg.  

Jess


Simon Says Stamp Monday- Things with Wings Challenge
Country View Challenge- Inspired by Tim Holtz 

Monday, March 6, 2017

Spring Chics

Ah,  spring. I have some spring chics for you today.
 I made these for Gypsy Soul Laser Cuts.  Be sure to stop by the blog and see the other wonderful creations the DT has been making.


I started by coating my tag with a layer of collage medium and add bits of ripped tissue wrap.  Next I scribbled a light layer of  Distress Crayon in several colors.


In the one you see here I used colors that reminded me of a sunset.  I placed a stencil over the tag and rubbed away some of the crayon using an almost dry baby wipe.

I buy the cheapest baby wipes I can find.  They tend to be rough and pretty dry(not exactly what you'd want to use on a baby's bottom, but awesome for crafting). For the final step on the tag I added speckles of black and gold paint.  I also used some gold paint and just smeared it with my fingers.

Obviously, this is a close up of one of the other tags, but you can see the speckles. 


I took one of the bird nests from the For the Birds set. I inked the top part using brown Distress inks. The bottom piece is embossing using Emerald Creek's San Tropez Tan.


I cut out a vintage lady and plopped her in the nest.  I decided the tag needed a bit more interest so I used a stencil and distress crayon to make the tracks down the side. Once the sentiment was added I randomly scribbled around on the tag.


I decided she needed some friends so I made a couple more tags using the same technique and different bits of the For the Birds set.
This girl had her house made with Emerald Creek's Salted Navy and Hammered Metal embossing powders.  

This one used the San Tropez Tan on the top and I ran my Distress Crayons over it to make it darker in areas.  

I hope you like the girls and try to make some of your own!
Simon Says Stamp Make your own Background Challenge
A Vintage Journey- All aboard challenge

Thursday, October 6, 2016

Tim Tag for October

Here is my take for the October tag.  
The butterfly is layered up. I did the wings really bright on the bottom by just dripping on the alcohol ink.  For the top butterfly I used my applicator and then used black soot distress paint over it.   
Jess


Tuesday, December 8, 2015

Merry Christmas from all the girls


I have to admit when I started working on this panel I wasn't sure where it was going.  The background is Barn Door Distress Spray, a gold glimmer mist, and white paint flicked on after the sprays were dry.  Once I saw the red and gold shimmer I knew it had to go Christmas.  I layered on some green polka dotted paper, random text paper, and vintage ledger paper.


Wednesday, December 2, 2015

Making Spirits Bright

Do you love vintage Christmas like I do? I hoard so much Christmas stuff it is crazy.  I love old Christmas bulbs.  I display them all around the house at Christmas time.  This year I decided to repurpose some of them into ornaments.


Pop over to Altered Pages to see what I came up with!
What have you been crafting?
Jess

Sunday, July 26, 2015

The best way to spread Christmas cheer


How can you not love this altered coaster?! 
Altered coastes are so fun and easy to make.  This little photo booth girl was so giggly I knew she would make a great elf.  A scrap of paper, a pompom, and a bit of trim makes the perfect elf hat.  I colored her sweater in using my Distress Marker in Mowed Lawn.  
Usually I cover my entire coaster, but the green stripes worked with my theme.   I just popped on a scrap of Christmas paper and some vintage sheet music for layers.  A quote and a sprig of holly complete her.  

Easy christmas gift is done!
What have you been crafting?
Jess


Wednesday, July 15, 2015

Photobooth ATCs

I have a thing for ATCs as of late.  I like how quickly I can work them up.  In a short amount of time you can have a tiny work of art!
I created these three for a swap on Art Joy Stuff.   
The backgrounds are a mish mash of papers, ink, and even gesso smears.  

The photos are all raised up with foam tape for dimension and so I could tuck extra stuff under there, like the tulle on this one.  

The tiny tattered florals are the perfect size for ATCs.
I will show you what I received in return soon. 
What have you been crafting?
Jess

Saturday, July 4, 2015

Fun can be a breeze


I am making some throwback fun on The Robin's Nest today.  I hope you stop by to learn how to make these pinwheels.
Jess

Thursday, March 19, 2015

Shabby Chic Fashion Chunky ATC

I think I might have found a new best thing!  Have you made a chunky ATC? They are so much fun to make.  I signed up to do a swap on Instagram( sidenote- are you on IG? Come find me @twomaddahlias).  I have never made one of these chunky guys, but it sounded like fun.  I love to make ATCs and have been making them quite a bit lately.  It's fun to whip out a creation in a short amount of time.
My swap partner said she liked retro, fashion, shabby chic, and pink.  I only had to choose one of these themes.  I managed to squeeze all four onto my chunky ATC.
I love this tiny dress form.  I covered it with the smallest buttons I could find and filled in the gaps with a chunky glitter.  The vintage head pins I found at an estate sale.  

An old Artchix studio graphic I colored in with colored pencils adorns this side.  

This tag came from a piece of clothing that has long since left my wardrobe.  I couldn't even tell you what it was, but I held on to the fabric tag for years.  How's that for craft hoarding?! It was hard for me to use the tag, but it fit the theme perfectly.  

A Melissa Frances sticker, remnant rubs, and Prima flowers on this side.  

The top got a handmade flower and some vintage leaf buttons.  You can't tell, but I did decorate the bottom and used some pearls from a vintage necklace to make the ATC stand up. 


I know they sell wooden blocks just the right size for chunky ATC's but since I was mailing this I wanted it to be light.  I ended up upcycling the box my business cards arrived in.  I stuffed it full of old tissue paper to give it more stability.  
These are the photos the recipient posted.  She loved it.  Whew!

I can't wait to see what I get in return.
I am entering this in the Frilly and Funkie's Bring on the Bling Challenge and Our Creative Corner's Junk in the Trunk Challenge.  Fussy and Fancy Ribbon Challenge.  Rhedd's Creative Spirit March Challenge

What have you been crafting?
Jess


Disclaimer Notice

I've received products/compensation as part of the Gypsy Soul Laser Cuts Design teams. My projects, however, are 100% my own.