Showing posts with label dina wakley media. Show all posts

Wednesday, February 12, 2020

Your worth is not measured by your waist

Hi Everyone,
I am so happy to be guest posting for Blank Page Muse Stamps.  When I saw these images from A Vintage Girl  I could not wait to create.

I started by stamping four of the large tape measures in Jet Black Archival ink.  I cut them out and using the edge of my scissors I tattered the edges.

Then I inked them and let them dry.  Once dry I took a tiny bit of metal tape and made edges just like you find on real cloth measuring tapes.

For the main panel I stamped the vintage corset in the center, again using jet black archival.  I also stamped a second corset and cut it out to use for a mask.  This was just done on scrap paper.  Always save your masks, you never know when you might use them again. I just pop them in the bag with the stamp.
I inked the corset using a pale pink and then covered it with the mask to ink the rest of the background.
The background was inked and then stamped using the small crackle stamp.
To make her sash I used the rolled measuring tape from the Timeless Measurements set.  I used jet black archival on seam binding.  I trimmed the image and colored the seam binding using Dina Wakley scribble sticks.  
I lined up the image on the corset and glued it in place. 
Before I finished up the main panel I flicked on some black and copper paint.  I lined the measuring tapes up along the edge of the card and glued them down. I added the sentiment and edged the words using a black gel pen.  

 I added some small clusters of flowers to the corners and a tiny flower on the sash.  I know the corner flowers covered the metal edges quite a bit, but I really like how they look. The whole panel was mounted on a black card.  
I hope you like this card as much as I liked creating it.  
Jess


Monday, April 1, 2019

Spring Cleaning

Hi Everyone,
I'm up on the Gypsy Soul Laser Cuts Blog today.

Well it's time to do some spring cleaning and that includes my desk.  I try to be a neat crafter, but my desk always ends up looking like a large bomb exploded in the general vicinity.  For today's project I used only items that were on my desk or within reach of my desk.  I will admit some of these are mop up tags, so I don't know exactly what is on there.

Adventure is out there tag-

The butterfly man background was made using Vintage Photo Oxide Spray and then I added Hickory Smoke ink through a stencil(THS091).  I shifted the stencil and added Peeled Paint Oxide Ink.  I splatted on some Black Soot Distress Paint and then stamped the flourish(CMS070) in  Ground Espresso Archival Ink.  The edges got a bit of Vintage Photo Distress Crayon for shadow.

The paper doll was inked up using Tsukineko Inks.  His buttons and watch chain were colored using gel pens.  Get got a pair of wings and was glued to the tag.  I had a snippet of the mini provincial impresslit left so I popped that in the top corner.  Chic chat words were inked up using Peacock Feathers Distress Ink and glued down.

A snippet of the Meadow Flowers was on my desk so I added a couple layers of gesso and once that was dry I added PaperArtsy Infusions in The Sage to the stems.  I added grit paste to the flowers and used Peacock Feathers Distress Ink to color them.  There was some leftover Distress Crayon on my desk from edging the tag and I used that to dirty up the flowers.  Once that was glued down, I added detail using gel pens.

Eccentric, but very estimable gentleman-

For the eccentric, but very estimable gentleman tag I used a mop up tag that had some blues and purples on it.  I added some leftover rust from when I was rusting up bits and some Seth Apter Stamps(Eclectica3). 
The circles are from the Mixed Media Fragments 1 Small.  I rusted them using PaperArtsy's Rusting Powder and then added Verday Paint from 10 Second Studios for the oxidized brass bits.  I cut the circles into three segments and attached them to the card using glue.  I added Tim Holtz Hardware heads to make them appear to be bolted down. I added alcohol ink in Patina, Mushroom, and Coffee to the hardware heads.  Then I popped on a bit of Distress Crayon in Cracked Pistachio for a bit more dimension.

I tied a little brass heart to his wrist and glued him down.

 Clipping stickers make for really fun stories and gel pens add the final bits to this tag.

The Proprietor of Ideas-

This little guy gets stuck in all kind of things.  Today I popped him in a lightbulb from the Steampunk Lightbulb Set.  The lightbulb was painted white and then the bulb portion was given a layer of DecoArt Crackle Glaze.  Once the glaze was dry I added Distress Crayon in Black Soot and Brushed Pewter.  A thin piece of acetate was added behind the bulb and colored with mushroom alcohol ink.  The tiny crown on his head will be coming soon to the GSL cuts store(I cannot wait for you to see all of these teeny crowns).
The base of the bulb was painted with Tarnished Brass Distress Paint and then pounced with Mushroom, Latte, and Coffee Alcohol Inks. I snuck in another hardware head here and a story stick.
This tag was made by using Oxide Spray on my gel plate.  It makes such gorgeous and dreamy backgrounds.  I used a Tim stencil(THS051) for the words and numbers.  I used Hickory Smoke and Black Soot Distress Ink for the coloring.  White paint is splattered all over the back, Perfect Pearl spray, and gel pens finish the background.
The main title is from the Tim Holtz Noble Gent set(CMS301).  That was stamped in Black Soot Archival.  The little halo around the bulb is the same set.  I used Dina Wakley Paint in Ancient and Gilt to stamp out the halo.  Be sure to clean paint off your rubber stamps right away!   


Do you save all of your little bits to make projects with later or do you toss out the scraps?

Jess

Monday, February 18, 2019

Wear it again tomorrow


Hi Guys,
I'm up on the Gypsy Soul Laser Cuts blog today.

I've been in a bit of a snarky mood lately and when I saw this lady I knew she needed to be used for a project.

I started by taking my Laurel Frame and covering it with a layer of gesso using a foam brush.  Using the same brush I added some Dina Wakley Paint.  I didn't clean the brush between uses so there was still gesso in there creating different shades of blue.
Using the script stamp from the Tim Holtz Entomology Set(CMS328). I stamped across the frame in Hickory Smoke Oxide Ink.  I sealed the ink using Micro Glaze.
This photo was cut to fit inside the frame.
For the back panel I used a 5x7 canvas board and loosely painted it using the paints pictured.  I added some stamped bits from the Time Holtz Mini Media Marks(CMS364).  These were done with Archival Ink in Black Soot and Hydrangea.  Before I finished my project I added in a bit of Victorian Velvet Distress Paint to pick up the pink you see in the background piece.  
To mount the photo I used a piece of humble cardboard.  Peel parts of the top layer to expose the corrugate and then cover with gesso.  I did a couple thin layers to cover all of the brown.  I added some collage paper to the bits that still had the full cardboard using collage medium.  To color the cardboard and collage paper I used Distress Crayon(Victorian Velvet, Cracked Pistachio, Worn Lipstick, and Gathered Twigs) and water to give it a dreamy hazy look. Pearl details were added to the frame and the snarky sentiment. 
To complete the piece I painted a set of  Mini Petal Corners using Dina Wakley Ancient Paint.  
 A couple close ups of the finished details. I ended up going back with Jet Black Archival ink and restamping the script on the frame.  I added a bit of DIstress Crayon in Gathered Twigs to dinge it up.  There is a teeny bit of the Dina paint in Ancient on there too.
I love the grungy look the cardboard gives. 

Layers and details.  
I hope you like her and take her sage advice!
Jess


Monday, February 19, 2018

Salvaged Heart


Hi Everyone,
I'm up on the Gypsy Soul Laser Cuts Blog today with this beautiful shabby chic piece.
This was really simple to put together.  Start by covering both sides of  your Dress Form Tag with the paper of your choice.  I inked the edges of my paper. 
  
Cover the largest set of wings from the Wings Assortment with gold embossing powder. Once the wings have cooled off attach them to the back of the tag using a strong adhesive. 

 Cover the base of your Flourished Heart Frame with DIna Wakley Media Paint in Blushing.  This is a bold pink and I used a wash of cheap brown acrylic paint to tone it down for this project.  

Cover the top of your frame with Finnabair Paint in Royal Red.  While the paint is still wet cover the heart with Distress Embossing Powder in Vintage Photo.  This makes the heart look old and kind of crusty.  Perfect for this project.     


Glue your frame together and attach it to the dress form tag.  Finishing the main part of the piece just took using a Tim Holtz Chip word that I banged on the side of my desk to ding it up.  Vintage photo Distress Ink covers the chip word.  
I used an old spindle to make my base.  I stuck a Tim Holtz Memo Pin in the top and then wedged the finished project into it.  I love the look of sari ribbon for making bows.  This one has a large off white bow and a smaller pink bow to cover where the pin got stuck into the spindle. 
The spindle is fun because you can just pop this piece out and change it up for the season.  
Enjoy! 


Monday, January 1, 2018

Snarky New Year!

Happy New Year from this party animal!
If you made it until midnight, then you stayed up later than me.  I never make it until midnight.  I have a little project for you today that shows you that I really know how to party.
I used the Tiny Matchbox Theatre from Gypsy Soul Laser Cuts to make my party animal box. 
 I covered the box with old book paper.
I used Dina Wakley Paints to add some pops of color.  The edges have some Distress Crayon in Hickory Smoke and Black Soot. 

The image inside is from Lisa's Altered Art and it is popped up using foam tape.  I added the little party hat and book.  There's some fun washi tape behind her just for visual interest.  

I hope you have an amazing 2018! 
Jess

Monday, September 4, 2017

Journey with Gypsy Soul

Hi Everyone,
 Over at Gypsy Soul Laser cuts we are doing a month long match up with Canvas Corp.  I'm rather spoiled since I have been able to work with both of these teams.
I decided to make a tattered canvas for you today.


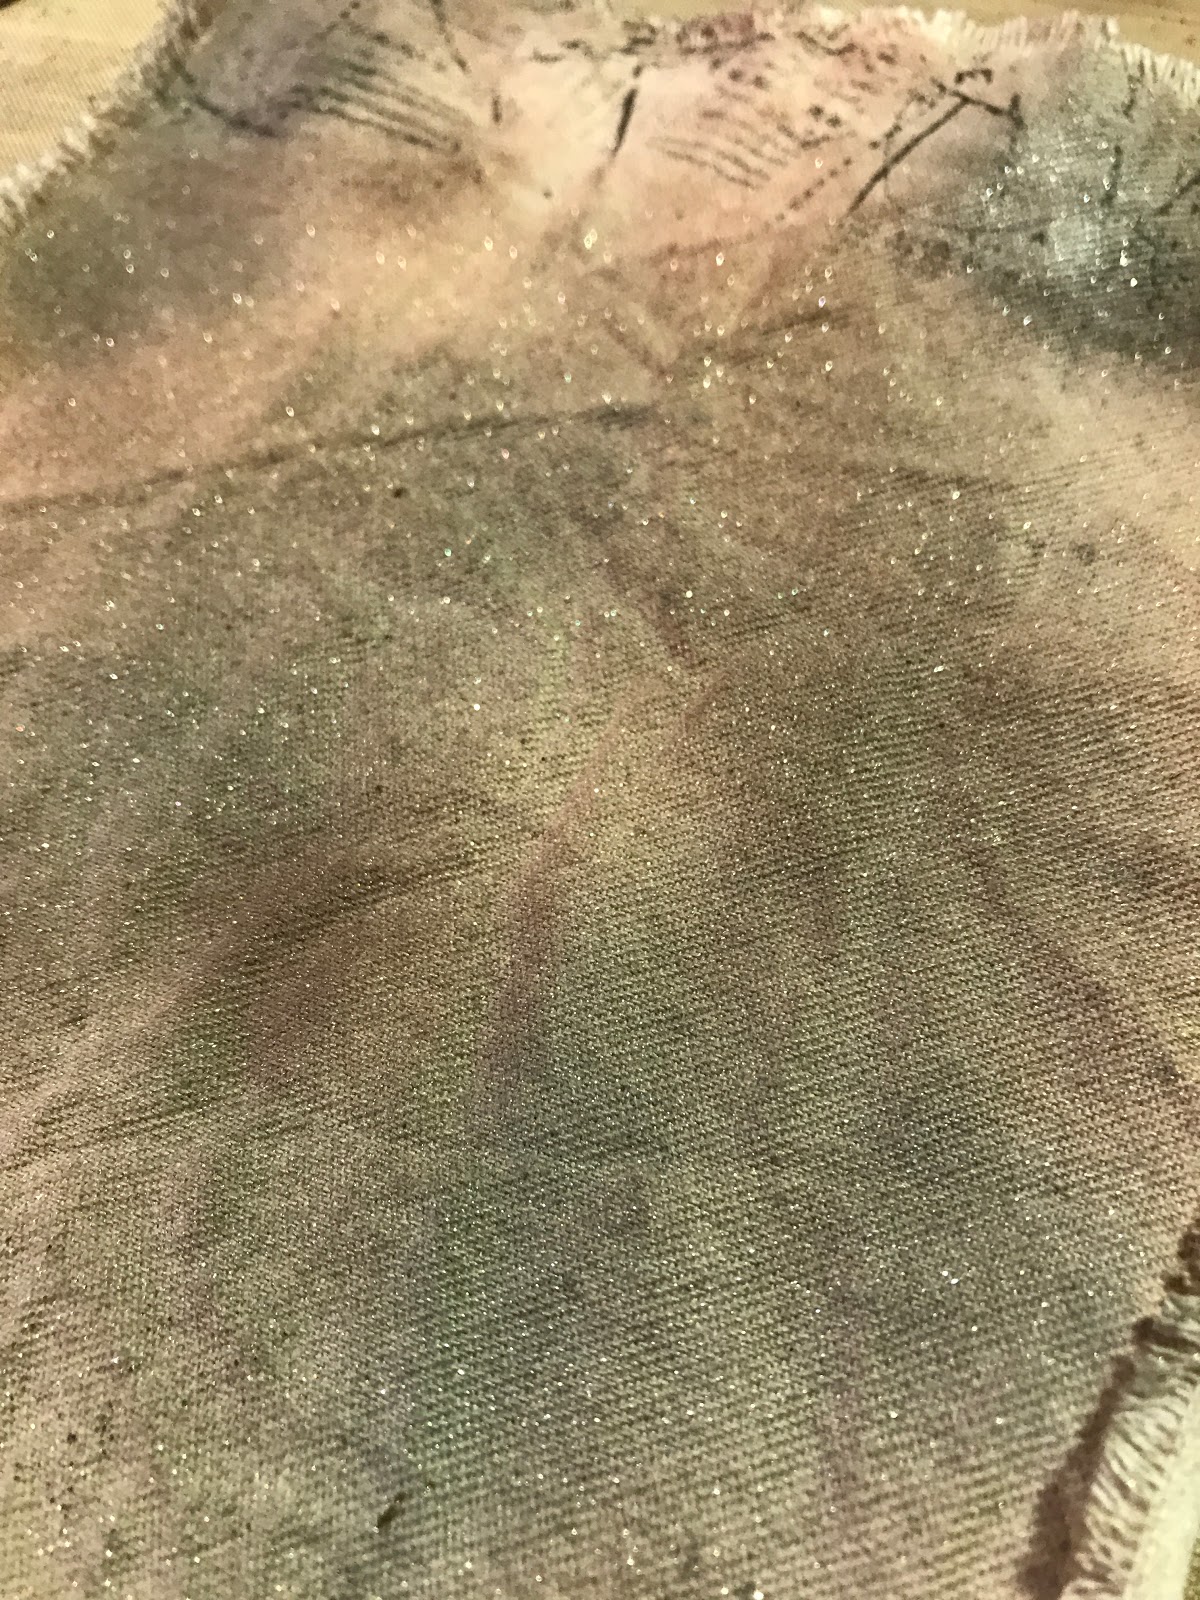
Cut your canvas down to a size that suits you and pull out strands to fray the edges.  Spray canvas with water and crumple.  Flatten canvas and spray on your Glimmer Mists(Crocheted Doily, Gilded Gold, and Stone). Dry the canvas with a heat tool. Drip on some Walnut Stain Distress Ink to make rust spots.


Add parchment rub ons just to the top and bottom area where the Architecture sticker won't cover.  Tear the edge of your architextures sticker and glue sticker onto canvas.


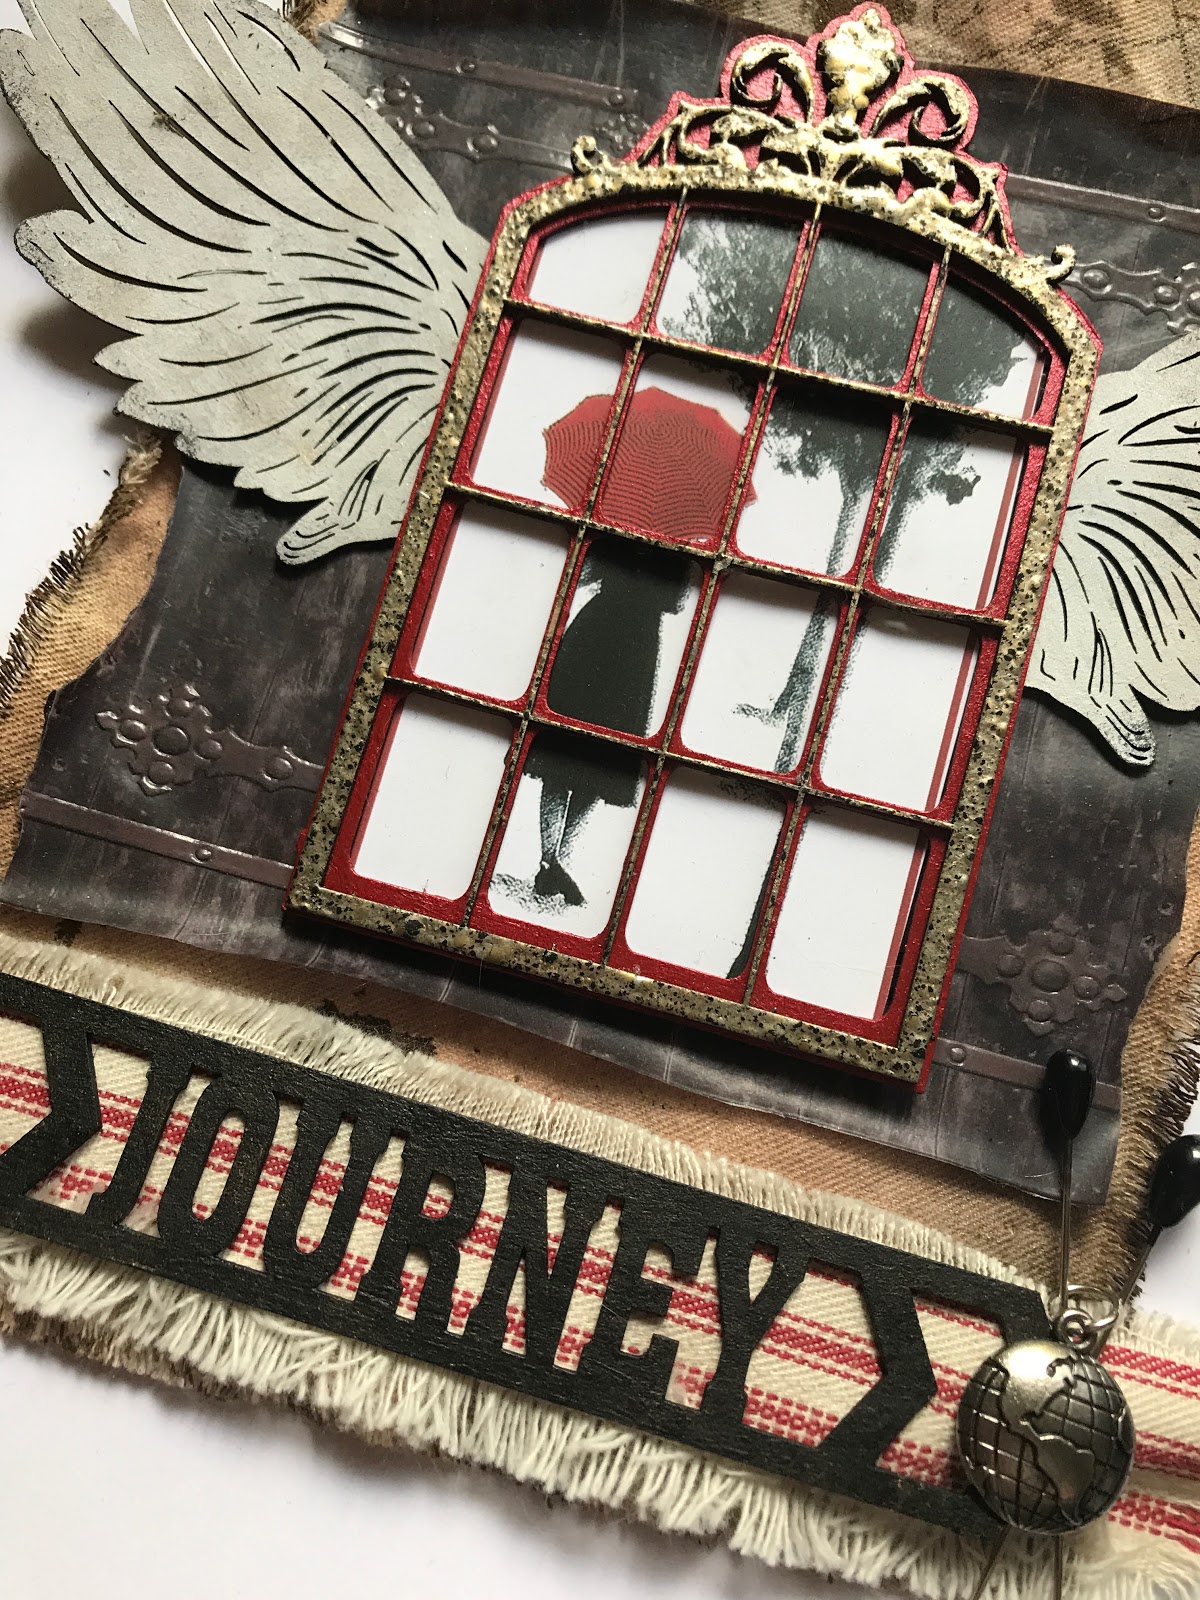
Paint the back of your Double Window Ornate  with a metallic red paint.  Cover the top with Charred Gold Embossing powder.

 When your paint is dry glue the two pieces together and then glue your focal image to the back of the window.

Paint the word Journey from the Chevron Words Travel Lg set using Black High Impact Paint. Stipple on High Impact Paint in Gold and then go back in and stipple on another layer of Black.  
Paint one set of the Wings using White Acrylic, Dina Wakley Paint in Elephant, and a touch of Black High Impact.
Attach wings to the back of the   Double Window Ornate and adhere to the background using several layers of foam tape to add dimension. 
Cut Ticking to size and glue down your word.  Attach the ticking to the background using staples.  
Add vintage hat pins and a charm to complete your piece.  

Happy Crafting!


Disclaimer Notice

I've received products/compensation as part of the Gypsy Soul Laser Cuts Design teams. My projects, however, are 100% my own.