Showing posts with label Dina Wakley. Show all posts

Monday, April 22, 2019

She has butterflies in her stomach


Hi Guys,
I am up on the Gypsy Soul Laser Cuts blog today.

I recently got this cool Art Doll Nicho(coming to the store soon) from GSL and immediately thought I needed to put butterflies in it.


The doll comes in three pieces. I started by cutting a dress out of a bright bold patterned paper and glued it to the main body piece. Then I was stumped.  I realized I don't do bright often.  So I tore that dress off and went with a more neutral paper (read grungy).  Once I did that she really started to come together.  The paper was splattered with Black Soot Distress Paint.  The edges were inked up using Distress Ink in Pumice Stone.  The gold is Dina Wakley Gilt(this is quickly becoming my go to gold color).

 The large butterflies on her dress are from the Tim Holtz French Flight stamp and die set.   I cut them using mop up paper I had on my desk.  The tiny key centers are from Ideaology.

  The large wings were die cut using the Fanciful Flight Die using the same mop up paper I used to cut the small butterflies.

Her arms are from the Santos Doll.  They are painted with Dina Wakley Gilt.  Then stamped using the Blank Page Muse Correspondence Script stamp in Black Soot Archival ink.   I used craft thread to make the joints and attached them to the body using a strong glue.

The second piece of the doll is the head.  It's really just a circle that you can use to support the head of your choice.  I had this art doll sheet from Art Chix Studios and used one of them.  I gave her a halo using the Medallion Impresslit.  Some teeny butterflies finish her halo.  I wanted to give her a little necklace since the doll head has a long neck.  I used some chain from the Tim Holtz Assemblage line to make her necklace and the pearl dangle. The butterfly is a another one from the French Flight set.

  The last piece is the little belly box that needs to be folded up.  The box is tiny.  Use a good strong glue to keep it together.  I painted the inside using Peeled Paint Distress Paint and added a flowery paper to the back.  The butterflies were cut using the Tim Holtz Butterfly Frenzy die.  I spritzed several colors of Distress Oxide ink on my gel press and used a piece of vintage book paper to pull my print.  Once the paper was dry I ran it through the Vagabond.  The butterflies were glued down to fill the cavity.  There are a couple teeny butterfly brads in her belly too.

The legs are vintage ceramic doll legs.  I poked holes into the belly box and ran craft thread though to keep them on the box.  They are tied on so they can dangle and move.
I hope you like her! 
Jess


Monday, April 15, 2019

Easter Greetings

Hi Everyone,
I'm up on the Gypsy Soul Laser Cuts blog today.

It's almost time for the Easter bunny to hop by and leave us some candy.  We always go to my sister's house for Easter dinner so I thought I would make her a little home decor piece.

I started by using the Build  a Layout Easter Set.  The frame was painted with Deco Art Crackle Paint and then I rubbed Antiquing Cream in the cracks.  I didn't like the sheen on the paint so a layer of Collage Medium made it matte.

The largest bunny was painted with Dina Wakley's Elephant and then sanded so it looks like it's been around for a bit.  The bow tie was painted with Sky Blue and sanded as well.
The small eggs were embossed using the Tim Holtz Impresslits and 3d Embossing folders(Medallion andimpresslit, Kaleidoscope and Botanical 3D folders).  Once they were dry I painted them using Dina Wakley Turquoise and Lemon.  The Lemon Egg was toned down a bit with a layer of ELephant Paint.  The third egg was painted using Victorian Velvet Distress Paint.  Each of the eggs were sanded to reveal the raw chipboard and a layer of Walnut Stain Distress Ink finished them. 


The nest is from the For the Birds set.  The base is painted with Dina Wakley Gilt and the top is painted with Distress Vintage Photo Paint.  I couldn't see much of the gold peeping through as I wanted so I added a tiny bit of gold  foil to the top layer of the nest.   

I measured how how the frame sat on one of the Super X tags and decided to bend the bottom three inches of the tag to create a base.   If you score the chipboard you can gently bend the tag until it makes a 90 degree angle.

 I covered a Super X tag with a patterned paper. Then splattered on Black Soot Distress Paint and Dina Wakley Gilt.  Behind the fame there is a piece of Tim Holtz's Worn wallpaper. The frame and wallpaper were glued directly to the tag base.  The bunny and eggs were glued down next.  The nest was attached using foam tape since the bunny and eggs were rather thick and I didn't want the nest to bend.   Distress Crayon in Hickory smoke added a grungy halo around the bunny.
Moss was glued to the entire base and then the two bunnies that are part of the banner from the Build  a Layout Easter Set. were added.  They were painted and sanded the same way as the large bunny.  Vintage flowers and some old plastic craft eggs were added to complete the base.
A tiny bouquet of vintage flowers were added to the top of the tag.

I hope you have a very Happy Easter!
Jess


Simon Says Stamp Beautiful Blossoms Challenge

Friday, February 15, 2019

Not qualified

Hi Everyone,
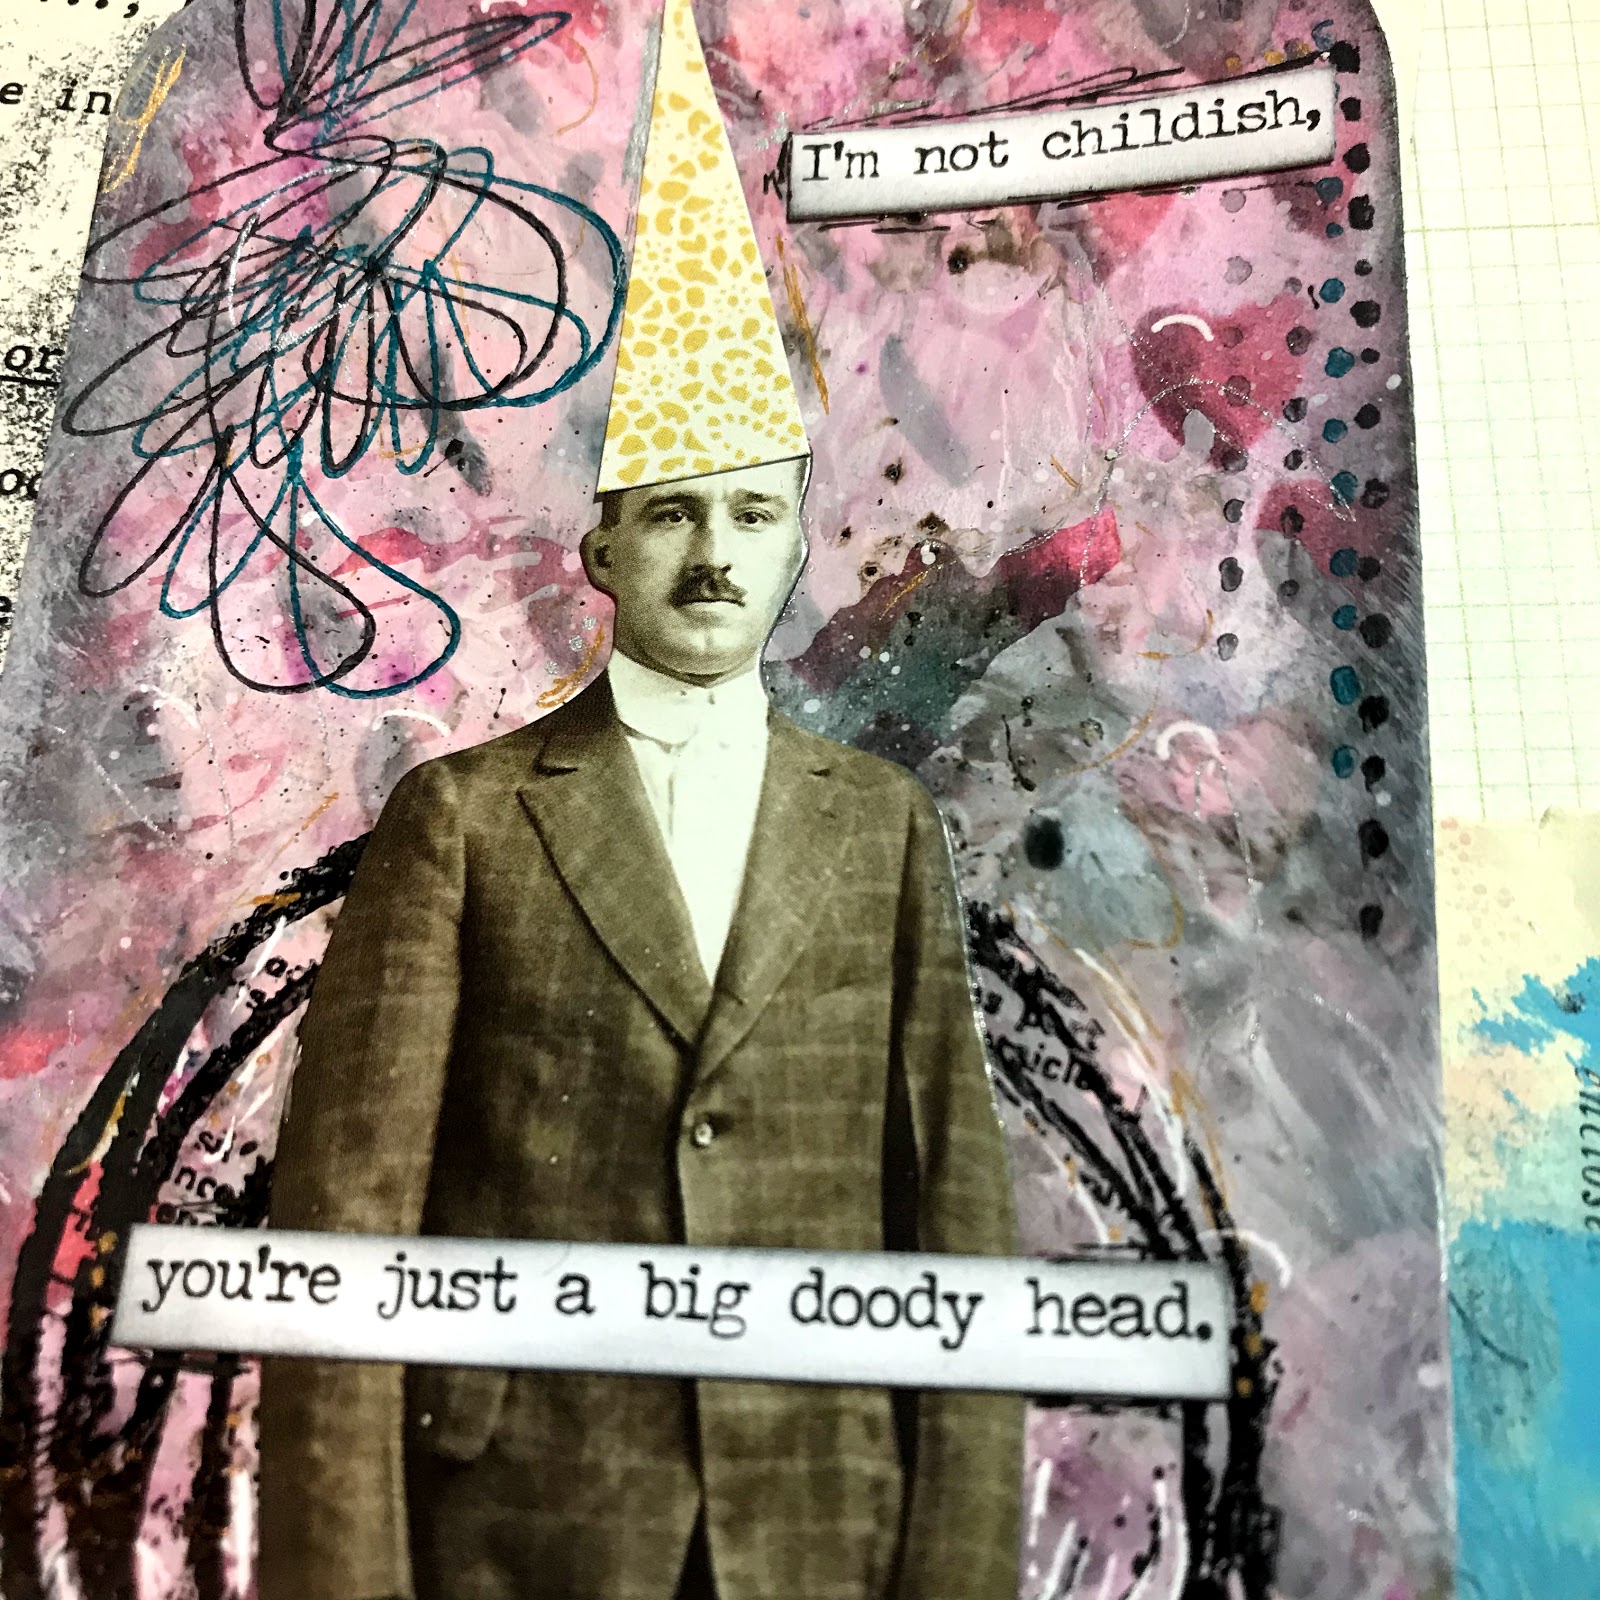
I haven't really taken much time to make projects just for me lately.  I took a day and decided to do just that.  While at Creativation I took a class with ScrapCosy that was hosted by PaperArtsy.  We got to play with Infusions.  They are similar to Magenta's Nuance Powders or Brushos, but they have walnut crystals in them so they make really cool effects.  When I got home I pulled out my Nuance Powders and the couple Infusions I got during class to play(I have since ordered more).  I wound up making a trio of tags using this paper doll.  
For this first tag I put white paint on my craft sheet and added some powder to the paint.  Just a teny shake of the bottle.  Then I spritzed with water and watched the color bloom.  I plopped my tag into the paint and lifted.  I repeated until my tag was covered.  Once it was dry I used a Tim Holtz Stencil to add some hearts to the background using Picked Raspberry Distress Ink.  I added a shadow by using a Wendy Vecchi mini detailing tool and Black Soot Distress Ink.  A white gel pen added an extra pop to some of the hearts.  
I used the new Tim Holtz Mini Media Marks(CMS364) to add some detail around the edge of the tag.  To stamp them I used a new Tsukineko StazOn Pigment Pad.  I am in love with the super bold colors.  The circle behind the doll is from the Dina Wakley Weird is Good Stamp set.  I glued him down and added a party hat.  The final touch was the snarky sentiment.  
The second tag was made in the same basic manner for the background.  I did add more nuance powders to my glass mat and just spritz with water to get the black/gray splatters.  I used the same stamp set from Tim Holtz and the tsukineko ink.  
This dude has seen some things.  He was actually just hanging out on my desk and was a victim of over splatter from several previous projects.  I colored his jacket using the tsukineko ink and a qtip.  It left him with a super bold jacket and it would not rub off at all.  I cut a slit in the doll and added a teeny pocket square made from vintage seam binding.  using the Tim Holtz tiny attacher I added a bit more of the seam binding to the top of the tag.  
I love the snarky sentiment this guy got.  I think it works perfectly for this paint splattered gentleman.
The final gentleman has found himself in a fine mess.  This tag used leftover mess from the Nuance and Infusions.  I just ran my tag through and left it to dry.  I added color using Distress Inks in Picked Raspberry, Cracked Pistachio, Hickory Smoke, and Black Soot.  I used a new stamp set from Seth Apter and Paper Artsy for the circles.   The cross hatching and arrows are the Tim Holtz set mentioned above.  
I used the Tim Holtz Craft Thread to add detail by just hand stitching randomly on the tag.  I colored his shirt using Cracked Pistachio Oxide ink.  It kind of looks like he's sporting a turtleneck.  You can see the detail I added with gel pens here too.  Each tag has scribbles of white, black, gold, and silver.

I hope you like my crazy mess dudes.  Have you ever played with the Infusions? Do you have an favorite techniques?   

Jess


Sunday, November 19, 2017

My unsung hero

Hi Everyone, 
I have am up on the Emerald Creek Dare Blog today and our current dare is Unsung Heroes.  My mum is my unsung hero.  She works so hard and always has time for everyone and everything else.  She is the one that instilled the love of creating in me.  I remember being 8 or 9 and doing craft fairs with her selling my little lace and bead ornaments.  She's my biggest cheerleader and supporter, so I wanted to make her a little something. She is a reader and a sewer, so I came up with this oversized bookmark. 
I started with a large heavy weight chipboard tag from Gypsy Soul Laser Cuts and painted it with a very thin layer of White Acrylic paint.  
The I added my stamps using my Tim Holtz stamping platform. This is the back.
This is the front. The butterfly has a layer of Fractured Ice Embossing powder over the Black Soot Archival ink and the sentiment(from the Fallen Blossom set) has Onyx Frost embossing powder for shimmer.  

Once I layered on all of my stamps I colored the images on the front using Distress Crayons and Dina Wakley scribble sticks.  

I added the button brads and made the thread using Oil Rubbed Bronze powder right over a line drawn with a pen.  
The top of the tag was embellished with seam binding, twine, and the Handmade charm. 

Here you can really see the Fractured Ice over the black.  I added scissors to the body of the butterfly. 

The back was colored using Magenta's Nuance Powders and the entire piece was edged with charred gold.  
Here is the finished piece. 
Who is your unsung hero? Be sure to enter the dare and you can win money to the store!
Jess


Items from Emerald Creek:

Sunday, June 12, 2016

Summer of Creative Chemistry Week 2

This week I made two tags.  The first tag uses the stamping with stains technique.

The second tag uses the marbled stains technique, watercoloring with markers, stamping with markers, and a bit of layered misting.

There's still plenty of time to sign up! Even if you've been using Tim Holtz products for years it is well worth the price.

Friday, April 15, 2016

A flashy upgrade

I love the bright and quirky projects that Andrea Ockey Parr creates.  She made some altered flashcards a while back and I was inspired to try it for myself.  It was so fun mixing ink, paint, stamps, and more.  I am not a huge math fan.  These cards made me enjoy math just a tad more.


I'd like to submit these to:

Happy Crafting!
Jess


Friday, February 19, 2016

February Tim Tag

I feel like I have been missing from here for a while now.  I changed jobs back in September.  I had been with my last company for 15 years and while leaving was a good choice, I still felt like a was in mourning.  I wasn't happy for a long time and needed to change.  I stepped into a new job and had to learn it very quickly since the holidays were fast approaching. During this time I was also juggling three different design teams.  It was all too much.  While I did enjoy a more relaxed holiday season and more importantly more time with my family, I have also decided in addition to changing jobs that I wanted to take a break from the design teams I was on.  I love working with the teams, but I wanted to just create for a bit with no pressure and no deadlines.  
So, I hope to get back to posting on a more regular basis and entering challenges too.  After all of that babbling here is my Tim tag for the month!
Thanks for letting me babble and I hope you enjoy my take on the tag.  
Jess

Tuesday, November 10, 2015

Notecards

The art of writing and sending mail is slowly coming back in style.  I think that for many of us crafters the idea of making a card has never really gone away, but perhaps you only make them for special occasions like a birthday or holiday.  Today on Unruly PaperArts I show you how to make a set of cards using a very easy formula.
Here's a sneak peek of one of the cards.

I hope you stop by to take a look!
What have you been crafting?
Jess

Wednesday, August 19, 2015

Something wicked this way comes

Even though it's been 117 degrees outside I have been creating a wicked spooky batch of crafts!
My Tim tag for the month took a witchy turn.


I don't have any of the word die cuts, so I used some of my mini movers and shapers.  I just adore this vintage witch image.  
Keep your eyes open- some more creepy bits will be popping up soon.  I have been playing with the Undertaker stamp set!
What have you been crafting?
Jess


Sunday, August 16, 2015

Be Brave art journal page

I have an art journal page for you to check out on the Robin's Nest blog today.  The project is perfect for using up scraps. I hope you pop by to take a look.

Jess


Disclaimer Notice

I've received products/compensation as part of the Gypsy Soul Laser Cuts Design teams. My projects, however, are 100% my own.