
I have the cutest little sleigh ornament for you today.

I started with my slight ornament from Gypsy Soul Laser cuts.

Paint all of the solid pieces using red acrylic paint.

Emboss the fancy edge pieces using Charred Gold embossing powder.

Cover the solid slight pieces in Fractured Ice embossing powder and then glue on the fancy gold parts. The sleigh has slots and tabs, making it easy to assemble. I always assemble my pieces together before I start any project so I can be sure I assemble them correctly when I am done embellishing them.

Another great tip- if you emboss a lot you need to invest in one of these Embossing Daubers. They are amazing!

Cut out a bunch of greenery using the Tim Holtz Holiday Greenery Die. Then cut out several pinecones using the tattered pinecone die.

Add grit paste and Soft Fallen Snow Embossing Powder or Distress Rock Candy Glitter to add snow to your pinecones.

There are several pieces from the Tim Holtz Christmas Ephemera pack that fit right in the front of the sleigh. You could also cut a piece of paper to fit and stamp out names if you would want to use these as place card holders. I chose the vintage pricing sign and aged it using Vintage Photo Distress Ink.

Color several Beaded Berry Stems. I used Candied Apple Distress Stain to color mine.
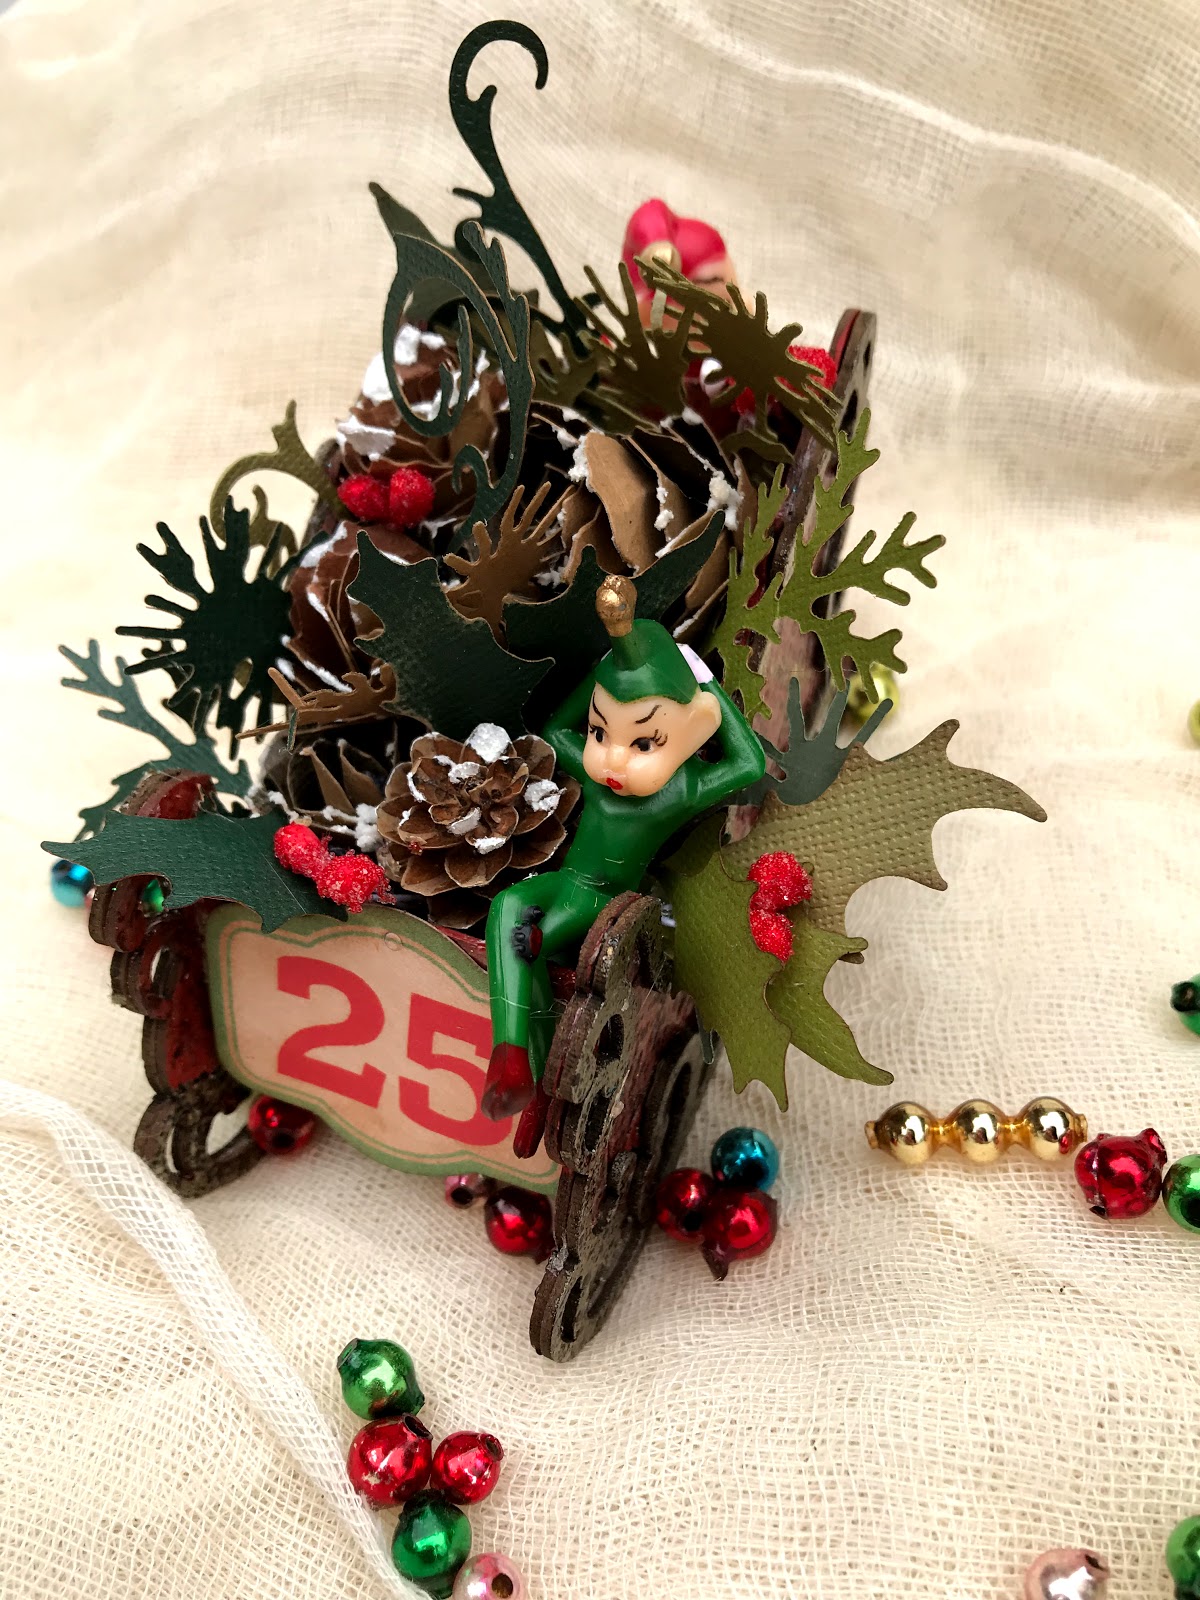
Once all of your greenery, pinecones, and berries are ready you fill the sleigh.

I added the vintage elves to the sleigh for my finishing touch.

Look at the sparkle from the Fractured Ice!

This little guy is hanging on tight!

This little guy is relaxing.

Here's a little aerial view so you can see how everything is just tucked in to fill the sleigh.
Happy Crafting!
What a super make Jess! Now I see you used two elves- how darling this is!!
ReplyDeleteJackie xo
This is sooooooo cute!!!!
ReplyDelete