Showing posts with label ephemera. Show all posts

Friday, March 15, 2019

The Social Butterfly

Hi Everyone,
Earlier this year I made the decision to step down from most of my design teams and not to apply to any new ones.  Don't get me wrong, I really enjoy being on teams and I have been on some amazing ones, but I missed making just to make.  I wanted more time to play with my stuff.  Today I pulled out a bunch of my new toys and just made.  I wanted to try a couple experiments, some worked and some didn't but I had the time to do it.  I think play makes you a better artist.  You learn how to use your tools in new and creative ways. 
So, here is the result of today's session.
I used one of the mini etcetera tags from Stampers Anonymous as my base.  I covered it with paper and then coated the whole thing with collage medium.  I sprayed on Worn Lipstick, Cracked Pistachio, and Vintage Photo Oxide sprays.  I dried it with the heat gun and then wiped it down.  I then added grit paste through a stencil and dried it.  Once it was dry I painted the flowers(Distress Paint in Victorian Velvet, Peeled Paint, Twisted Citron; and  Dina Wakley Paint in Blushing) and then spritzed them with my glitter duster.  Using a dry brush I added paint to the background(PaperArtsy Paint in Green Patina and Distress Paint in Tarnished Brass) and then splattered on Black Soot Distress Paint.

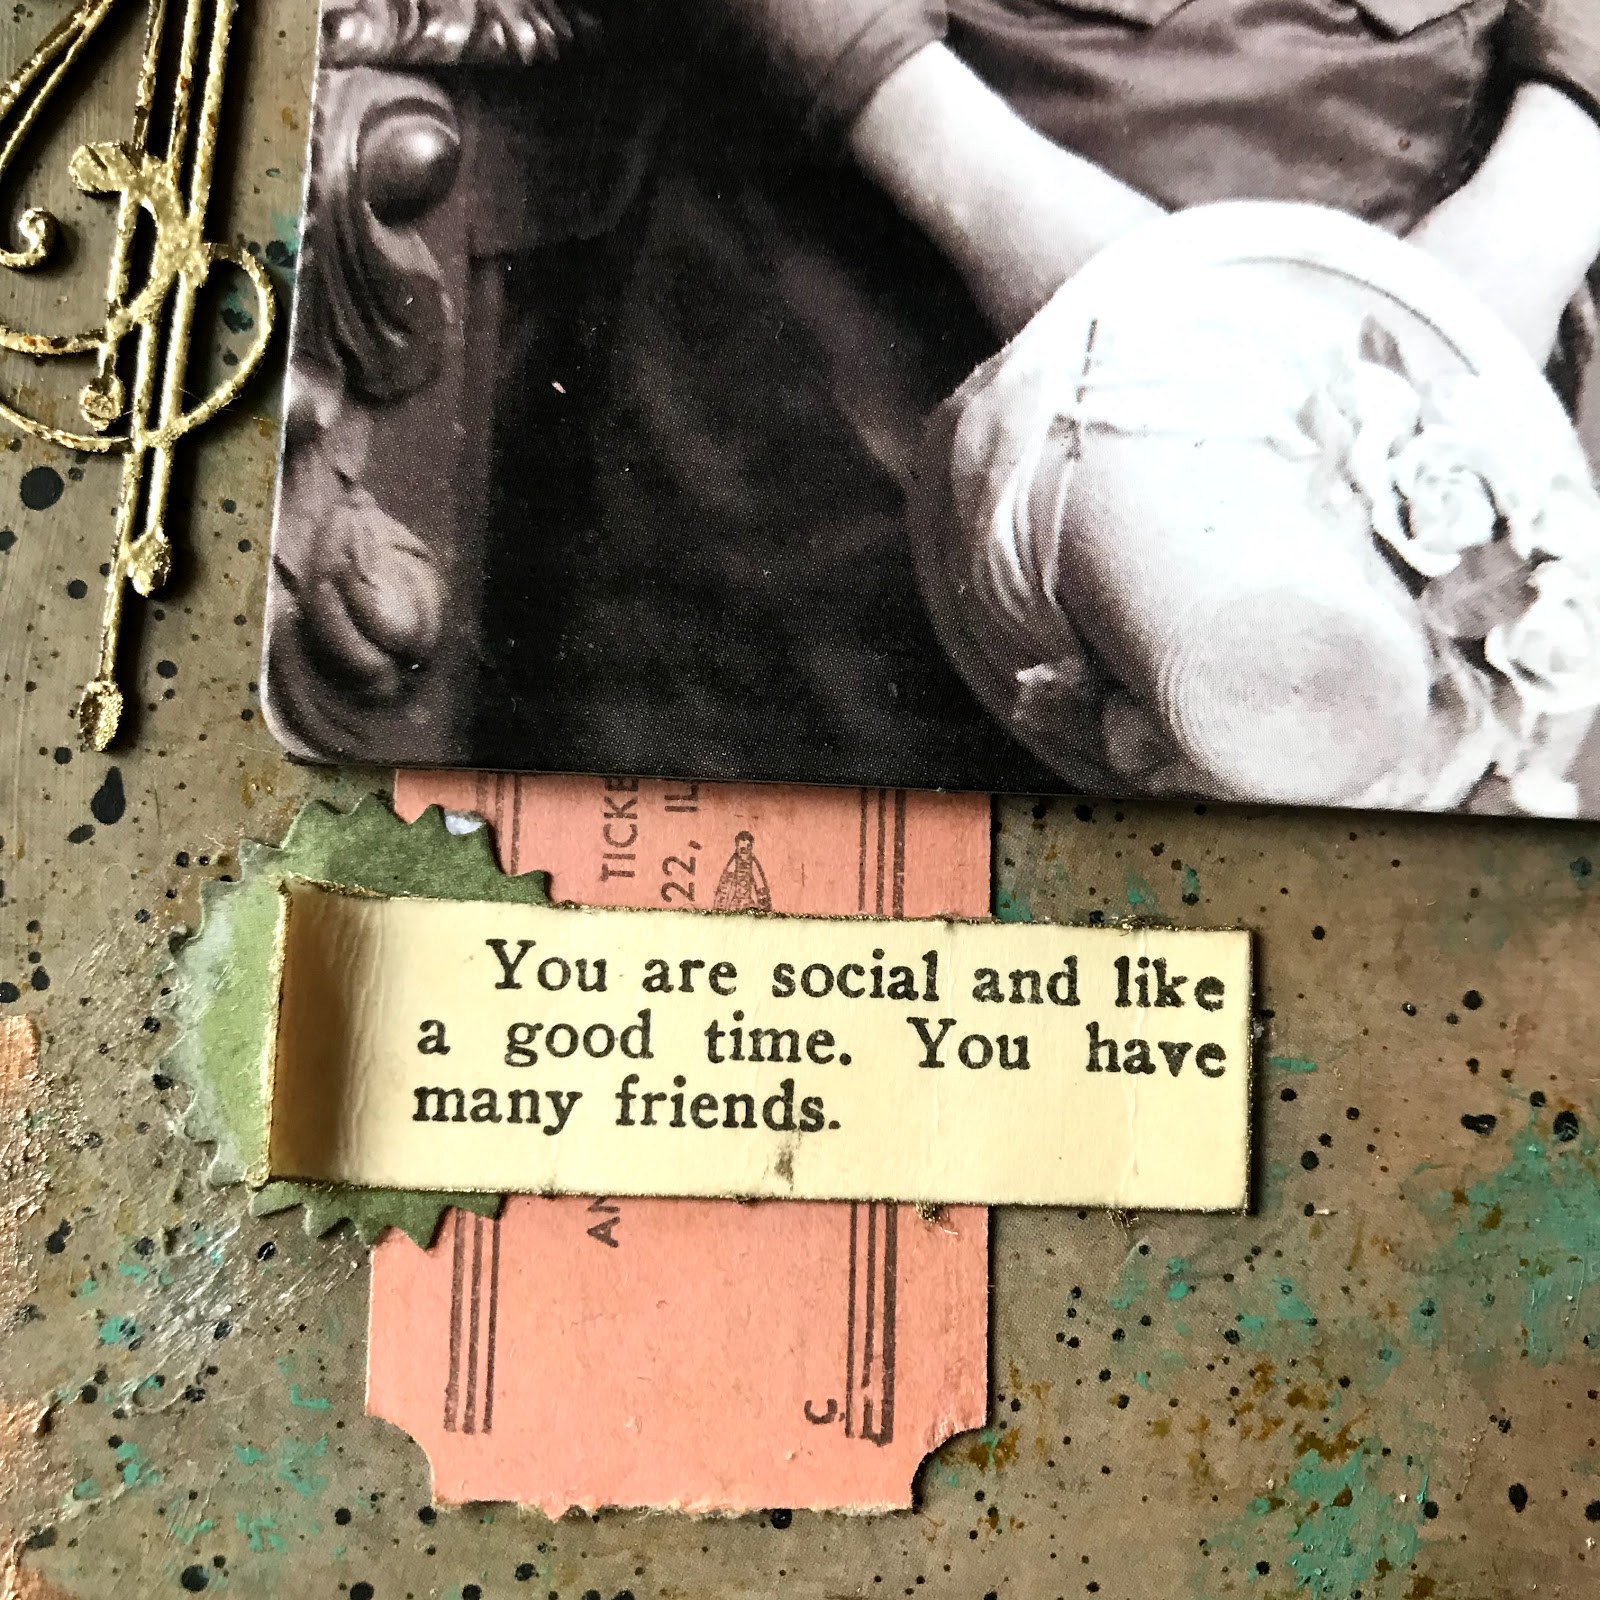
I pulled bits from my vintage ephemera drawers and picked pieces that matched the color scheme of the base.  The vintage fortune gave me the idea to create the social butterfly. 
I picked the Found Relative out of the new pack and started to alter her.  I took two pairs of the new acetate wings from Tim Holtz and coated the back of one with collage medium.  I smooshed Oxide ink in Victorian Velvet, Worn Lipstick, and Spun Sugar on my craft mat.  I ran the wings through and dried them.  I added a couple more layers like this.  Once I had the pink the way I liked it I sprayed the wings with Distress Spray Stain in Tea Dye and used an old Perfect Pearls mister to get the hint of sparkle. I coated a second pair of wings and then smoosh the two together.
I cut slits into the photo and slipped them in.  I glued them to the back of the photo.  I took some teeny vintage flowers and gave her a large bundle right where she had some flowers on in the photo.  I colored the background using a Distress Marker in Tumbled Glass.  I added a double layer of foam tape to the back of the photo so she is raised off the base.  
I embossed a Gypsy Soul Frame with gold embossing powder and slipped it behind the photo so you can just see the flourish.  
There ya go! The social butterfly is ready to go to her supper(did you see that on the vintage ticket) and mingle.  
Have a great weekend,
Jess


Try it on Tuesdays Inspired by a word challenge(the word I was inspired by was social)
  

Friday, October 20, 2017

Potions Book

Hi Everyone,
Are you ready to get your creep on? Pop over to the My Rusty Crown Blog to see how I made this postions book using Eileen Hull's Journal Die.


Here's a little sneak peek for you.
Jess


Monday, July 17, 2017

Madame Rose- Fortune Teller

Hi Guys,

I am posting for Gypsy Soul Laser Cuts today.  I was playing around with my stuff and when I popped this Altoid Inserts Fairy Tale Frame on the tin I thought it looked like an old fortune teller machine.  I can't tell you why, my mind just went there and I ran with it.
Here's what I started with when I was pulling bits and pieces together.  Isn't that old cigar box label awesome?! I was going to just make the Altoid tin, but when I came across the label in my ephemera I knew I needed to use it, so I added the large Tim Holtz Vignette box.

 I prepped the outside of the tin with a quick coat of gesso. I wanted my tin to be purple, 
but I didn't have a shimmery purple paint.  I just mixed these two together.  

 This will be the only time you see this color.  The tin is inside the vignette box and you have no clue it's purple.  Trust me.  It's purple.
The frame was painted with the Royal red and the bits of leftover purple were rubbed on there.  I went back and added more Distress paint in Tarnished Brass and Distress Oxide Ink in Vintage Photo later to age it.  


The Vine Corners got a quick coat of Emerald Creek embossing powder in Vintage Ivy. 

 As did the Art Deco Border.  I embossed both sides of these pieces using Charred Gold.  When you get this from the store it is one large piece.  I wanted to use it to top my vignette box so I cut it to size.
Here is the tin with the Insert popped in there and the embossed medallion on the front. The crystal ball is made out of a bauble I covered with alcohol ink and glued to a vintage bingo marker.   

 Vines were added to the large vignette box. I glued on some flowers I inked up to look dried and old. I didn't take photos of the vignette box when I painted it.  I used a dry brush and did a quick coat of Broken China Distress Paint.  I watered down Prima Art Alchemy Paint in Gold Rush for a bit of shimmer in the corners.  I ran Vintage Photo Oxide all around and then sprayed so it dripped.  The edges of the box are rough embossed with Charred Gold Emerald Creek Powder.
 The Art Deco Border was glued to the top.  I accidentally ripped the cigar label when I was inking it.  I rolled with it and think it adds to the overall look.
Here's a shot from the top.  I didn't want the pieces to match up at all.  I want the box to look a little broken down. 

The rest is detail work.  I rolled up vintage fortunes and placed them in the bottom so people can get their fortune. I used a different type of vintage fortune to make a border around the box.  The fortune border was grunged up with a bit of Vintage Photo.   
I hope you like her as much as I do.  I think she will make a perfect addition to my little sideshow I have been creating.  
Jess


Thursday, March 9, 2017

Beautiful Relic Stage using Distress Oxides

I started out this morning playing with my Distress Oxides and made this tag.

I wanted to put a Paper Doll on it, but the one I chose was too big.  My tag evolved into this.


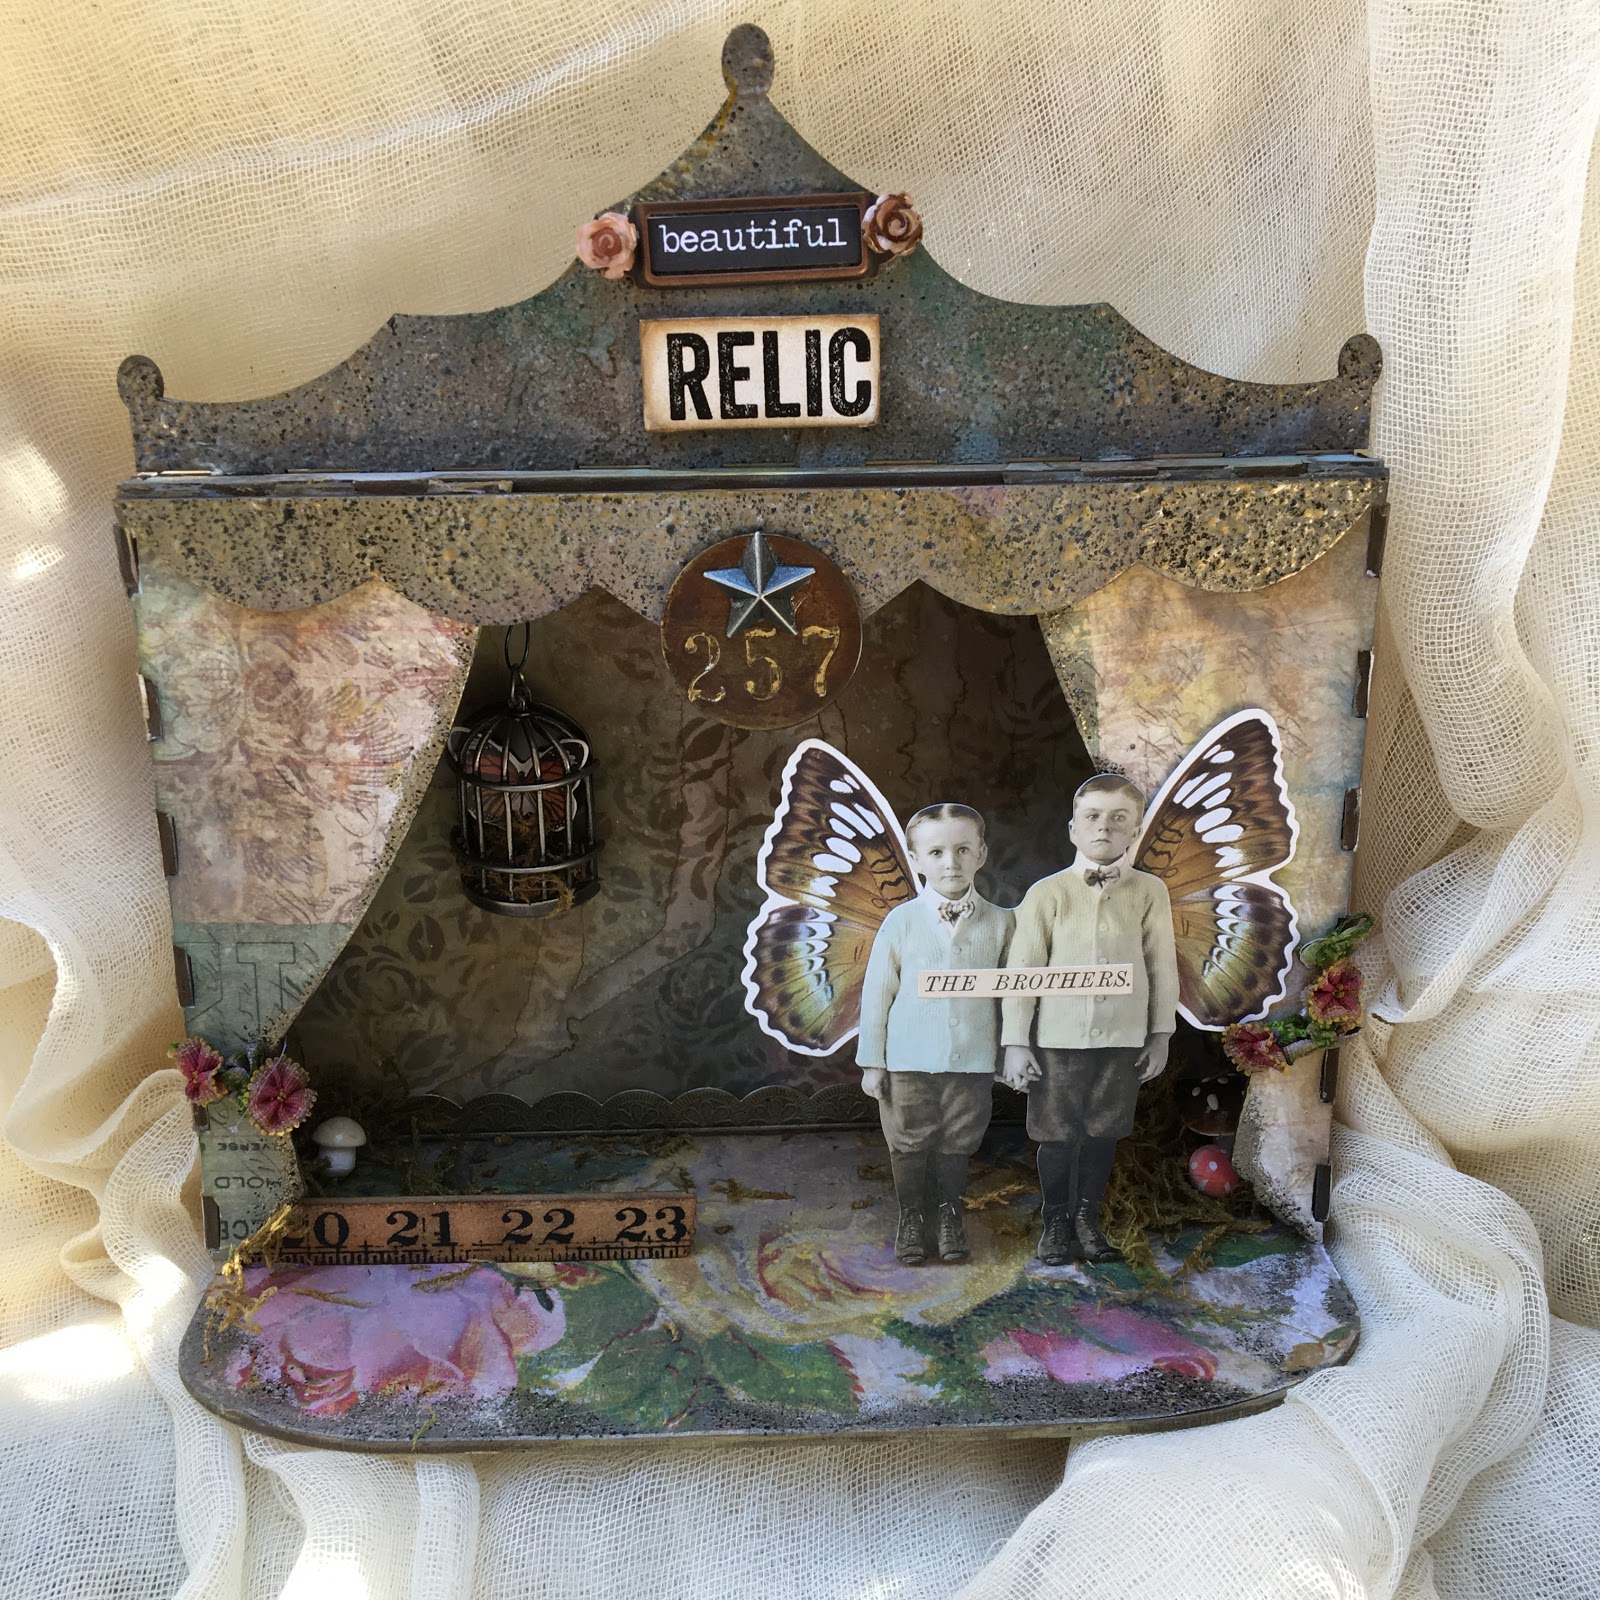
I used a stage from Gypsy Soul Laser cuts as my base.  I covered the base, the sides, and  the curtains with paper from Tim Holtz's Wallflower pad.  I used a piece of Prima paper for the back.
I used Distress Oxide ink in Vintage photo along the top and then sprayed it with water to make the runs.  The sides, curtains, and base received the same treatment but I used various colors of the Oxides. 
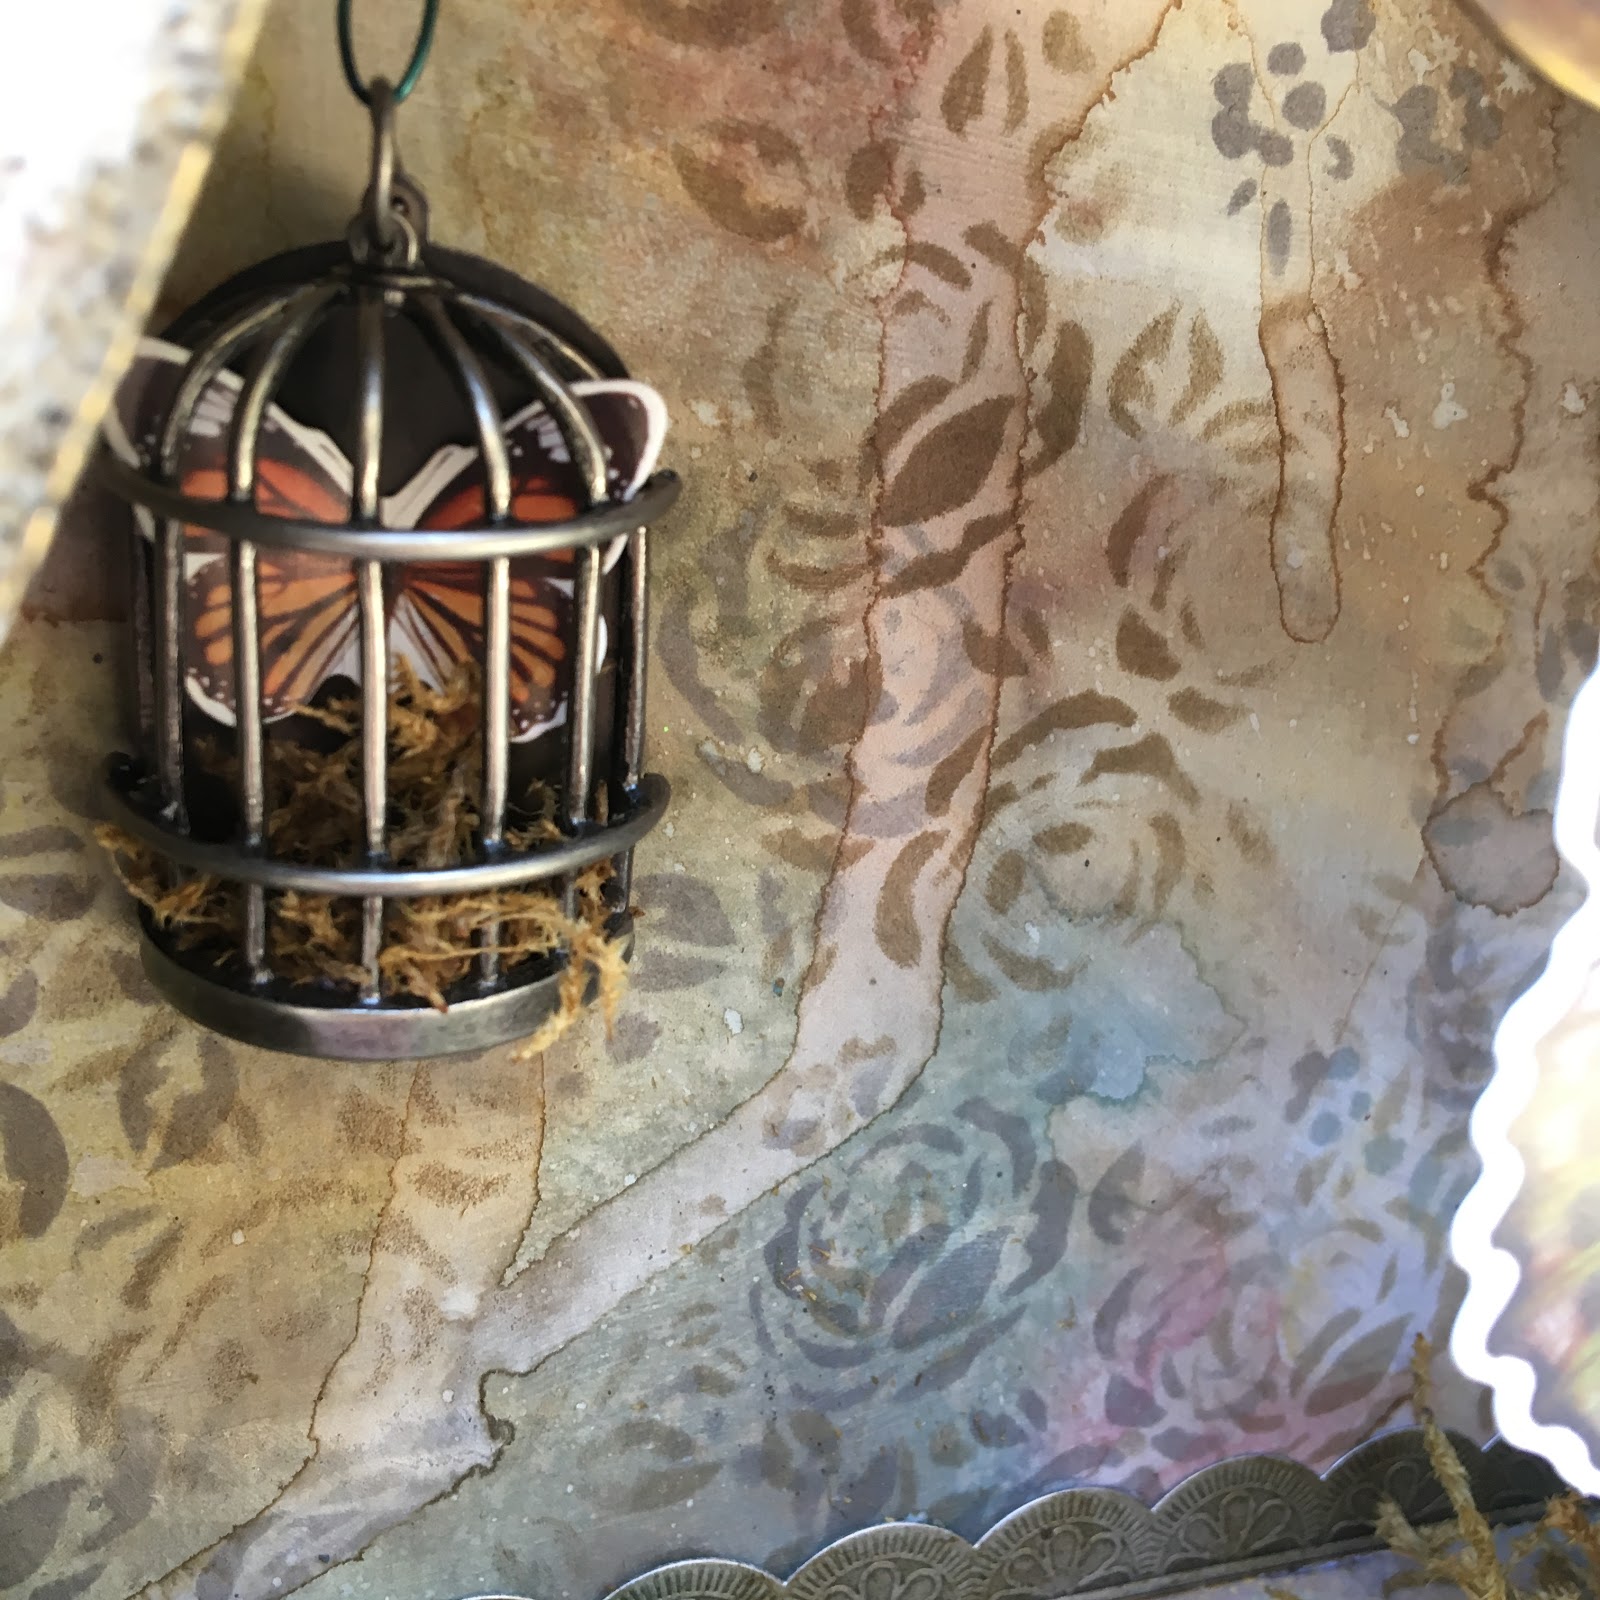
The back was coated with a very thin layer of gesso.  I then blended and sprayed the Oxide inks until I achieved a patina I liked.  Once it was all dry I used my mini stencil with Archival inks in Watering Can and Hydrangea for the flowers.  It looks like old water stained wallpaper.
The top and the bunting are embossing using Charred Gold powder.  I used oxide inks and crayons to get the different shades.  
I added some moss and mushrooms to add to the decayed look of the piece.  I am normally really particular about making sure the raw chipboard edges are painted, but I think it added to the look I was going for.  
I need to get back to playing with my inks now :)

A Vintage Journey- All Aboard
Country View Challenges- Inspired by Tim Holtz
 Simon Says Stamps Monday- Make your own Background
Creative Carte Blanche- Numbers, Numbers, Numbers


Thursday, October 6, 2016

Tim Tag for October

Here is my take for the October tag.  
The butterfly is layered up. I did the wings really bright on the bottom by just dripping on the alcohol ink.  For the top butterfly I used my applicator and then used black soot distress paint over it.   
Jess


Thursday, September 29, 2016

Trick or Treat

Hi Everyone, 
I'm back with more spooky delights.  I am not sure if I've talked too much about what I do for my pay the bills job.  Last year around this time I left the company I had been with for 15 years and moved to a new retail spot.  I am a store manager for a company that makes stuffed animals(yes, I am being intentionally vague here).  I try to keep it fun.  I know that most of the kids that work for me aren't going to be with me forever and for many it's a first job.  I loved my first job.   I want my team to look back on this job and remember it fondly.  This month I challenged them to take home one of the boxes we send our animals home in and transform it into something for Halloween.  We will use them to decorate our break room.  I never ask them to do anything I wouldn't do myself, so here is my take on the project. 
When I started this I had no idea where I wanted to take it, but once I used my Graphic 45 paper for the sides it really took off.  
Doesn't he look happy to see you? And he has a pumpkin for you too. 

There is a metal band that runs all around the top that I painted with a thin layer of black paint to grunge it up a bit.  The border is a Tim Holtz die and it makes a perfect little fence.  


When I glued it down I left gaps and bubbles so I could cram moss in there.  

I don't know if these little kids are frightened by the skeleton or the giant spider.  

Ok, here you can really see the labor of love on this project.  That roof!


I think I put down about a million tiles. 
I have more respect for roofers now.  
Until next time,
Jess


Friday, September 16, 2016

Halloween Cat Throwback


Hi Everyone, I created this card last year for Unruly Paperarts when I was on the design team before they ceased to exist.  You can still find a pretty active Unruly Community on Facebook.  This was one of my favorite projects I created for them!


I started by painting my cabinet card.  


I used distress paint and just painted it on randomly.  


Once it was dry I gave it a coat of black paint and sanded it to expose the color underneath.  On the edges I used some distress ink to give it the color you see in the finished project. 


I added in my background papers.  Now to move onto my focal point. 


This serious dude was fussy cut and then given a slight makeover. 


Now he looks just awesome.  When I stuck this head on here I just cracked up laughing. 


I added him to the cabinet card using foam tape.  The monocle and boutonniere give him that little extra something.  


I finished the card out by randomly adding rub ons.  I like when the rub ons are fragmented.  It adds to the Halloween vibe.  There's more Halloween paper ephemera, an old wooden bingo marker, and some metal bits to finish it out.  


I hope this kitty made you laugh as hard as I did when I finished him!
Thanks for stopping by today,

Wednesday, October 28, 2015

Daper Halloween Cat

This has to be one of my favorite projects I have made in a very long time! I have a full tutorial up on Unruly Paperarts today.


I just love that this super serious dude turned into a gangster cat from the 1940's!
This serious dude was fussy cut and then given a slight makeover. 


 I hope this kitty made you laugh as hard as I did when I finished him!

What have you been crafting?
Jess


Disclaimer Notice

I've received products/compensation as part of the Gypsy Soul Laser Cuts Design teams. My projects, however, are 100% my own.