
I have a fun post created for Blank Page Muse today.
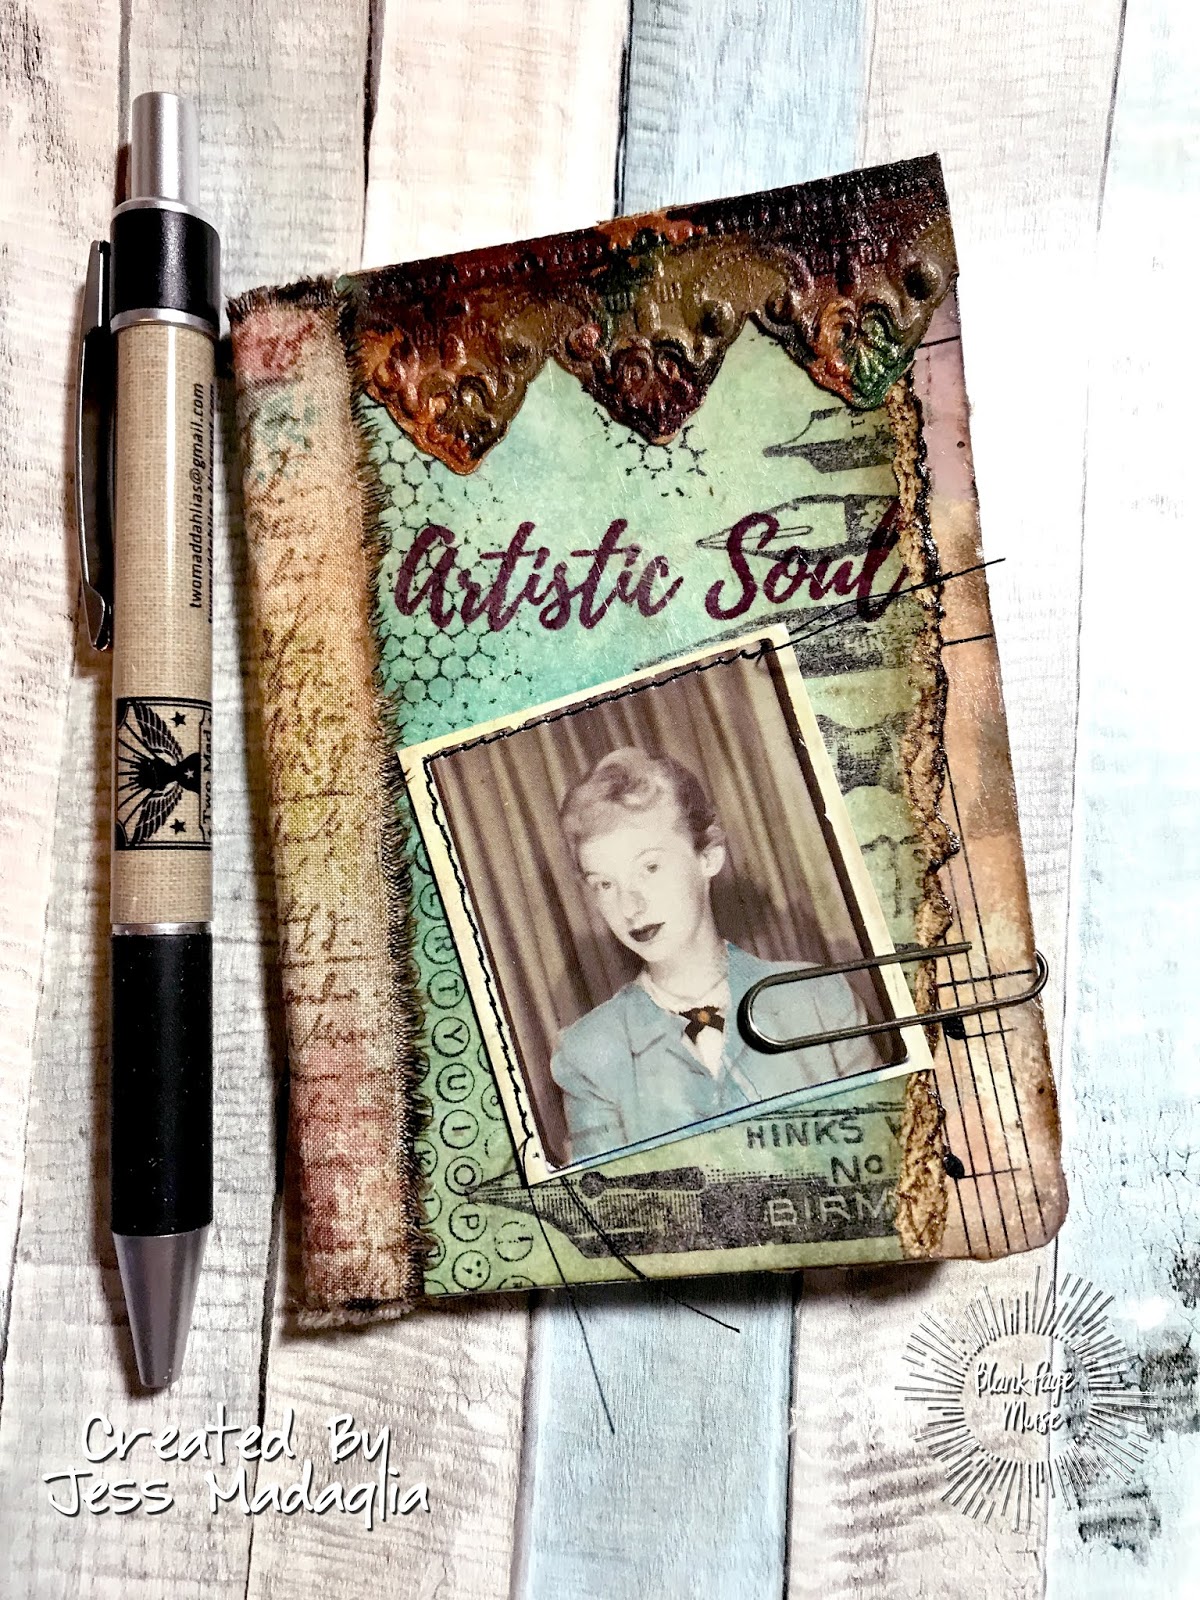
One of my favorite times of the year is back to school time. I love school supplies. Pens, pencils, notebooks, markers, oh my! Today I made made a mini altered composition notebook. These are great for little gifts and the perfect size to pop in your purse.

Here's a little step by step for you.


Cut a manila tag just smaller than the cover of your journal. Stamp the pens from the Correspondence Set, Sequin Waste, and the Typewriter Keyboard in Jet Black Archival ink. Don't worry about empty space because you will be covering it with your photo. Use various shades of blue Distress Ink to color your tag.

Stamp your sentiment from the Soulful Words Sentiments set. Use a different shade of Archival Ink to add interest. Rip the edge of the tag and color it using Gathered Twigs Distress Crayon.

Use a piece of vintage sheet music to cover the front and back of your composition book. I nk the sheet music using Pumice Stone and Walnut Stain Distress Inks. Add you tag so it is right up against the spine. Using the Tim Holtz 3d impresslits make your border and glue this on top of the book. To create the aged look I cut out the provincial impresslit out of metallic cardstock. Using several colors of alcohol ink I dripped them all over the cut piece. Once the ink was dry I used Ranger Inks Frosted Crystal embossing powder over the entire thing. This makes the piece look aged and so very cool.
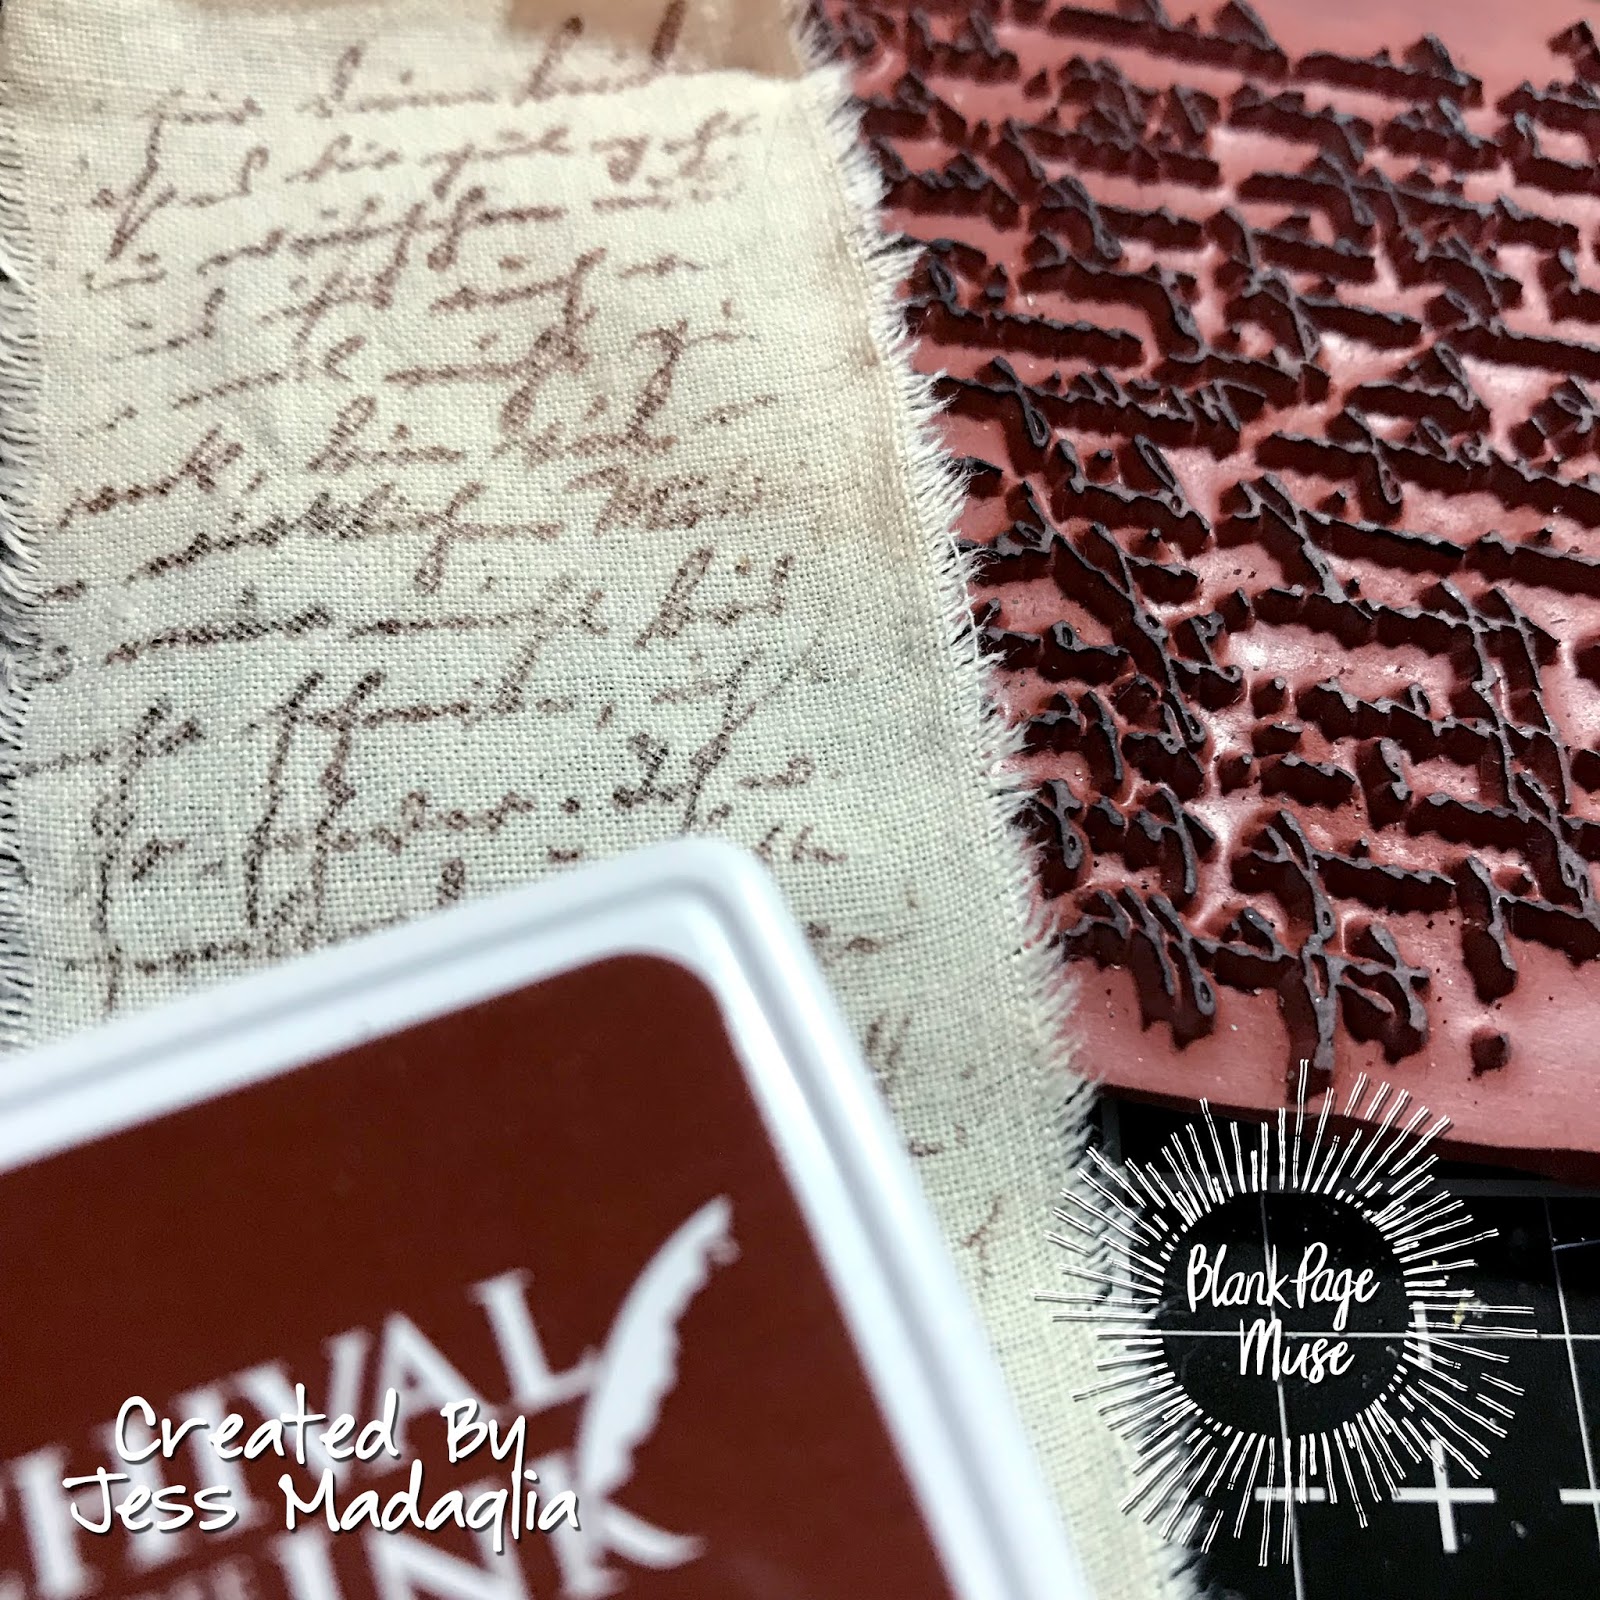
Using the script from the Correspondence Set stamp a piece of muslin using Archival Ink.

Spray the muslin with Distress Spray Stains. Dry with your heat tool. Glue the muslin to the spine of the notebook.
Adhere a photo booth photo that has been colored and stitched to the cover. Add a vintage paperclip for added visual interest.
Happy Creating!
Jess


