Showing posts with label Distress Oxides. Show all posts

Monday, November 25, 2019

Layered Christmas tags

Hey Everyone,
Wow! It's been a minute since I last blogged.  I've been a busy bee.  We went to DisneyWorld for 8 days.  I love Disney.  I feel totally relaxed when we are there, even when we walk 52 miles in 6 days.  Seriously, six days in the parks and we clocked 52 miles.  We are the crazy folks that are there for rope drop and don't leave until we can't keep ours eyes open.  
And then it's been work, work, work, and decorating the house for Christmas.
I did want to share these super fun tags I made for the Tim Holtz Stampers Anonymous Christmas release.    

 The stamps shown here are from the Seasonal Scribbles set. 
 The largest tags have been stenciled with various Tim stencils.

I did a quick tutorial for these over on my Instagram page and thought I would share it here too.
Start with three tags.  The largest is a #5.  
For the middle tag over the entire tag in Lucky Clover Distress Ink.  Spritz with water and a bit of Gold Heirloom Perfect Pearls.  Le the tag dry and using Pine Needles DO stamp the small heart from the Seasonal Scribbles Set.  Edge the tag using DI in Pine Needles.  Stamp the sentiment, also from the Seasonal Scribbles set in Black Soot Archival.  
Us the tall text stamp set to stamp "to" in the center of the tag.  You want to be sure this is not visible unless the smallest tag is lifted.  
Use the Tim Holtz Peppermint stencil to cover the largest tag.  Use embossing ink and then emboss using a shiny red powder.  Once the powder is cool paint a thin layer of white acrylic paint over the entire tag.  While the paint is still wet buff it and it will leave some of the red exposed.  
Use the tell text stamp set to stamp "from" using Black Soot archival.
Paint the smallest tag black and once the paint is dry stamp the brushstroke stamp in white. 
Stamp the holly from the Seasonal Scribbles set using Pine Needles DI and a second layer  of Pine Needles in DO.  Add red stickles to the berries. 
Layer your tags together and secure them using a ribbon dyed with Biscotti Perfect Pearls. 
These are so fun to make and you can come up with so many different layers and combinations.  
Have fun creating and have a Happy Thanksgiving,
Jess


Monday, May 20, 2019

The house that snark built

This is the house that snark built.  
It's a bittersweet day for me today.  After three years with the Gypsy Soul Laser Cuts team today will be my last post.  I have loved every second I have been on the team and promise I won't be gone forever.  So, for this post I decided to go out the way I came in- full of snark.  

This project was made with the House Oddities box.  This kit includes the box and all the little houses inside.  It's pretty amazing.  
I started with two sheets of watercolor paper and used Distress Oxide Sprays to color them.  The first sheet has Broken China, Wilted Violet, Pumice Stone, and Cracked Pistachio Oxides.  After the initial layer of Oxides I added some PaperArtsy Infusions in Rocky Road. I areas that were still exposed got hit with Distress Ink in the corresponding colors.  
The second sheet was made using Picked Raspberry, Peacock Feathers, and Squeezed Lemonade Oxide Sprays.  I added Infusions in Violeta and filled in the blanks with Distress Ink.
The houses are hinged together using plain white sports tape.  I cut a small piece and put it on the front of the house.  A second piece went on the back so there was no stick exposed tape.  I knew I wasn't going to make the pages too thick with embellishments.  If you want to recreate this house and know you will have chunky pages just make the hinges longer.  The hinges are painted with colors that correspond to the pages.  
I cut the watercolor paper to fit each house and then stamped up the backgrounds.  I used several of Tim Holtz Stampers Anonymous sets (CMS364, CMS341, CMS328,CMS302, CMS294,CMS261, CMS187, CMS172,CMS083, and CMS081) for this.  Some of the backgrounds were stamped using Archival ink in Hydrangea and the rest were stamped using Staz-on Pigment inks.  
Part of the stamping was done before the embellishments were added.  After the paperdolls, sentiments, and other bits were glued down I added a bit more stamping. 
Once all the stamping was done I went back in with various gel pens to add doodles and scribbles.  
So this is what the front row of houses looks like all stretched out.  
You can see I added bits to some of the pages.  The little crown, chain, party hats, and coin add just a bit of bulk but I took that into account when making the hinges. 
 Here are the back pages of the house.
 Now these could be the front.  It just depends on how you fold them up.
 I had so much fun picking out the paperdolls and the snarky sentiments for each.
The exterior is quite simple to put together. 
I painted the exterior black and the interior with Dina Wakley's Lime.  Once it was all dry I used Beacon 3 in 1 glue to stick it all together.  Don't glue the front to the box or you won't be able to get inside! I gave the exterior a spritz of gold ink spray just so it wasn't flat black.

 The interior was splattered with the same color paints I used to color the hinges in the book. You can see the little houses all fit right inside the box.  
You can hinge the door to the houses, so when you pull the door open all the houses come right out.  I decided to do mine a bit differently and I actually used Tim Holtz hinges to hinge the door to the box.  The door panels were covered using the same background paper that covers the houses inside. 
Here you can see the top of the box was stuck to the door using a layer of foam tape.  The door is hinged to the side of the box using the metal hinges.  I used an awl and then was able to use brads to attach the hinges.  Please pardon my hand in here, the wooden base I use to take my photos is a bit warped so sometimes projects want to fall over.  
The final touches were added by spraying the finials with Oxide sprays in Peacock Feathers and Cracked Pistachio.  They got splattered with the paint too.  The baseboard doll was edged with gold(and the entire backside is painted gold too).  He got his snarky sentiment and was glued to the box using super glue.  
I hope you enjoyed my project today.  I had so much fun making it! 
Happy Crafting,
Jess


Monday, February 4, 2019

You altered my heart

Hi Everyone,


I was totally inspired by a class Tim Holtz just taught at the recent Creativation show(and he was inspired by Paula Cheney).  I wanted to create something similar to what I had seen done, but put my own twist on it.


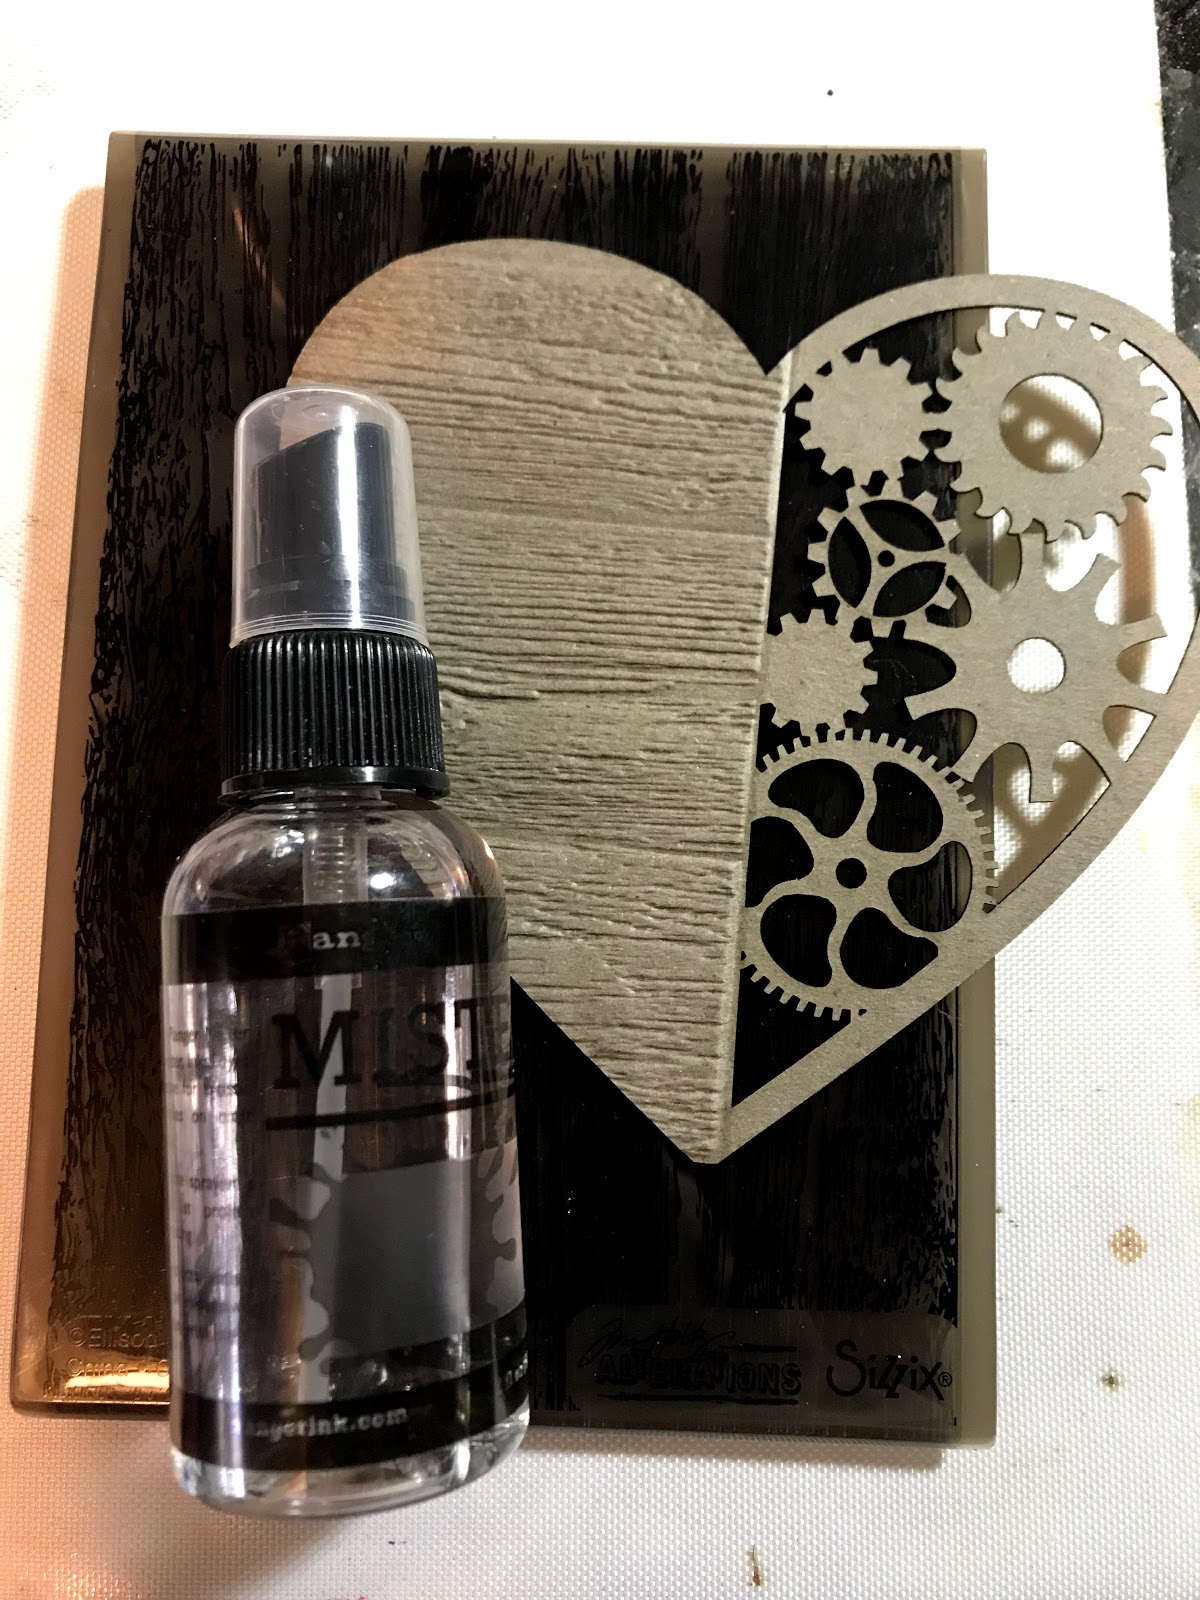
Start by running the solid half of your Steampunk heart through your die cutting machine using a 3d embossing folder.  Spritz the chipboard on both sides before using the embossing folder so the chipboard really gets nice texture.
Using collage medium adhere Floral college paper to the embossed half of the heart.  I did a thin layer on the heart and adhered the collage paper.  I applied another layer on top and really worked the paper in with my fingers so you could see the embossed texture.
Paint the gear side of the heart using Dina Wakley media paint in Umber.  Paint the gears using Dina Wakley Media paint(Gilt and Ancient) and Tim Holtz Distress Paint(Brushed Pewter).  Add metal gears on top of some of chipboard gears for dimension.  Add embossing powder and crackle texture paste randomly on the heart for even more visual interest.  When the crackle paste is dry rub in a bit of Gathered Twigs Distress Crayon.

Take one of your Extra Large Tagand cut about three inches off the bottom.  Cover the entire tag with patterned paper.  Add bits of ephemera and adhere them to your tag.  I used a mix of vintage and reproduction ephemera here.  I love to mix old and new.  The entire tag gets a coat of collage medium. 
Once the collage medium is dry smoosh Distress Oxide inks onto your craft sheet and tap the tag into the ink.  The ink will stay beaded up on the craft sheet and you get neat splotches of color.  When you have a bit of color on your tag spritz with water and allow to air dry. Do this step several times until you achieve the color you like.
   Use the mini gear stencil from Tim Holtz to add a bit of grit paste to the top corner.  

Then add random blobs of grit past on the sides of the tag.  Once the paste is dry, use the same Oxide inks to color the grit paste.  Add Distress Crayon in Black Soot to the edges of the tag.  Splatter the tag with white, black, and gold paint.  
Using foam tape adhere the heart of the tag.  Give the paper doll a layer of clear gesso and color in his suit using Distress Marker in Mowed Lawn. Add a resin flower to his suit.  Glue the ruler to the heart and using foam tape adhere the man so he appears to be sitting on the ruler.  
Use Chit chat stickers to create your sentiment.  
Color in the word token using Distress Crayon in Picket Fence and add a jump ring.  Take an old paint brush and add a jump ring to the top. Add the rings to a vintage laundry pin and stick the pin through the fabric at the top of the tag.  The fabric at the top of the tag is actually a piece of my clean up rag I use in the studio.  I just cut a piece off because I really liked the colors on it.  To complete my tag I took some gel pens and made marks all over the piece.


Happy Monday
Jess


Monday, August 20, 2018

Creepy Critter

Hi Everyone,
 I'm up on the Gypsy Soul Laser Cuts blog today. 

 I promise next month I will get back to doing step by step photos for you.  Work has been a bear lately and I have hardly had any time to create.  I wanted to get a bit spooky though.  It's cooling off around here-it's been under 100 degrees at least twice!

To begin cover your Reliquary- Arch Top with a thin layer of gesso.  Then layer on your inks.  It is key to allow time for each layer to dry naturally to achieve the faux marble look. Using your blending foam, apply a layer of Pumice Stone Distress Ink and then add a bit of Espresso Distress Ink.  Spritz these layers with water.  Once they are dry add Distress Oxides in Iced Spruce, Hickory Smoke, and Black Soot.  These are applied one at a time and spritzed with water.  I switched back and forth between using the blending foam and just stamping thep pad directly onto the arch.  Using the pad I was able to get some veins in the marble.
Add your paperdoll and bunny head charm.  Set the piece aside to dry.

Cover the Extra Large Tag with a piece of patterned paper.  Use Distress Oxides in Hickory Smoke and Forest Moss to get the mottled effect.  Edge the tag using Walnut Stain Distress Ink.  Socre the bottom of the tag to create a bend. 
Use the large piece from the Layered Flourish Aria.  Paint the back piece using Tarnished Brass Distress Paint.  Paint the front piece using Sterling Distress Paint.  When the paint is dry pounce on Alcohol ink in Patina, Mushroom, and Latte.  Glue the two pieces together and adhere to the top of the tag.  
Using the same colors of Alcohol INk color your gravemaker and attach to the arch using brads.  Glue the arch to the bottom of the tag.  
Cover the base of the tag with moss and add some skulls and bones.  Paint the Meadow Flowers using Forest Moss DIstress Paint.  Stipple on the same alcohol ink color you used before.  Cut the flowers in half and adhere them to the back of the Reliquary- Arch Top.  

Your creepy masterpiece is complete!
I hope you enjoyed this creepy tutorial.


Disclaimer Notice

I've received products/compensation as part of the Gypsy Soul Laser Cuts Design teams. My projects, however, are 100% my own.