Showing posts with label grit paste. Show all posts

Monday, February 4, 2019

You altered my heart

Hi Everyone,


I was totally inspired by a class Tim Holtz just taught at the recent Creativation show(and he was inspired by Paula Cheney).  I wanted to create something similar to what I had seen done, but put my own twist on it.


Start by running the solid half of your Steampunk heart through your die cutting machine using a 3d embossing folder.  Spritz the chipboard on both sides before using the embossing folder so the chipboard really gets nice texture.
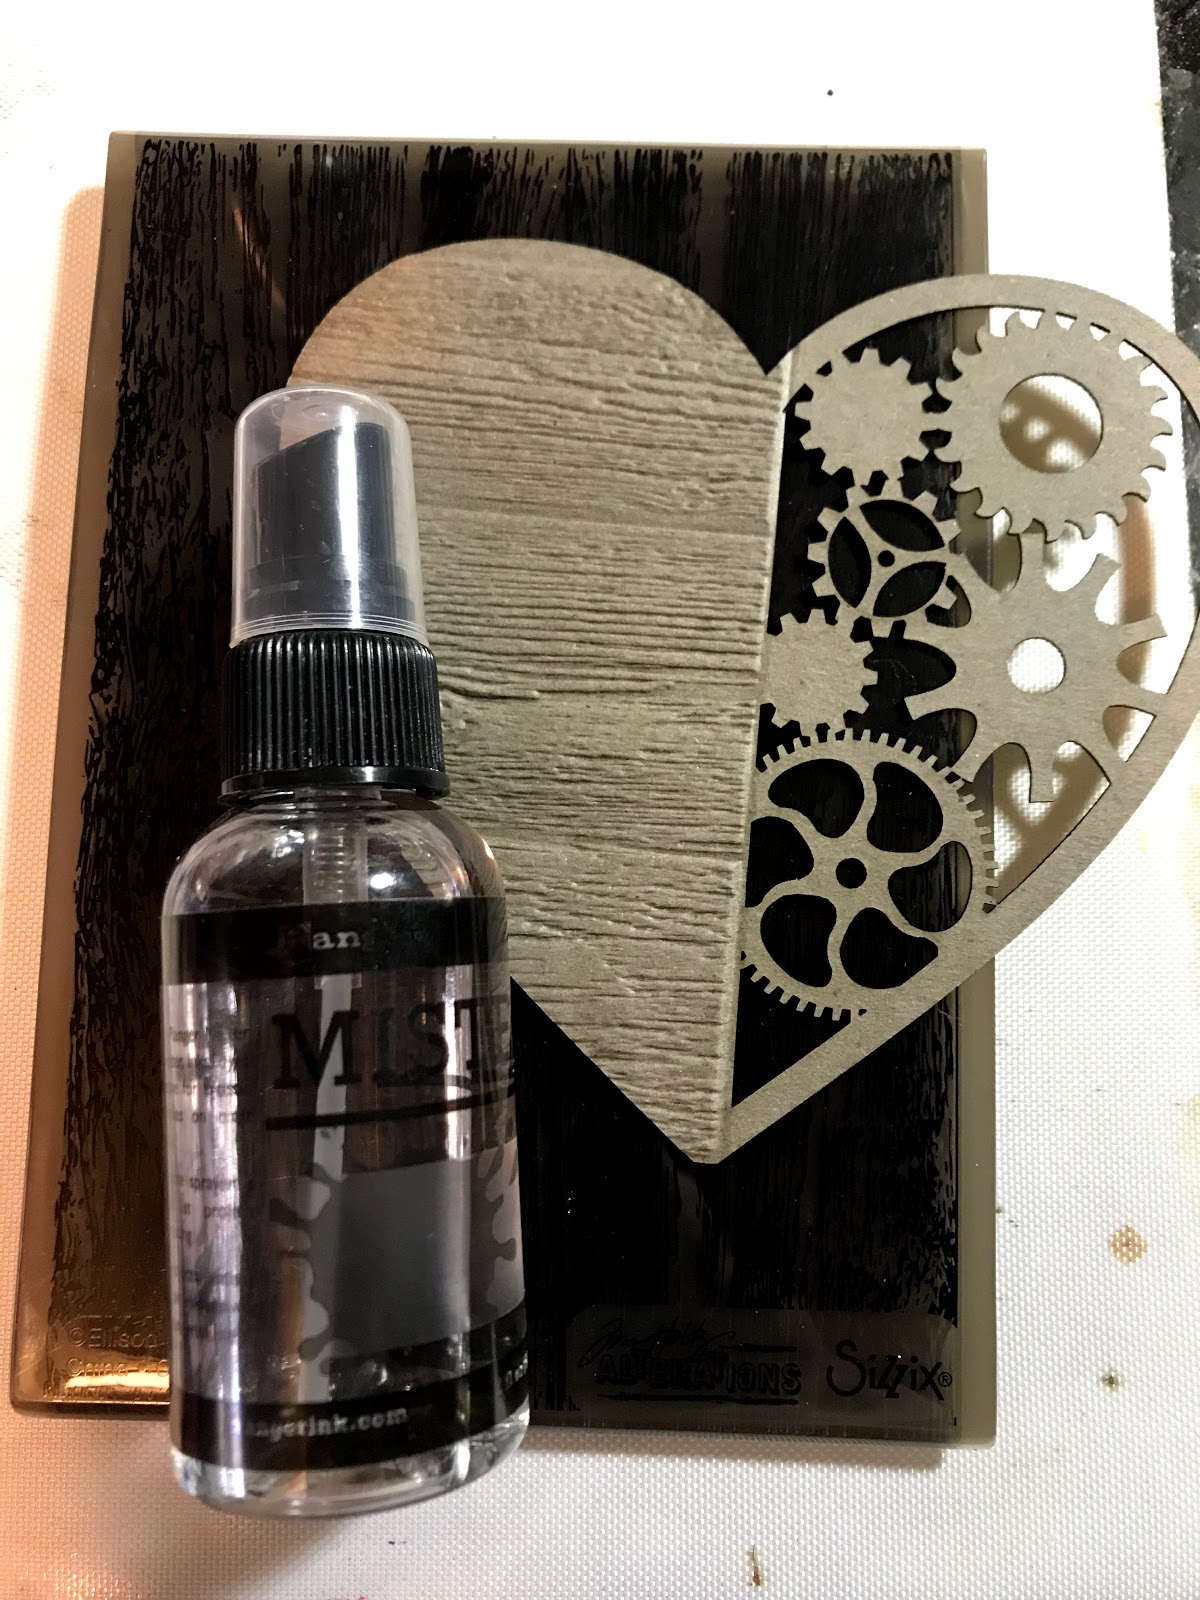
Using collage medium adhere Floral college paper to the embossed half of the heart.  I did a thin layer on the heart and adhered the collage paper.  I applied another layer on top and really worked the paper in with my fingers so you could see the embossed texture.
Paint the gear side of the heart using Dina Wakley media paint in Umber.  Paint the gears using Dina Wakley Media paint(Gilt and Ancient) and Tim Holtz Distress Paint(Brushed Pewter).  Add metal gears on top of some of chipboard gears for dimension.  Add embossing powder and crackle texture paste randomly on the heart for even more visual interest.  When the crackle paste is dry rub in a bit of Gathered Twigs Distress Crayon.

Take one of your Extra Large Tagand cut about three inches off the bottom.  Cover the entire tag with patterned paper.  Add bits of ephemera and adhere them to your tag.  I used a mix of vintage and reproduction ephemera here.  I love to mix old and new.  The entire tag gets a coat of collage medium. 
Once the collage medium is dry smoosh Distress Oxide inks onto your craft sheet and tap the tag into the ink.  The ink will stay beaded up on the craft sheet and you get neat splotches of color.  When you have a bit of color on your tag spritz with water and allow to air dry. Do this step several times until you achieve the color you like.
   Use the mini gear stencil from Tim Holtz to add a bit of grit paste to the top corner.  

Then add random blobs of grit past on the sides of the tag.  Once the paste is dry, use the same Oxide inks to color the grit paste.  Add Distress Crayon in Black Soot to the edges of the tag.  Splatter the tag with white, black, and gold paint.  
Using foam tape adhere the heart of the tag.  Give the paper doll a layer of clear gesso and color in his suit using Distress Marker in Mowed Lawn. Add a resin flower to his suit.  Glue the ruler to the heart and using foam tape adhere the man so he appears to be sitting on the ruler.  
Use Chit chat stickers to create your sentiment.  
Color in the word token using Distress Crayon in Picket Fence and add a jump ring.  Take an old paint brush and add a jump ring to the top. Add the rings to a vintage laundry pin and stick the pin through the fabric at the top of the tag.  The fabric at the top of the tag is actually a piece of my clean up rag I use in the studio.  I just cut a piece off because I really liked the colors on it.  To complete my tag I took some gel pens and made marks all over the piece.


Happy Monday
Jess


Monday, December 3, 2018

Dreaming of a White Christmas

Hi Everyone,
 

My favorite day of the year is coming up.  Each year my mum and my  sister come to my house for cookie day.  We bake all day long, I'm talking like 7am-9pm.  We have our favorite recipes we use year after year.  We keep those in a little notebook.  We do like to try new recipes each year too.  More and more often we are finding new recipes on the internet.  I thought it was the perfect time to make a Christmas themed phone/tablet holder so we don't get baking supplies all over our phones.
 These phone holders are so easy to put together(there are only three pieces). They would make an awesome gift!
Paint the base white.  Make sure the edges and at least one side are really well done since they will be exposed.  Paint the edges of the other pieces white too.  The other two pieces get covered with patterned paper.  I used some of the Tim Holtz Christmas wallpaper to cover the back piece.  This paper looks and feels like real wallpaper.  It's nice to add the tiny bit of texture to the project.
These snowy flourishes are coming to the shop soon.  You get two in a pack.  Paint both pieces white, then cover them with a clear Rock Candy  glitter.  
Insert the pieces into their slots. Don't forget to add a bit of glue to hold them in securely.   Technically your piece is completely put together at this point.  But we will embellish this! Glue to snowy flourishes to the back of the piece.  Then cover the base with Grit Paste from Ranger.  While the paste is wet sprinkle on more rock candy glitter.  Leave the space where your phone will sit paste free.  
Paint an ideaology resin snowman and cover him with rock candt glitter.  Add teeny mercury glass holly berries to his hat.  While the grit paste is wet stick the snowman in the paste.  In front of the small piece of chipboard add a chip quote Christmas saying.  Again, do this while the paste is wet and it will dry in place.  
One the back add a couple bottlebrush trees, teeny presents, a deer, and peppermints.  Another Christmas sentiment will complete your project. 

I hope you have a great kick off to your holiday season!
Jess

Monday, May 21, 2018

Dream of Faraway Places

Hi everyone,
I am up on the Gypsy Soul Lasercuts blog today.  I don't know if you've noticed, but I really love the house shadowboxes Gina has in the shop.  They come in so many fun sizes.  For today's project I used the Mini House Shadowbox #4.
I started by lining the inside of the house with Tim Holtz Wallpaper and gave it a quick whitewash.  I glued the house together and started working on the exterior.  Using the Brick Wall Small I added grit paste to both sides. 
Once the paste was dry I added color.  
Watered down black soot Distress Paint made the first layer

A thin layer of DecoArt Titan Buff fluid acrylic for the second.

Distress Paint in Mowed Lawn and Peeled Paint and a touch of gold finish the brick. 
I covered one of the tages from the Extra Large Tag Set with paper from the 8x8 Etcetera pad and distressed the edges using Distress Crayons.  This will be the base for the project.  I glued the house to the tag and finished embellishing it.  
Moss and flowers cover the roof.  
Flowers climb up the side of the house.  
My little paper doll was colored with Distress Oxide ink in Bundled Sage and given a bouquet of vintage flowers. 
The quote token finishes the piece. 
I hope you enjoy her as much as I do.  
Jess

Wednesday, December 13, 2017

Joy ornament


Hi Everyone,
Do you remember trying to take family photos and being told to smile over and over? I think these kiddos have had enough.  I just love the grumpy faces and then giving them silly headgear.  
The oversized tart tin was a perfect place to perch these grumpy guys.  
I'll be back soon with more Christmas makes!
Jess
Frilly and Funkie- Most Memorable Gift (one of my most memorable gifts was a bike. The look on these guys faces sums up my feelings on a bike). 

Monday, December 4, 2017

Merry and Bright Lantern

I'm up on the Gypsy Soul Laser Cuts blog today with a Christmas Lantern.


I have to admit I had one idea for this lantern and it turned into something completely different.
I started by assembling the lantern, just to be sure I was doing it correctly and so I would know what I would need to paint.
I disassembled it and started painting.
This is a really heavy duty chipboard and paint doesn't absorb into it like it does with thinner chipboard.  I did not put down a layer of gesso. I just went right in with a thin layer of black acrylic paint.  The entire piece was covered.  Once the black was dry I stippled on metallics.  I used Dina Wakley Paints in Gilt, Ancient, Penny, and Sterling.
To decorate the top I used the snowflake border from the Winter Shape Set.  Two snowflakes fit perfectly on each side of the top.  The snowflakes got a quick coat of silver paint.I wanted to add glitter, but didn't want to deal with using glue to make the snowflakes tacky. I decided to run them through my Xyron sticker maker on the painted side.  I added a clear glitter and had very little mess.
The snowflakes were glued to the top.


Here's where I changed my mind.  I decided I wanted to make this look like an actual lantern and not a winter scene inside the lantern like I had originally planned.  I took plain tissue paper and Tim Holtz's Frosted Film to line the inside of the panels.  Vellum would work too, but I like the frosted film because it gives an icy look and feel.  I did not attach the one side that isn't notched so you can add a flameless candle inside to make it look like a real lantern.

Grit paste with glitter sprinkled on top made the snow on the lantern.  The top was covered with grit paste and my pieces were stuck in while it was still wet.
The santa was colored using acrylic paint and then aged using alcohol inks.  The deer were aged using alcohol ink too.  The berries on his neck are old mercury glass that I colored using alcohol ink.   

The front of the lantern has the Tim Holtz Holiday Wreath that I stuck some extra greeny into and then added some frosted berries.  The big bow is from the fold up bow die.  The bells are from the new ideaology assortment. The sentiment is from the holiday chip quotes. 
This thing is really hard to photograph!
Happy holidays!


Disclaimer Notice

I've received products/compensation as part of the Gypsy Soul Laser Cuts Design teams. My projects, however, are 100% my own.