Showing posts with label prima art alchemy. Show all posts

Monday, September 17, 2018

Collector of Curiosities

Hi Everyone,
I'm up on the Gypsy Soul Laser Cuts blog with a little Halloween decor piece.
 
Here's how you can make your own. 
Cover the Miniature Clipboard with a bit of Tim Holtz paper.  Cover the entire piece of paper with Distress collage medium.  I like the finish it gives and how it takes the various inks and crayons.  Ink the edges using walnut stain Distress Ink and add some splats(using your Tim Holtz Splatter stencil) to look like coffee and possibly slime.  The slimy green is actually Emerald Creek's Apple Martini embossing powder so it's raised up a bit off the paper.  I did emboss the clip part of the clipboard, but decided not to use it in my final design. 
Emboss the edge of your Small Canning Jar.  I made a jar similar to this back in February.  If you'd like to check out the tutorial I have linked it here for you.  With this jar, I wanted it to look a bit grungy and murky.  Pounce mushroom alcohol ink onto the acetate and it will muddy up the "liquid" inside the jar.  A piece of cheesecloth stained with blood(kidding, it's alcohol ink) gets tied to the lid. 
Cut a piece of background paper to go behind your canning jar and add your images.  These guys from the Tim Holtz Scared Silly set were stamped and fussy cut.  The images were stamped on a heavy watercolor paper and colored using Distress Markers.   Make sure you play with your placement before gluing anything down.  
You can see here at this point I was still playing with the idea of leaving it as a clipboard.  I also hadn't added the eyeballs.  It's always good to play with your composition before you glue!
 I decided that the jar on the clipboard wasn't enough and I wanted to beef up my project.  A small Tim Holtz framed panel was the answer.  Cover the panel with a piece of worn wallpaper and add Distress Oxides(walnut stain, ground espresso, forrest moss) so the paper looks water damaged.   
On the frame, randomly paint on Distress Rock Candy Crackle Medium. Once it starts to crackle you can heat it up to speed up the drying process.  Paint the frame using Prima Art Alchemy paint in Metallique Blackberry.  Once the metallic paint is dry use a thin layer of Distress Paint in Black Soot on the entire frame and wipe most of it away. You just want it to sink into the recesses.  In random areas add metallic waxes in opal colors.  This adds another layer of dimension, but doesn't add a ton of color.  The final step on the frame is to use a fine brush and Dina Wakley Gilt paint to go around the edges.  Perfection is not the goal here.  The frame is supposed to look funky and old.  
Glue the frame to the back. 
Add your clipboard to the frame and add a chip quote to the top. 
A Halloween story stick, clipping sticker, and eyeball brad round out the finishing touches. 
I hope you enjoyed this little project.  It was fun to make! I can't wait to pull out all of Halloween decor now.
I'm entering this into the  Simon Says Stamp- That's a Wrap! challenge.  The beast is lovingly packaged in a jar and wrapped up tight!


Monday, September 4, 2017

Journey with Gypsy Soul

Hi Everyone,
 Over at Gypsy Soul Laser cuts we are doing a month long match up with Canvas Corp.  I'm rather spoiled since I have been able to work with both of these teams.
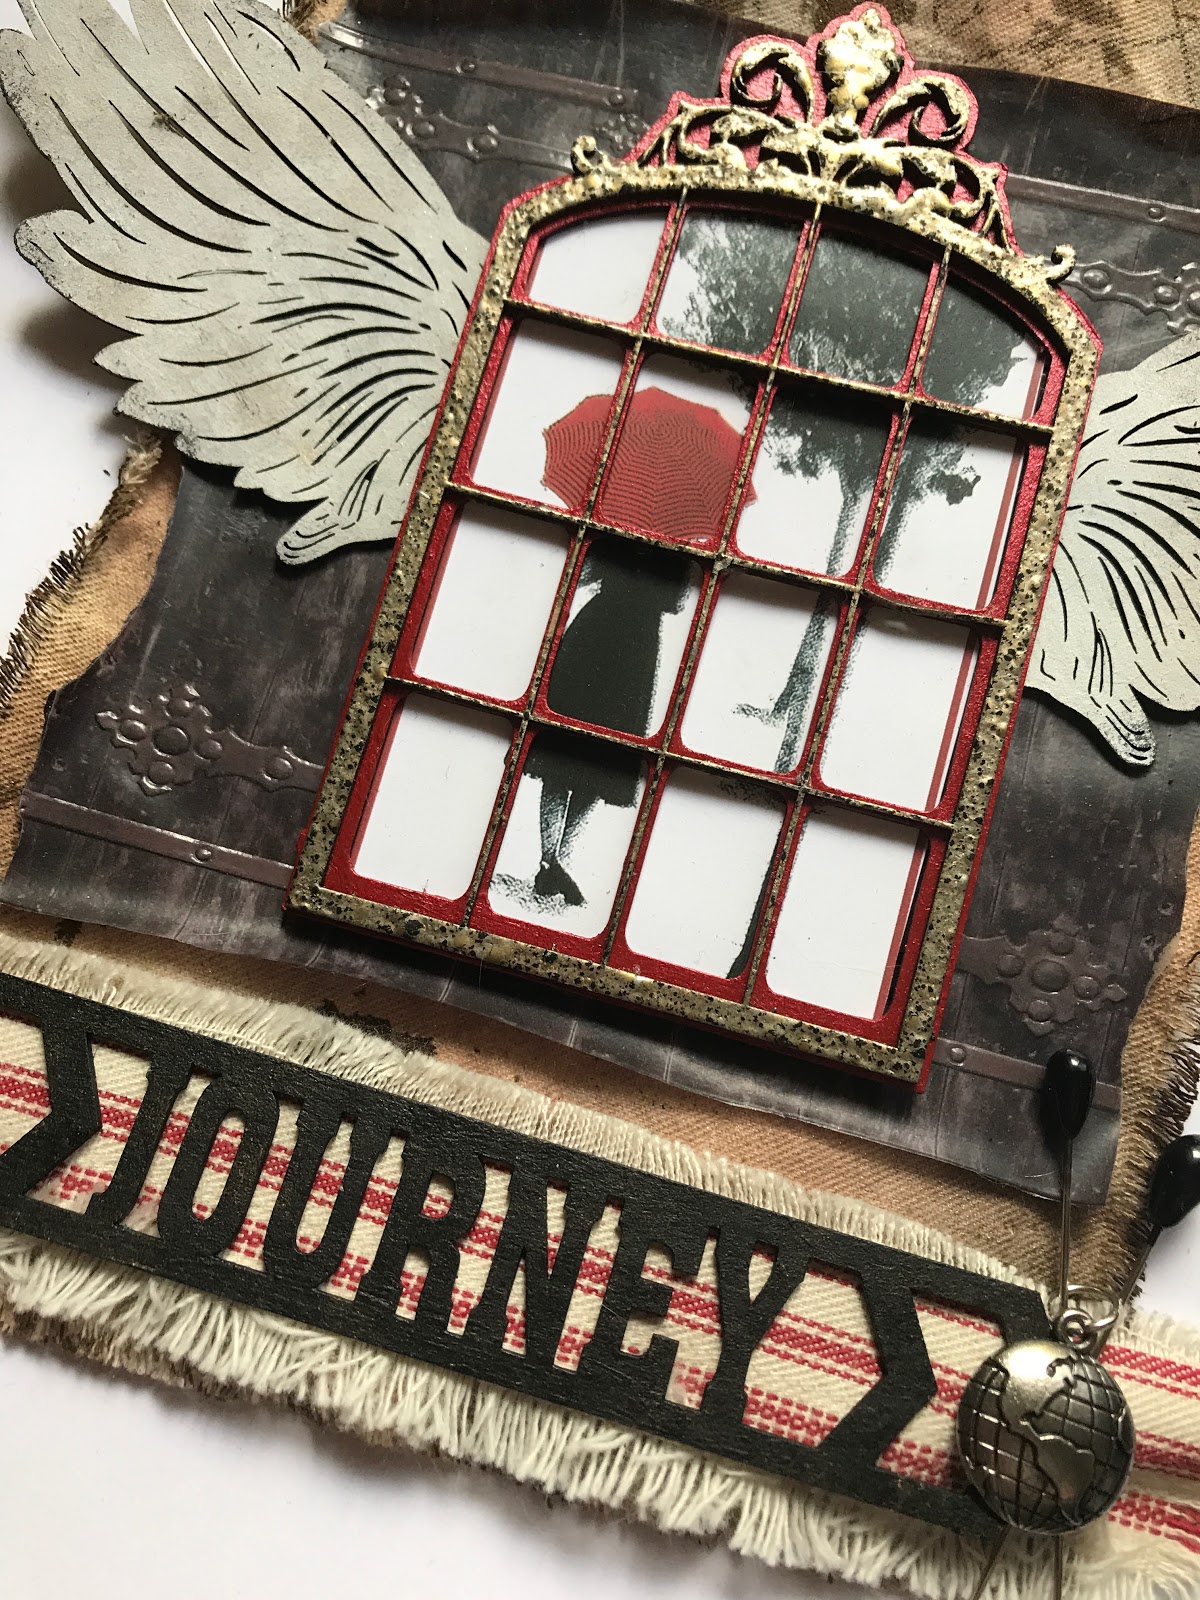
I decided to make a tattered canvas for you today.


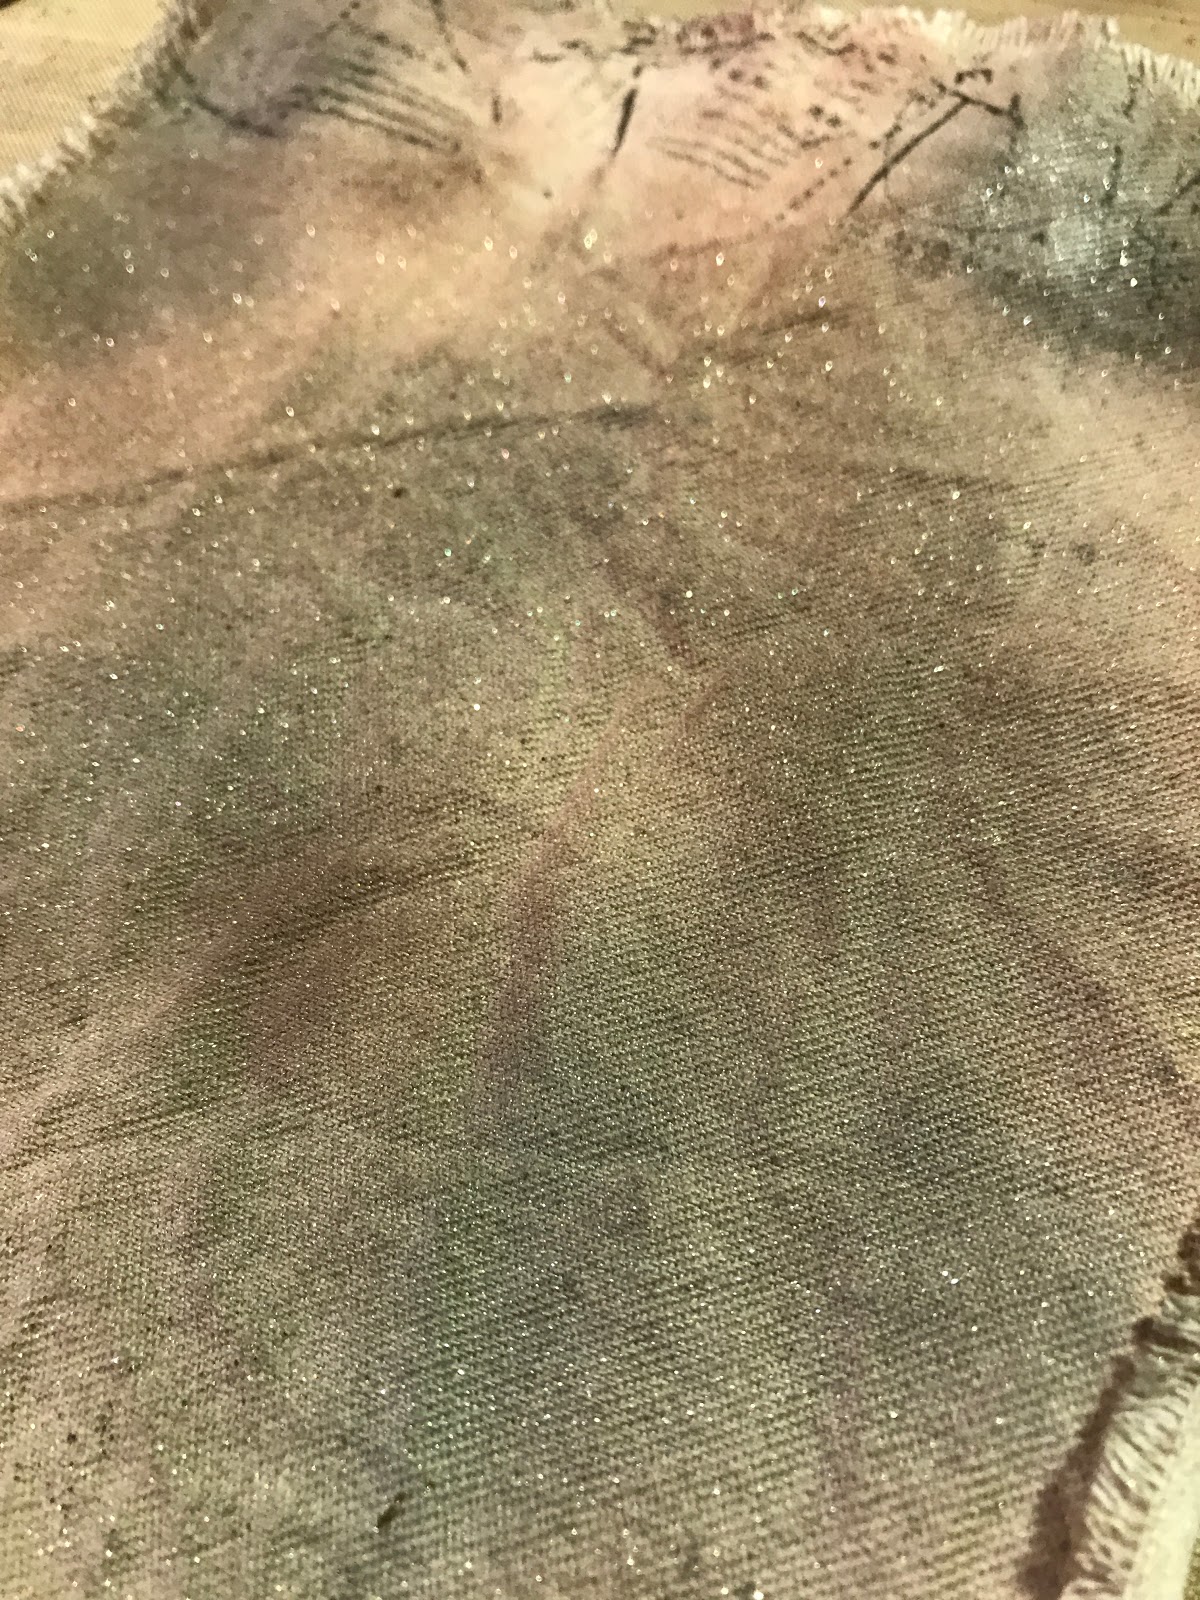
Cut your canvas down to a size that suits you and pull out strands to fray the edges.  Spray canvas with water and crumple.  Flatten canvas and spray on your Glimmer Mists(Crocheted Doily, Gilded Gold, and Stone). Dry the canvas with a heat tool. Drip on some Walnut Stain Distress Ink to make rust spots.


Add parchment rub ons just to the top and bottom area where the Architecture sticker won't cover.  Tear the edge of your architextures sticker and glue sticker onto canvas.


Paint the back of your Double Window Ornate  with a metallic red paint.  Cover the top with Charred Gold Embossing powder.

 When your paint is dry glue the two pieces together and then glue your focal image to the back of the window.

Paint the word Journey from the Chevron Words Travel Lg set using Black High Impact Paint. Stipple on High Impact Paint in Gold and then go back in and stipple on another layer of Black.  
Paint one set of the Wings using White Acrylic, Dina Wakley Paint in Elephant, and a touch of Black High Impact.
Attach wings to the back of the   Double Window Ornate and adhere to the background using several layers of foam tape to add dimension. 
Cut Ticking to size and glue down your word.  Attach the ticking to the background using staples.  
Add vintage hat pins and a charm to complete your piece.  

Happy Crafting!


Monday, July 17, 2017

Madame Rose- Fortune Teller

Hi Guys,

I am posting for Gypsy Soul Laser Cuts today.  I was playing around with my stuff and when I popped this Altoid Inserts Fairy Tale Frame on the tin I thought it looked like an old fortune teller machine.  I can't tell you why, my mind just went there and I ran with it.
Here's what I started with when I was pulling bits and pieces together.  Isn't that old cigar box label awesome?! I was going to just make the Altoid tin, but when I came across the label in my ephemera I knew I needed to use it, so I added the large Tim Holtz Vignette box.

 I prepped the outside of the tin with a quick coat of gesso. I wanted my tin to be purple, 
but I didn't have a shimmery purple paint.  I just mixed these two together.  

 This will be the only time you see this color.  The tin is inside the vignette box and you have no clue it's purple.  Trust me.  It's purple.
The frame was painted with the Royal red and the bits of leftover purple were rubbed on there.  I went back and added more Distress paint in Tarnished Brass and Distress Oxide Ink in Vintage Photo later to age it.  


The Vine Corners got a quick coat of Emerald Creek embossing powder in Vintage Ivy. 

 As did the Art Deco Border.  I embossed both sides of these pieces using Charred Gold.  When you get this from the store it is one large piece.  I wanted to use it to top my vignette box so I cut it to size.
Here is the tin with the Insert popped in there and the embossed medallion on the front. The crystal ball is made out of a bauble I covered with alcohol ink and glued to a vintage bingo marker.   

 Vines were added to the large vignette box. I glued on some flowers I inked up to look dried and old. I didn't take photos of the vignette box when I painted it.  I used a dry brush and did a quick coat of Broken China Distress Paint.  I watered down Prima Art Alchemy Paint in Gold Rush for a bit of shimmer in the corners.  I ran Vintage Photo Oxide all around and then sprayed so it dripped.  The edges of the box are rough embossed with Charred Gold Emerald Creek Powder.
 The Art Deco Border was glued to the top.  I accidentally ripped the cigar label when I was inking it.  I rolled with it and think it adds to the overall look.
Here's a shot from the top.  I didn't want the pieces to match up at all.  I want the box to look a little broken down. 

The rest is detail work.  I rolled up vintage fortunes and placed them in the bottom so people can get their fortune. I used a different type of vintage fortune to make a border around the box.  The fortune border was grunged up with a bit of Vintage Photo.   
I hope you like her as much as I do.  I think she will make a perfect addition to my little sideshow I have been creating.  
Jess


Wednesday, July 5, 2017

Spreading my Creative Wings

Hi Guys,
It's my first post for My Rusty Crown!  I am so excited to share this project with you.  I don't make jewelry often, but when I do it tends to be a big statement piece.

I started with the Hand and Wings from Relics and Artifacts.  The chipboard in the back is from Gypsy Soul Laser Cuts.  I wasn't quite sure where I was going with this at this point.  I wasn't thinking jewelry quite yet.  Once I started painting that was when I knew it would be a necklace. 
  
I painted the Hand using Prima Art Alchemy Paint in Metallic Brass Hardware.
I added Dina Wakley Paints in Umber and Turquoise on the cuff. 
The wings have a bunch of layers on them.  The back and sides are painted Black Berry.  The tops are a mixture of Metallic Brass HardwareGold Rush, and Rich Turquoise.  I used a really dry brush and kept adding layers until I was happy.
The wings and the hands have watered down black acrylic paint on them to highlight the cracks and crevices.  
The chipboard was prepped with black gesso and then painted using the Gold Rush and Rich Turquoise.  I sealed the front and back using Tim Holtz Collage Medium
I glued the pieces onto the chipboard using a very heavy jewelry glue and let it dry overnight. 
There is an eye screw in the top of the hand so I used one of the Tim Holtz Assemblage chains to attach the hand to the wings.  
The chain on the left is also from the Tim Holtz assemblage line, as is the rhinestone connector.  The brass chain on the right was something I had in my stash.  
Have a great day,
Jess


Disclaimer Notice

I've received products/compensation as part of the Gypsy Soul Laser Cuts Design teams. My projects, however, are 100% my own.