Showing posts with label glimmer mist. Show all posts

Monday, September 4, 2017

Journey with Gypsy Soul

Hi Everyone,
 Over at Gypsy Soul Laser cuts we are doing a month long match up with Canvas Corp.  I'm rather spoiled since I have been able to work with both of these teams.
I decided to make a tattered canvas for you today.


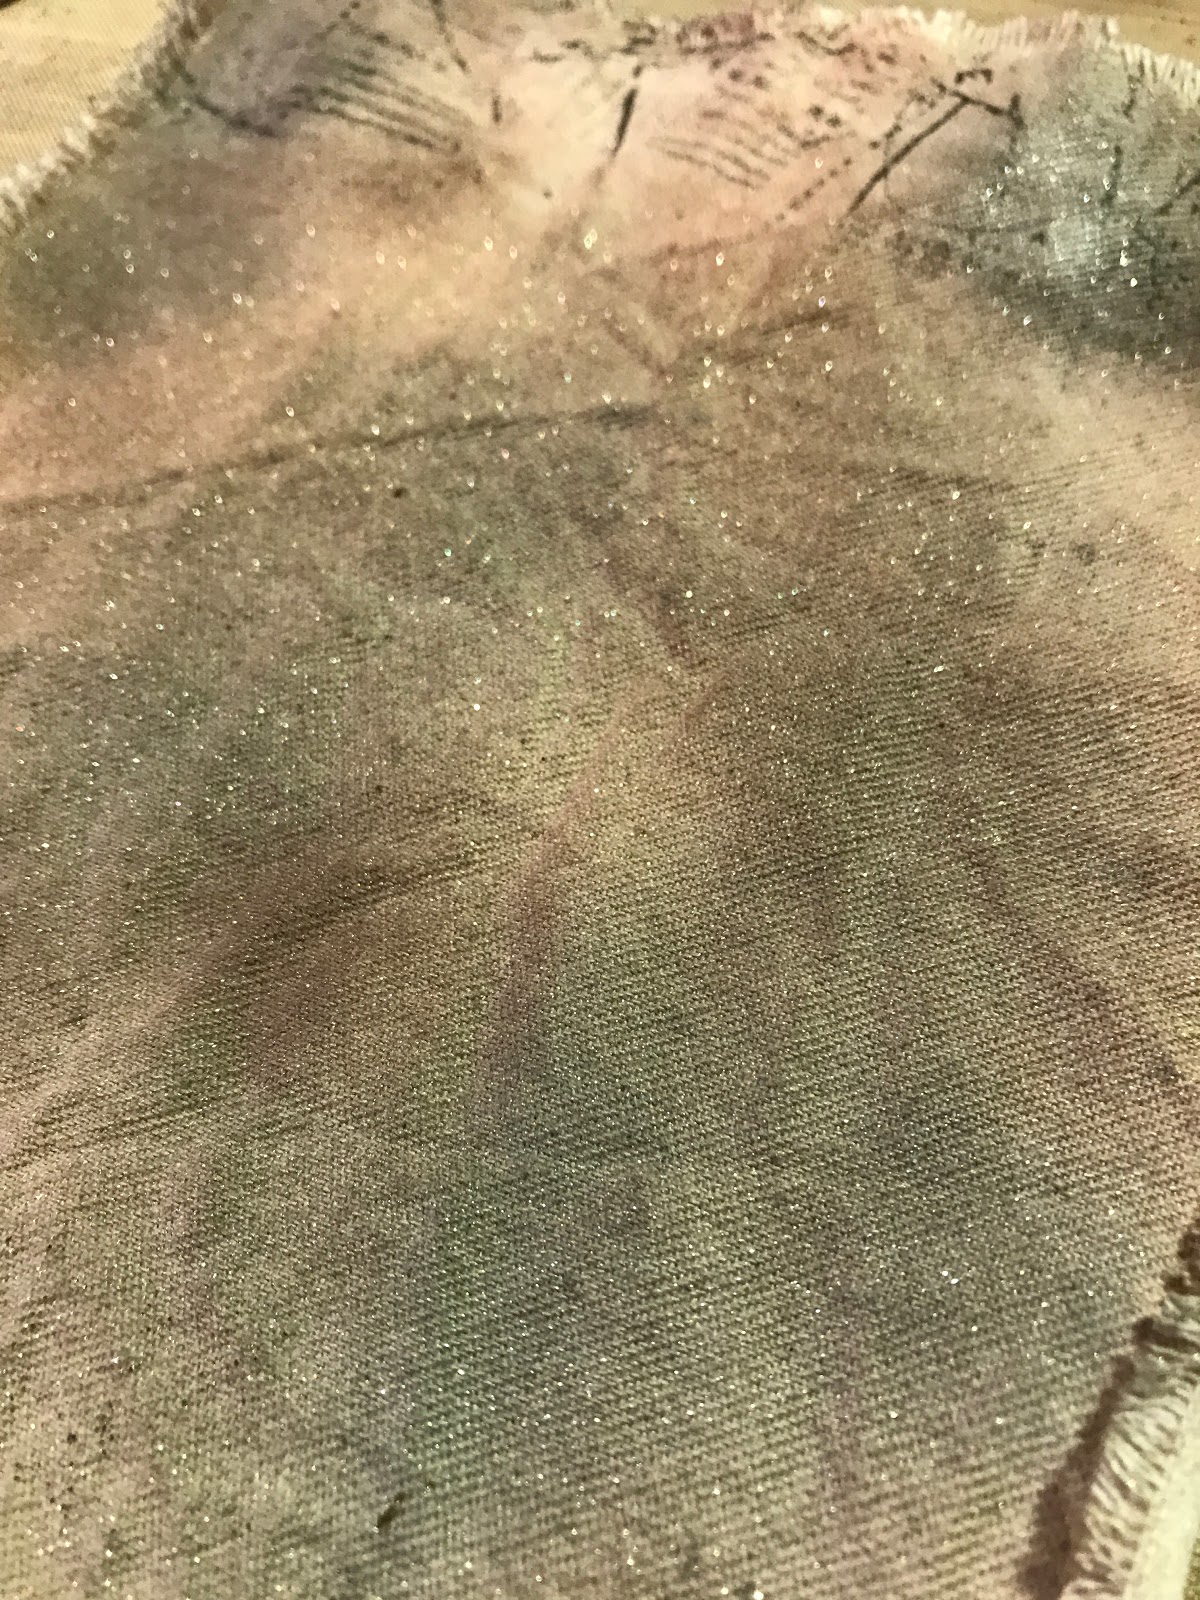
Cut your canvas down to a size that suits you and pull out strands to fray the edges.  Spray canvas with water and crumple.  Flatten canvas and spray on your Glimmer Mists(Crocheted Doily, Gilded Gold, and Stone). Dry the canvas with a heat tool. Drip on some Walnut Stain Distress Ink to make rust spots.

Add parchment rub ons just to the top and bottom area where the Architecture sticker won't cover.  Tear the edge of your architextures sticker and glue sticker onto canvas.


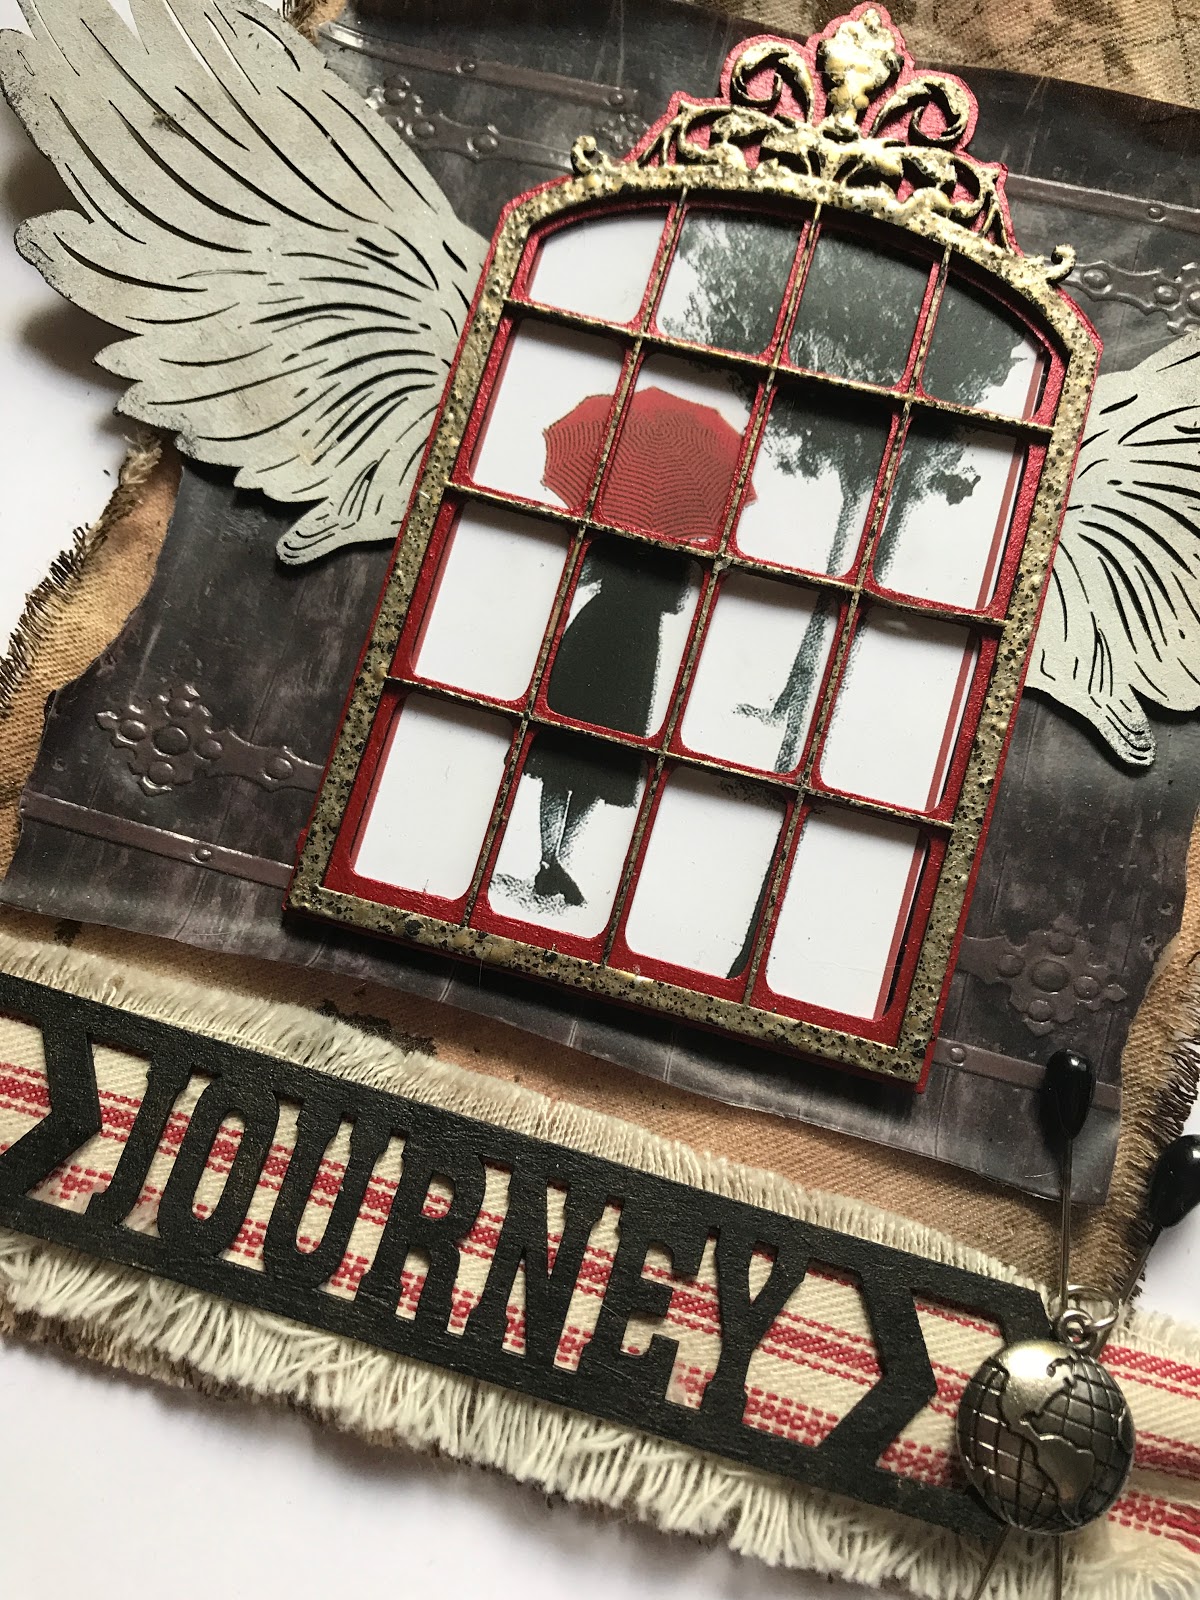
Paint the back of your Double Window Ornate  with a metallic red paint.  Cover the top with Charred Gold Embossing powder.

 When your paint is dry glue the two pieces together and then glue your focal image to the back of the window.

Paint the word Journey from the Chevron Words Travel Lg set using Black High Impact Paint. Stipple on High Impact Paint in Gold and then go back in and stipple on another layer of Black.  
Paint one set of the Wings using White Acrylic, Dina Wakley Paint in Elephant, and a touch of Black High Impact.
Attach wings to the back of the   Double Window Ornate and adhere to the background using several layers of foam tape to add dimension. 
Cut Ticking to size and glue down your word.  Attach the ticking to the background using staples.  
Add vintage hat pins and a charm to complete your piece.  
Happy Crafting!


Monday, March 20, 2017

Mermaid Dreams Canvas

Hi Everyone ,
I think you all know by now that I am a sucker for mermaids. I decided to break out my chipboard mermaid stash to create a mixed media canvas.


 I started with a 5x7 canvas board( I added a skimpy layer of gesso to the board) and several paint colors.  I used my fingers to smear on the paint.

 Once the paint dried I added Glimmermists in several colors.  I sprayed them really close to the board and let them run down.  I dried them with my heat tool.  I added a bit of tissue wrap just for interest on the background.  I adhered it using a gel medium.

Next, I grabbed my Mixed Media Fragments and used the circle piece.  I painted and sprayed it until I got a good green color.  I added a bit of tan using a sponge just to break up the greens.  Using a stencil I pounced my embossing ink through the stencil and then added Burnt Copper Leaves embossing powder.  I reheated some areas of the embossing powder and added gold foil.  I glued the fragment to the board.


I chose one of the larger Mermaid images and embossed her using Onyx Frost.  To make her tail shimmery colors I used Perfect Pearls.
The Crown was finger painted using the Distress Paint and then embossed with Fractured Ice. I used sticky backed pearls for the jewels.  You will see on the final photos that I changed some of the jewels and I used real stones instead.  

Once I glued all of the bits on the board I added in some rubs ons and scribbled some gel pen. 


Here is a photo when I finished it and sitting on my desk.  

Here are a couple beauty shots outside.  


I hope you enjoy!
I'm also entering this into the Simon says stamp Monday challenge.http://www.simonsaysstampblog.com/mondaychallenge/?p=8405 

Tuesday, December 22, 2015

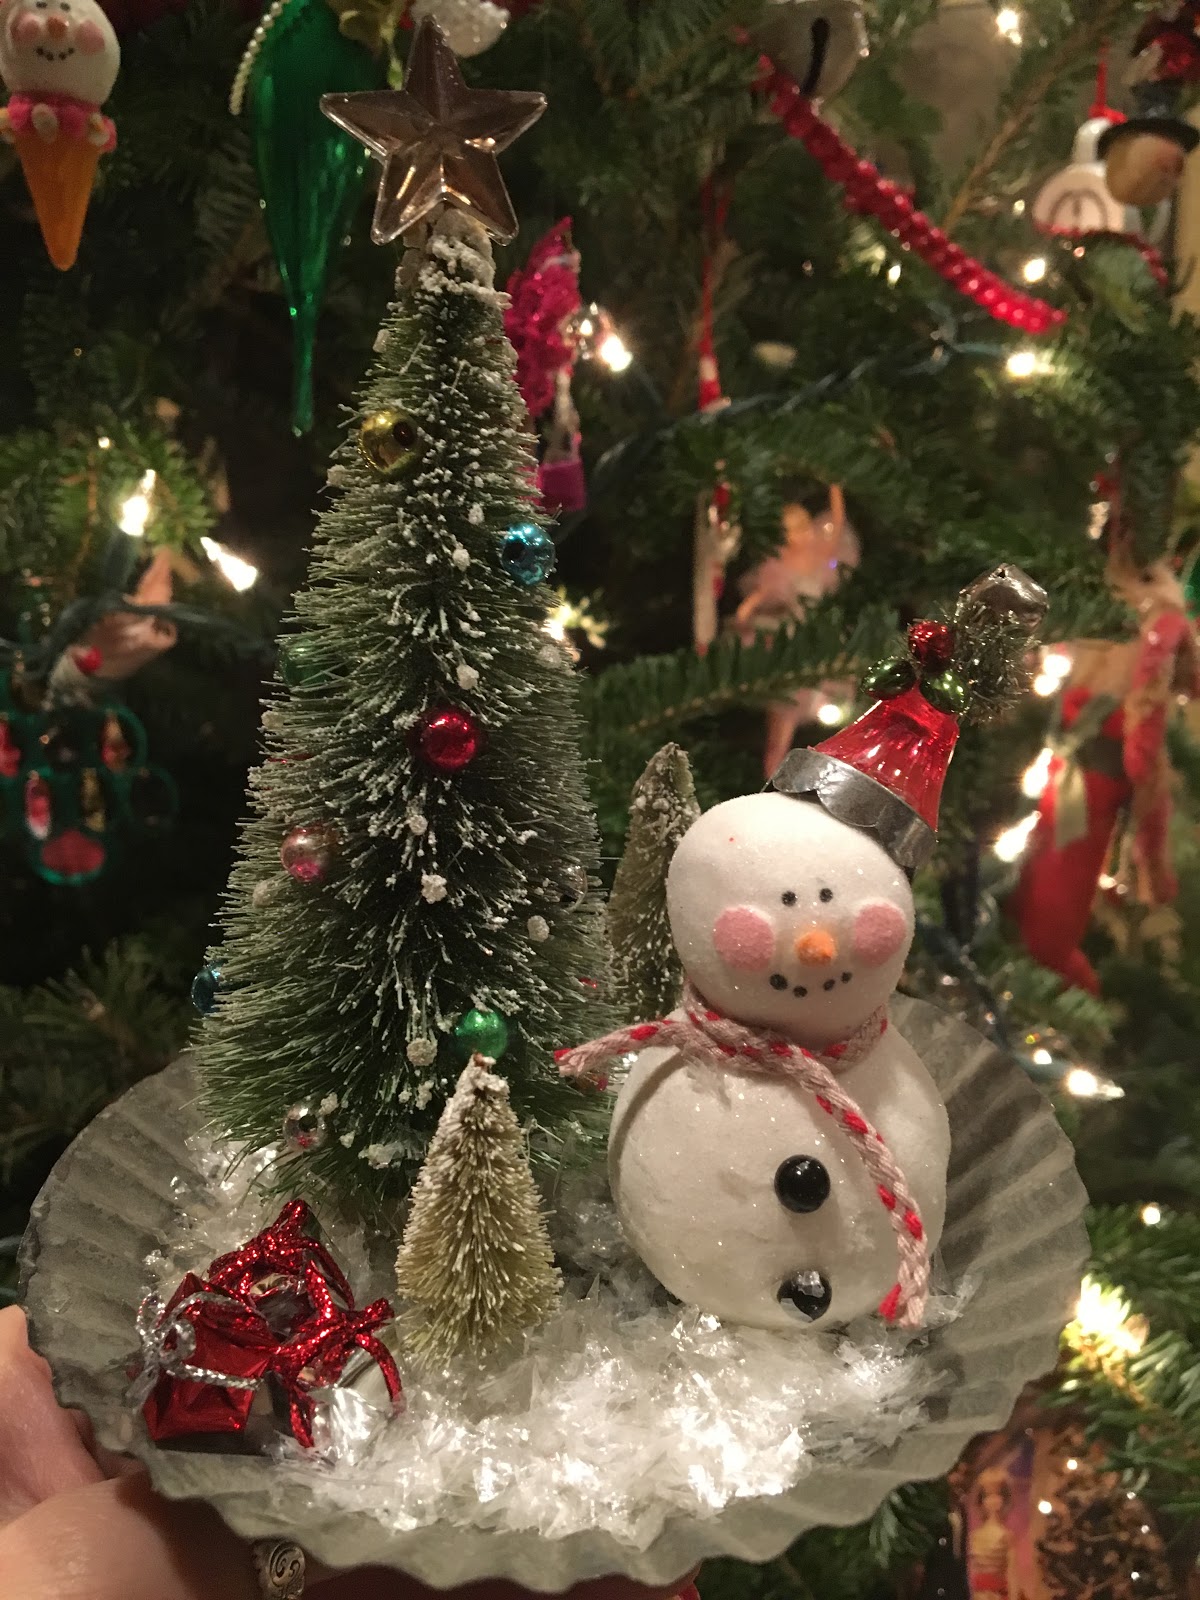
Snowmen and Bottlebrush Trees are a few of my favorite things

It doesn't get much better in my book than snowmen and bottlebrush trees.  When I was sent some Soft Fallen Snow embossing powder from Emerald Creek Crafts I knew I wanted to make a beautiful bottlebrush tree with it.
I used a Tim Holtz woodland tree and dyed it with glimmer mist and Iced Spruce Distress Spray.  Once my tree was dry I used Picket Fence Paint on the branches.  While the branches were wet I sprinkled them with the embossing powder.  I gently heated the powder.  Don't over heat or the tree with start to smoke! I just might have done that, maybe...  I kept layering on the embossing powder until I was happy with the coverage.  
I glued on vintage mercury glass beads and topped the tree with Mirrored Stars.
I set my tree aside to work on my snowman.  The snowman is made out of Activa Premier Clay.  I have a tutorial on how to make the snowmen here.  
His little hat is the topper from an old ornament top, a plastic Christmas light cover, a jingle bell, some tinsel, and tiny plastic Christmas lights.  His scarf is ribbon from Tim Holtz.  
Once he was finished I glued the large tree and the snowman to the tart tin.  
I added a couple tiny trees to balance out the scene.  Some teeny presents and snow complete this winter scene.  

I hope you all have a wonderful holiday with your friends and family! 
Jess


Tuesday, December 8, 2015

Merry Christmas from all the girls


I have to admit when I started working on this panel I wasn't sure where it was going.  The background is Barn Door Distress Spray, a gold glimmer mist, and white paint flicked on after the sprays were dry.  Once I saw the red and gold shimmer I knew it had to go Christmas.  I layered on some green polka dotted paper, random text paper, and vintage ledger paper.


Disclaimer Notice

I've received products/compensation as part of the Gypsy Soul Laser Cuts Design teams. My projects, however, are 100% my own.