
I'm up on the Gypsy Soul Laser Cuts blog today with a little Alice in Wonderland inspired project. I want to apologize for the lack out step out photos here. Work has been consuming my life as of late and I have barely had any time to do what I love. I hope my instructions are clear enough for you to follow along.

I started with a simple number 10 tag and turned it into a mini album.
To begin, fold your tag in half. Cover the spine with washi tape to give it a bit of extra strength. Cover all pages with bits of Tim Holtz wallpaper and washi tape. Once all of your paper is adhered give it a white wash using acrylic paint. Use Distress Crayon in Gathered Twigs to age some areas and all edges. Splatter some Distress Paint on the background in Vintage Photo to tie it all together.

To make the cover, run your stencil letter(coming soon to the store) through your die cutting machine using the Sizzix 3d embossing folder. Use Cracked Pistachio Oxide Ink on the raised areas and smudge around with your finger to coat the entire stencil. Cut a found relative card down to fit behind the stencil letter and adhere using double stick tape. Add a tiny brass clock charm and some spun cotton mushrooms to the bottom corner. Set the image aside. Do not glue the image onto the cover yet because you will need to add sari ribbon to hold it closed.

For the first page, gather various clock faces. Some of these are vintage, some are paper, and some are charms. Glue your faces down in a pattern you like and add your mini white Rabbit. The Rabbit (along with the other silhouettes) was painted black and embossed using Rangers Frosted Crystal Embossing powder. The result is an awesome matte finish. Glue your Rabbit to the center of the largest clock face. Add a word sticker and outline in black.
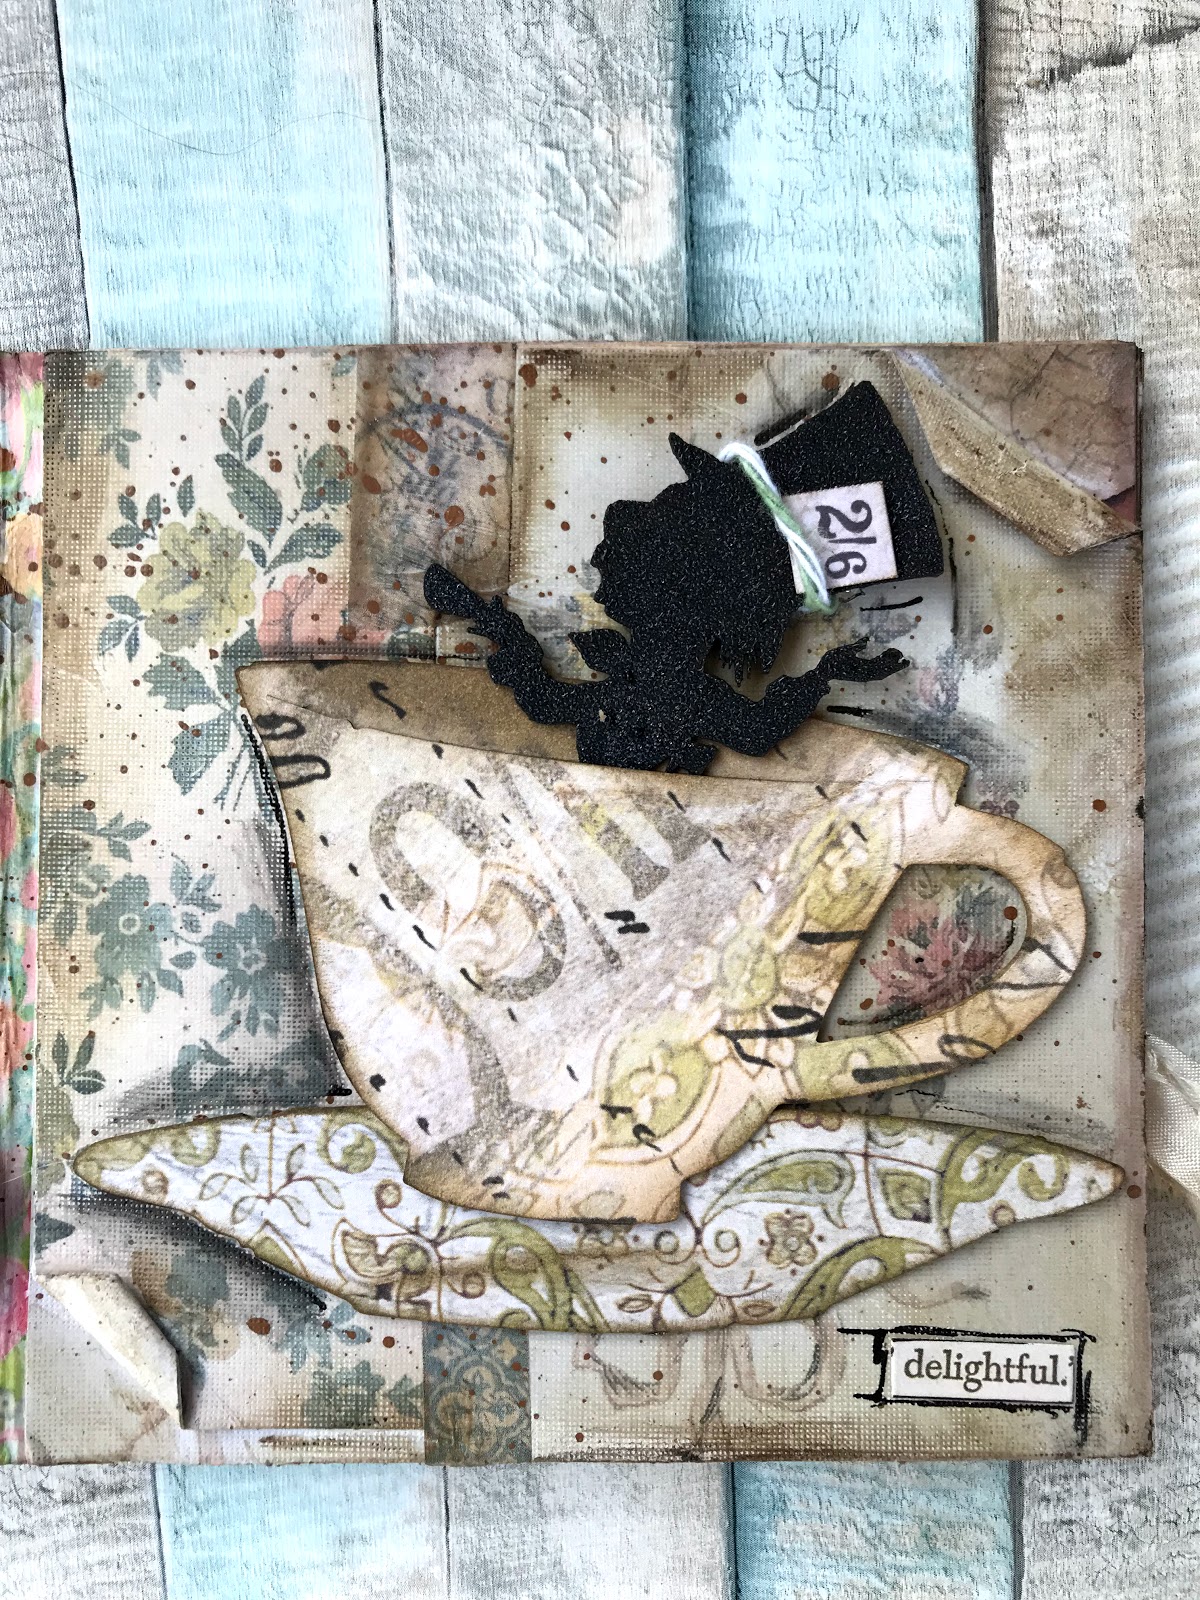
What's a Mad Hatter without his tea? This tea cup die has a slit in the top so it was easy to slip in the Mad Hatter once he was embossed. A bit of bakers twine holds on his hat size. I distressed this page a bit more than the others by curling back some of the paper.

Finish the book, but keep your head! The Queen finishes out the little book. I found lots of Rose ephemera to add to her page, but I wanted to make sure some were not painted the right color. I love the cowering card in the corner.

Wrap your ribbon around the entire booklet. Adhere your stencil onto the front cover and this will hold the ribbon in place.


I hope you enjoyed our quick trip through Wonderland!


