Showing posts with label jingle bell. Show all posts

Monday, December 18, 2017

Christmas House Ornaments

Hi Everyone,


I've got a quick last minute ornament or gift tag for you.
Start with your Simple House Ornament cover both sides in the paper of your choosing. I added a bit of shimmer using my clear shimmer pen.  I tried to capture it in the photos, but it's so subtle.  

Apply a thin layer of white acrylic paint to both sides of your Snowflake Border.  You won't need the whole border.  I placed mine on top of my ornament and got a basic placement idea and then trimmed it accordingly.  
Once your paint is dry emboss the snowflakes using Fractured Ice Embossing powder. 


Color your Tim Holtz paper doll using Distress Markers.  I also added some stickles for sparkle. 
Glue your snowflakes to your house(be sure you don't cover the hole in the top of the ornament).  Add your people using some foam tape for dimension.  Add stickers from the Tim Holtz Christmas clippings stack.  A little bakers twine and your ornament is finished.   


I liked this so much I made a second ornament using the same process, but these snowflakes are embossed with Charred Gold.The paper doll had a tiny jingle bell added to his hand.
Have a very Merry Christmas,
try it on Tuesdays- Twinkle, Twinkle
A Vintage Journey- Winter Wonderland
Mixed Media Monthly- Challenge 43


Tuesday, December 22, 2015

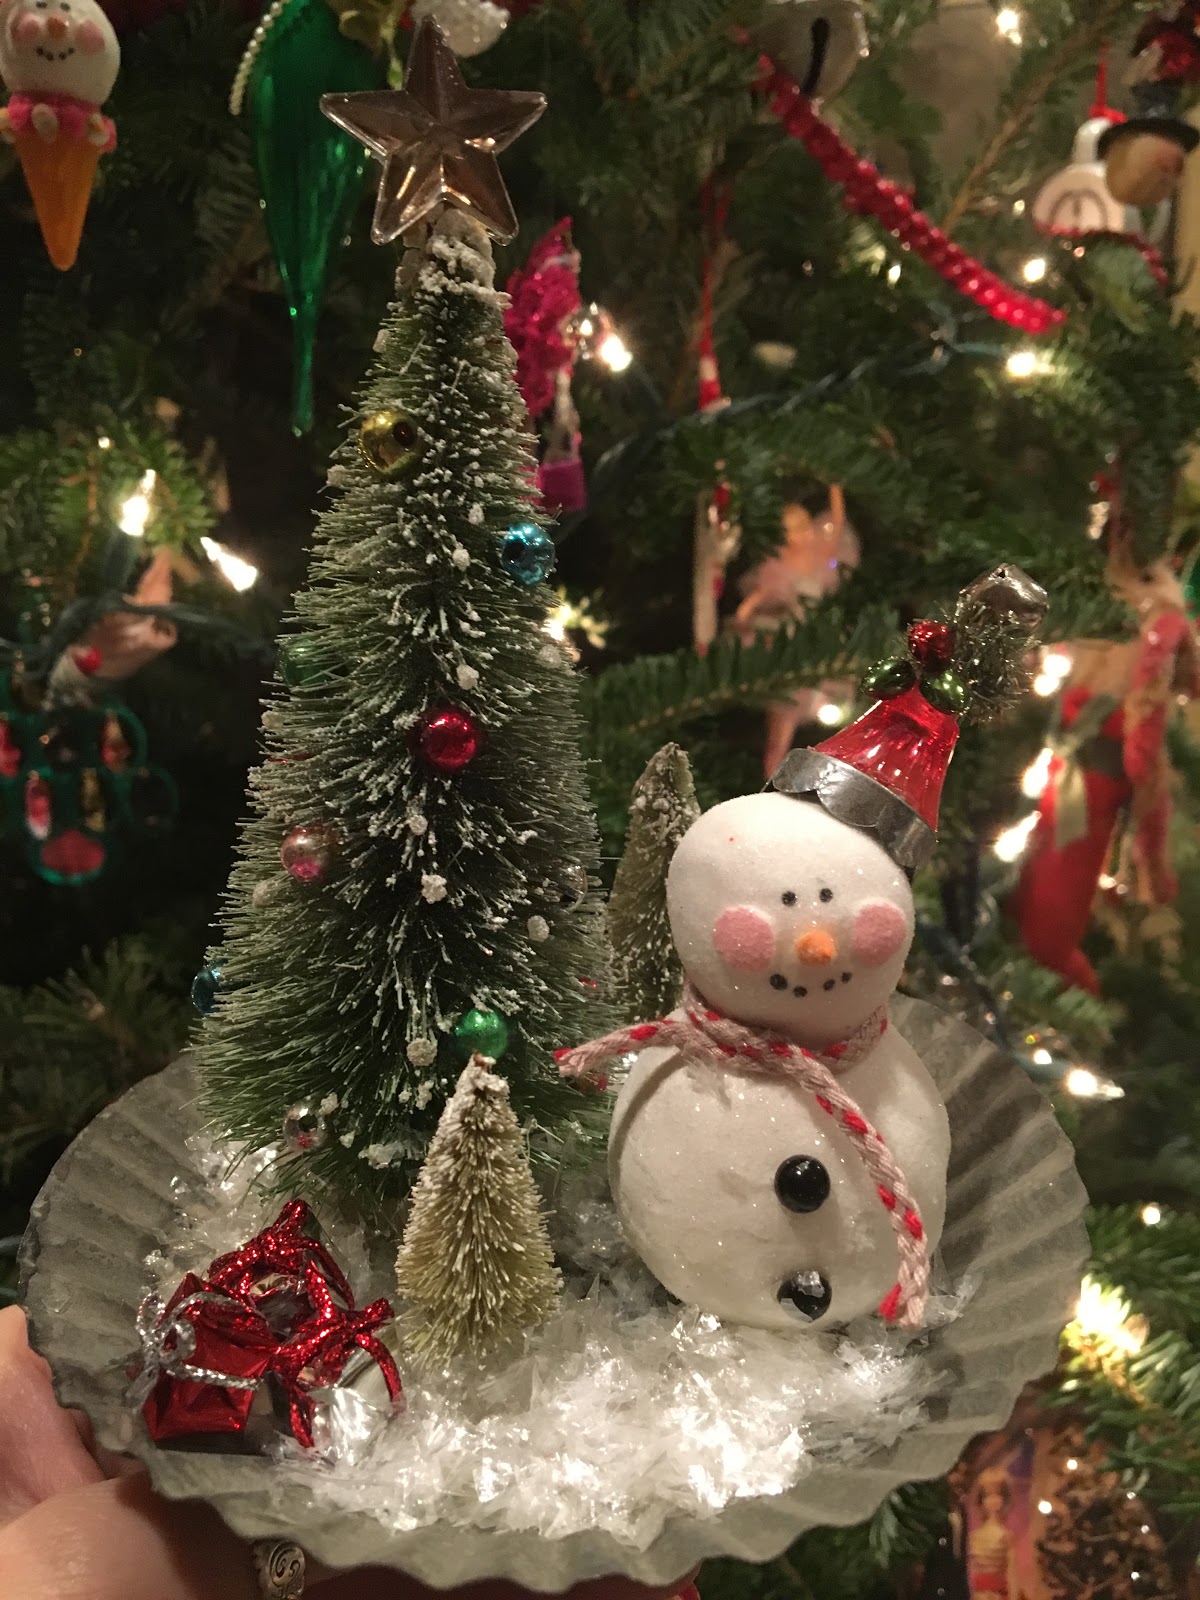
Snowmen and Bottlebrush Trees are a few of my favorite things

It doesn't get much better in my book than snowmen and bottlebrush trees.  When I was sent some Soft Fallen Snow embossing powder from Emerald Creek Crafts I knew I wanted to make a beautiful bottlebrush tree with it.
I used a Tim Holtz woodland tree and dyed it with glimmer mist and Iced Spruce Distress Spray.  Once my tree was dry I used Picket Fence Paint on the branches.  While the branches were wet I sprinkled them with the embossing powder.  I gently heated the powder.  Don't over heat or the tree with start to smoke! I just might have done that, maybe...  I kept layering on the embossing powder until I was happy with the coverage.  
I glued on vintage mercury glass beads and topped the tree with Mirrored Stars.
I set my tree aside to work on my snowman.  The snowman is made out of Activa Premier Clay.  I have a tutorial on how to make the snowmen here.  
His little hat is the topper from an old ornament top, a plastic Christmas light cover, a jingle bell, some tinsel, and tiny plastic Christmas lights.  His scarf is ribbon from Tim Holtz.  
Once he was finished I glued the large tree and the snowman to the tart tin.  
I added a couple tiny trees to balance out the scene.  Some teeny presents and snow complete this winter scene.  

I hope you all have a wonderful holiday with your friends and family! 
Jess


Sunday, November 1, 2015

All wrapped up with a bow!


I know, I know it was Halloween last night and here I am shoving Christmas down your throat.  Just think I was putting this post together back in September.  In Arizona.  In 100 degree heat.  Nothing says Christmas like the a/c on blast! This project is so stinking cute and easy that I think you will forgive me.  Head over to The Robin's Nest to see just how quickly you can make these to wow your friends and family.

What have you been crafting?
Jess

Disclaimer Notice

I've received products/compensation as part of the Gypsy Soul Laser Cuts Design teams. My projects, however, are 100% my own.