I bet you thought I had fallen off the face of the earth. I'm still here. I just haven't been crafting. I think this is the longest dry spell I have ever had. All of my usual tricks for sparking my crafty mojo just didn't seem to be working. I looked at my favorite blogs, read my favorite magazines, pinned a billion projects on Pinterest, and nothing. I pulled out all of my Christmas decor and finally a little spark. The spark made me run to the craft room and pull out my Christmas box; you know the huge box of Christmas stuff you hoard for Christmas crafting? It sits beside the Halloween box, the Easter box, the Valentine's day box? Please tell me you all have these boxes and it's not time to call in the professionals for help.
I pulled out a bunch of goodies and stared at them. Then I went to my box box(the box I keep boxes in to craft with) and dug out a small box that my headphones came in. I knew it would make a perfect shadowbox.
I lined the box with vintage sheet music.

The box is a slate gray color and wanted to keep the color. I rubbed embossing ink on randomly and then used Clear Embossing Powder for detail. It wasn't enough. I slapped on a thick coat of Rock Candy Crackle and let it dry. While the crackle dried I worked on my interior elements.

I used the mini deer and the mini snowflake mover and shapers from Sizzix. The deer got a nice coat of Charred Gold Embossing Powder. The snowflakes shimmer with Soft Fallen Snow Embossing Powder. I love the Soft Fallen snow powder. There is an iridescent glitter in it and it has a lovely twinkle.
By now my crackle was dry, but it was lacking something. I used Distress Stain in Tarnished Brass to highlight the cracks. The underlayer of Embossing Powder made for some really cool crackles.

And here is the part of the creative process where I got so excited I stopped taking pictures.
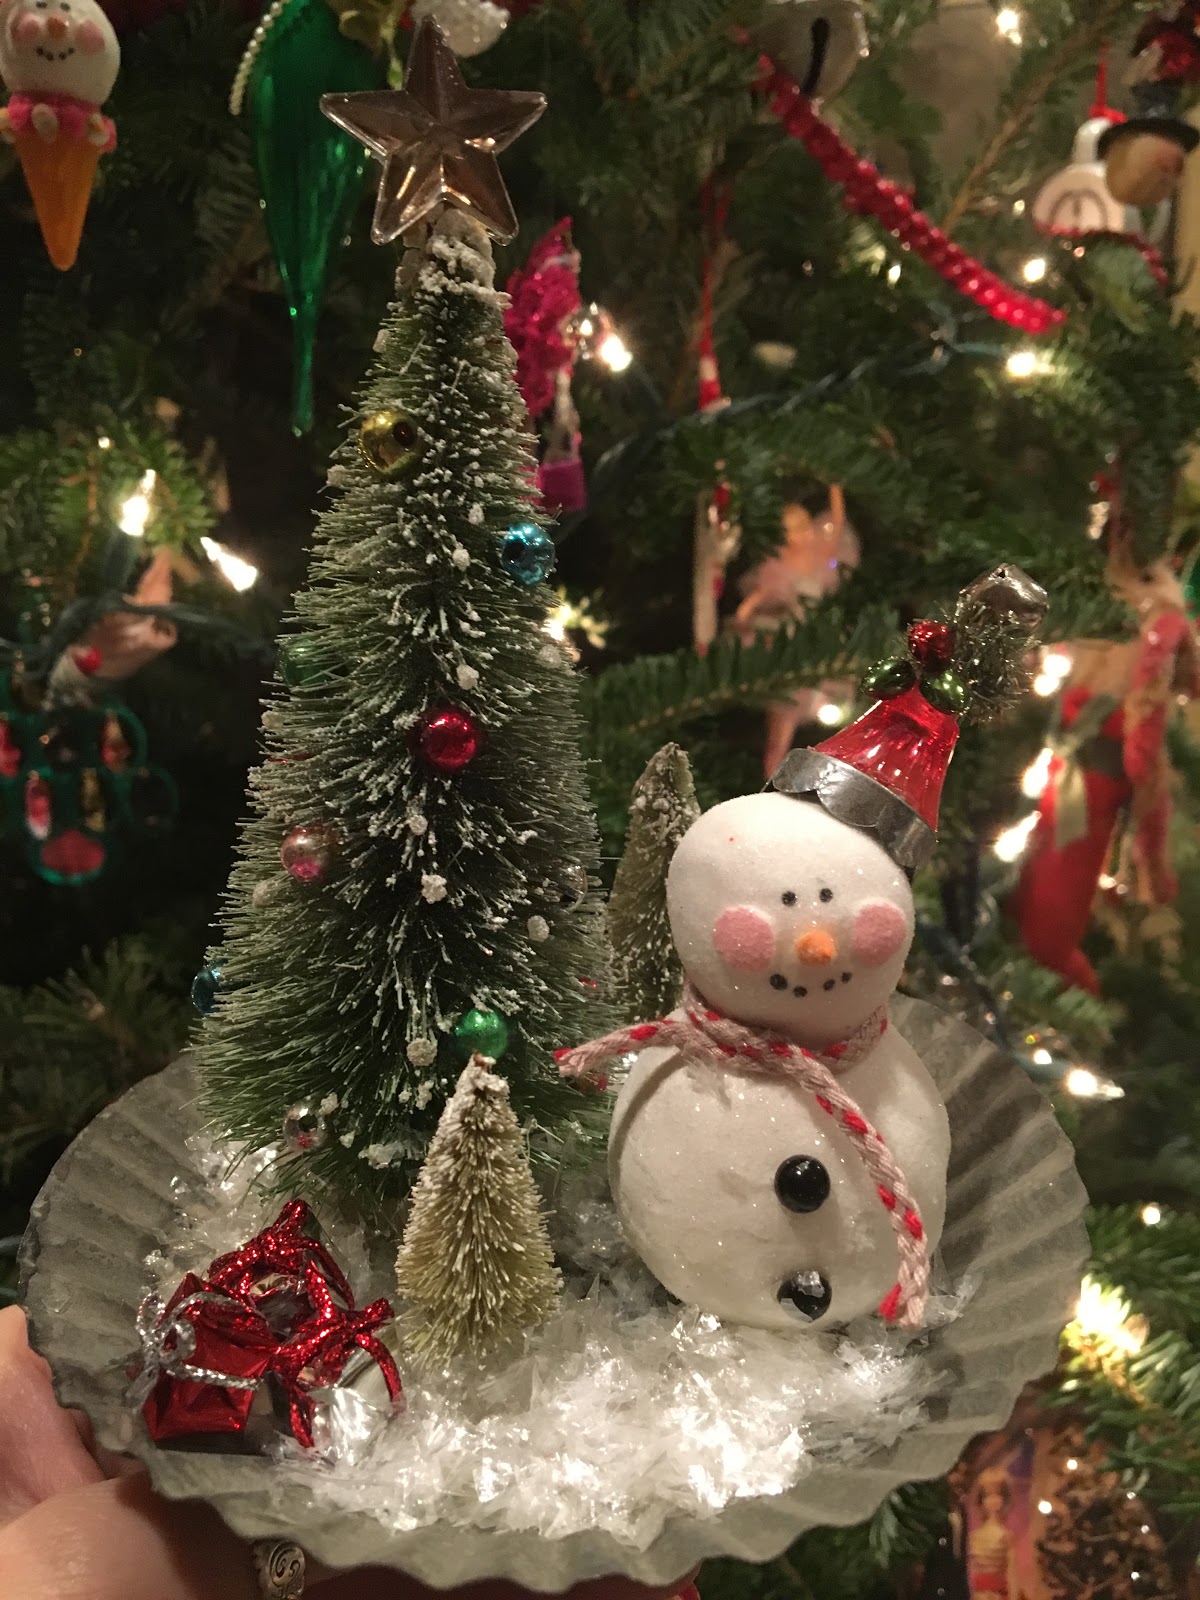
The bottle brush tree is colored with several shades of green Distress Spray Stains-Evergreen Bough, Moved Lawn, and Iced Spruce. Once the tree was dry I used Glossy accents to get Soft Fallen Snow Embossing powder to stick on the tree. I didn't heat the powder. I just let the glue dry and I got perfect snow on my tree. Once the powder was dry I used some of my vintage mercury glass beads to decorate the tree. A mirrored star and a bit of mushroom alcohol ink tops the tree.
The tree got glued in the corner and the deer was popped in front. I put the embossed snowflakes on the back and then using fishing line I added several Snowflake Charms. I poked hold in the box using a craft knife and just tied tiny knots to hold them up. To cover the holes and fishing line I made a big bow using seam binding and Barn Door Distress Stain.
The bottom was sprinkled with mica snow.
The finishing touch was a bit of German scrap edging.


A pretty little addition to the Christmas crew. Not too shabby for a headphone box.
Don't forget to enter the Winter Wishes Dare and you have a chance to win a $50 gift card to the shop.
I hope you all have a wonderful holiday surrounded by friends and family.
Merry Christmas,
Jess
Awesome Emerald Creek Supplies used:
Charred Gold Embossing Powder
Soft Fallen Snow Embossing Powder
Clear Embossing Powder