Thursday, September 1, 2016

Faux German scrap technique


Hey Everyone,
Sorry for being such a terrible blogger.  I have been crafting.  I promise.  I post on Instagram all the time, I just don't make it on here as often as I should!

A few months ago my Mum and I went to an estate sale and scored the mother lode of German Scrap paper. This is just a snippet of the loot.
I have been using it on some of my recent projects, but I wanted to come up with a technique to make my own so I don't use it too quickly. German scrap is expensive and I wanted something that wouldn't break the bank.  Ideas started to swirl and here is what I came up with.
I started by using a Martha Stewart edge punch on a Manila folder.
 I left about a half an inch border one the side to use my embossing folder.  I found these skinny embossing folders at the thrift store and they are perfect for this technique. I cut the folder in half so I can run it all along the edge of the paper.  
Once I punched and embossed the manila it was time to heat emboss.  I used an ink blending tool to get my embossing powder in all the nooks and crannies. It's best to do this in small sections at a time. This way your embossing ink doesn't dry out when you're making your way down the strip and you don't have to use a trough of embossing powder. I used Emerald Creeks Charred Gold and Hammered Metal. These mixes have multiples colors and give the look that the paper is aged. 

I can't wait to use it on a project!
Jess


Thursday, August 11, 2016

Creative Chemistry 103

I've slowly been making my way through Creative Chemistry 103. I've been jumping around, but here are some of my favorites. 
Layered Distress Crayon technique from day four. 
Distress Crayon watercolor resist from day four. 
Alcohol ink flowers on yupo from day five. This technique is sooo much fun. They work up really quickly and you can just keep playing and adding layers. I use my alcohol inks to tint, but I've never really liked them as a background on the glossy cardstock. Yupo is a game changer for sure. 
Here is one more technique using Yupo 
This is from day five too. 
 Spritzed watercolor technique made me love my markers all over again. This is from day two. 
Distress Rub Resist from day two. 
This has to be one of my favorite techniques from the whole course. Distress off-set stamping is so lovely. It looks perfectly imperfect. 

I have a bunch more in the works and in various stages of completion. As I work my way through I will post them. If you haven't taken these classes they are worth the money! 
What have you made in class? 
Jess

Monday, July 18, 2016

Guest posting for Emerald Creek Designs


I am so excited to be guest posting for Emerald Creek Designs today.  Emerald Creek is an online store that specializes in embossing powders, stamps, and carries a ton of Ranger product. 
The current challenge they have running is Blast from the Past-Anything Goes. 


 I decided to take a piece I still love, but remake it using Emerald Creek Supplies and see what I could come up with.
Here is the original.  It's very soft and feminine.  I still have it hanging in my craft room.  

I wanted to have the remake be a little bit darker, kind of like her bad big sister. My more recent work has a much looser look.  I am loving splatters and drips.  I have been using my fingers to spread on inks, stains, and paints.  It doesn't look pretty when I have to go out, but it sure is fun.  
Her wings are so cool.  I used the Charred Gold embossing powder and this stuff rocks.  It's super chunky and you can layer it on really thick.  It moves around so you can create drips and waves. 
The flowers have some sprinkled in the centers too.  Some of the petals were dipped in the Soft Fallen Snow Embossing powder for an added layer.  The leaves were embossed with Vintage Ivy. The bottom corner has some Hammered Metal to mimic the metal corner I used in the original piece.  

Here's one more close up.  I hope you liked my redo.  

What have you been crafting? 
Jess


Emerald Creek Supplies I used:
Hammered Metal Embossing Powder
Charred Gold Embossing Powder
Soft Fallen Snow Embossing Powder
Vintage Ivy Embossing Powder
Sea Chest Stamp

Other products available on Emerald Creek:

Mowed Lawn Distress Stain
Broken China Distress Stain
Salty Ocean Distress Stain
Crushed Olive Distress Stain
Mowed Lawn Distress Ink
Broken China Distress Ink
Salty Ocean Distress Ink
Crushed Olive Distress Ink
Peacock Feathers Distress Crayon
Mermaid Lagoon Distress Crayon
Twisted Citron Distress Crayon
Black Soot Distress Crayon
Tim Holtz Craftcore Cardstock
Distress Markers

Other Products:

Sizzix Layered Wing Die
Sizzix Tattered Pinecone Die
Sizzix Tiny Tattered Floral Die
Cabinet Card
Found Relative Card
Archival Ink
Tissue Wrap
Acrylic Paint
Fude Ball Pen
Canvas Panel
EZ Steam II
Paper flowers
Foam Tape
Double Stick Tape
Hot glue

Monday, July 11, 2016

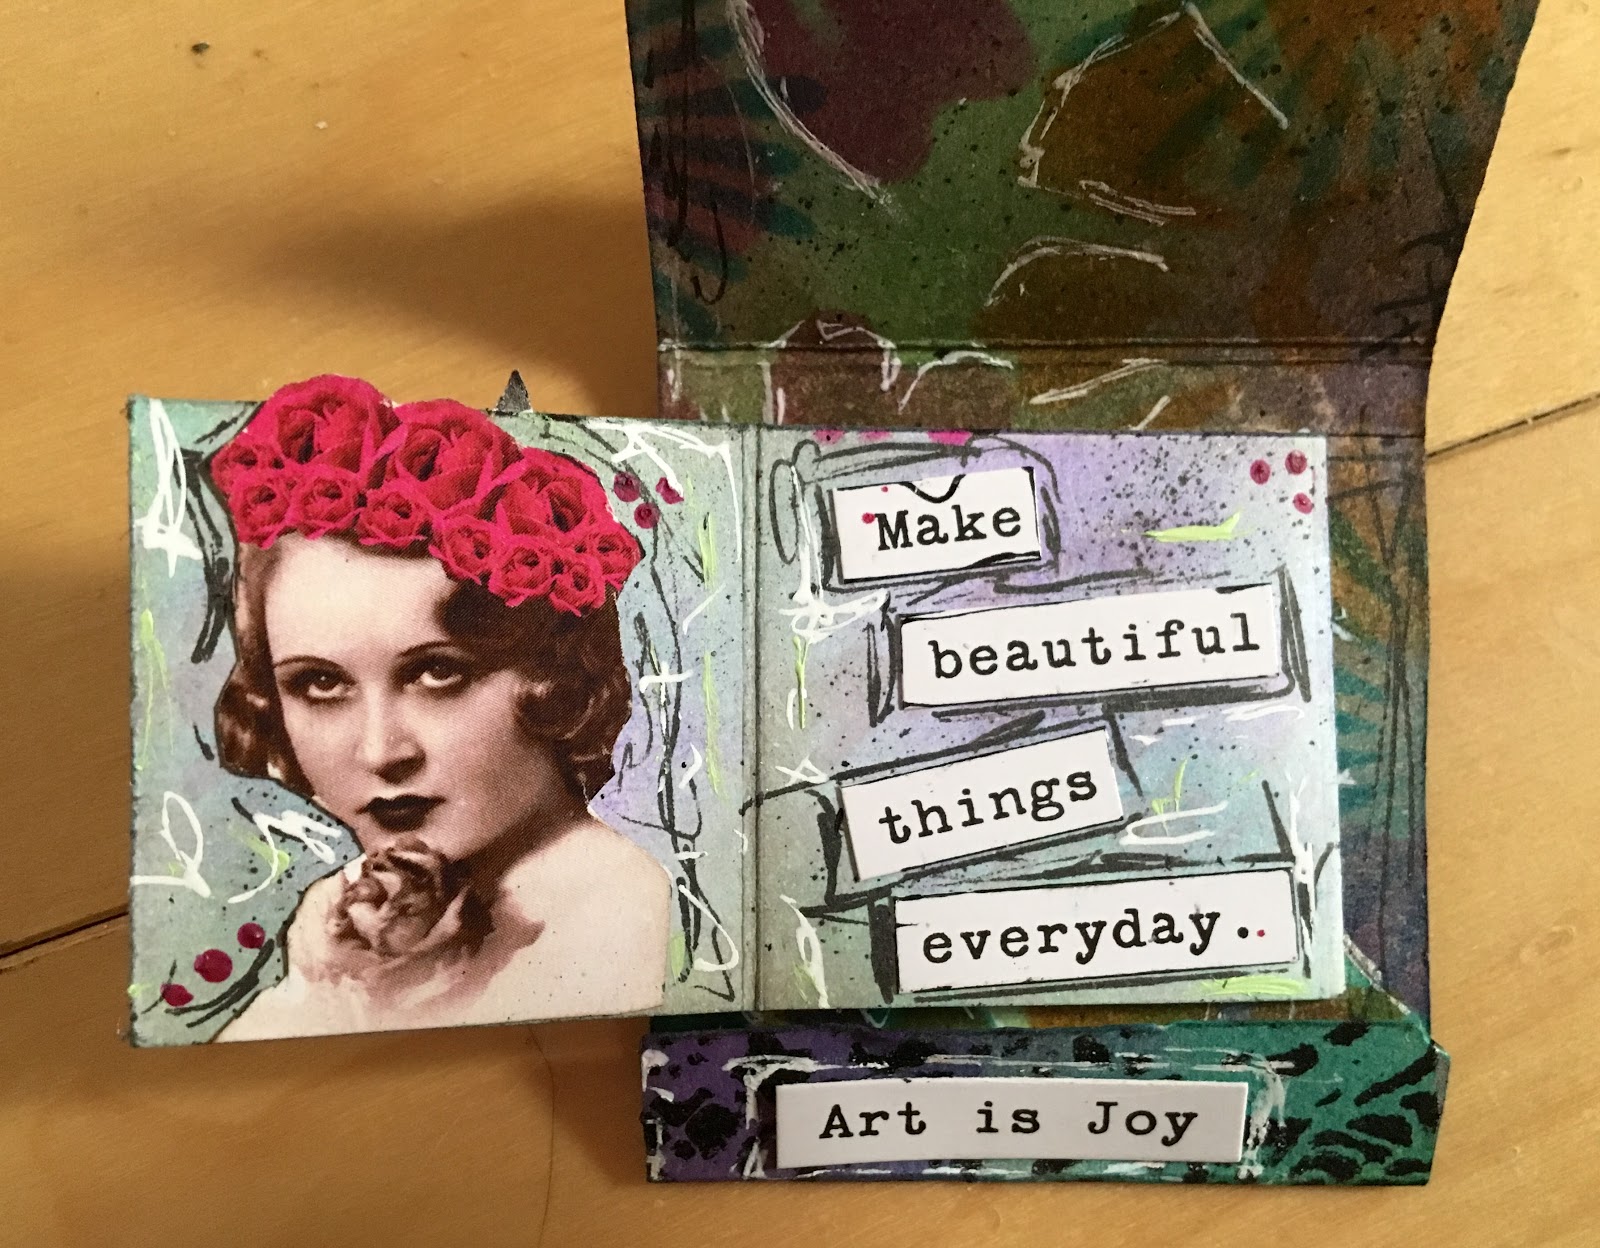
Altered Matchbook

Over the weekend I posted a sneak peek of this before I had my blog post ready to go.
Wow! I got a crazy response to this little matchbook when I posted it on Facebook and Instagram. Please excuse the wiggly camera.  I was shooting it myself and I also had terribly chippy nails I was trying to keep out of the shot.  
I followed this amazingly simple tutorial to make mine.  
Here are some better photos of my little matchbook!
I used manila to make my base and covered it with Distress Inks. Black acrylic ink was pounced through my stencil to complete the back.  The little book is just a light weight cardstock folded according to the tutorial instructions.  
All of the ladies are from Art Chix Studios.  
I hope you enjoy seeing some closer looks!

Jess


Sunday, June 19, 2016

Fabric Elements Art Banner

I know I promised weeks ago to post this banner, but I got so excited about Creative Chemistry class that I forgot!  This is a smaller canvas piece than the last one I made.  This is about 7 inches long and the other panel was 12.  I really enjoyed working on the smaller size.  
I used some vintage German Scrap on the top.  It's such a wonderful heavy paper and there are a million shades of gold in there.  
The background is Tim Holtz tissue wrap ironed on to the canvas.  I colored the tissue using distress stains and inks.  I flicked black and white acrylic paint all over it.  Isn't this girl just lovely? I printed her on cardstock and fussy cut her out.  The butterfly wing is from a Dover clip art book.  Mirrored stars are colored with Mushroom alcohol ink for a vintage feel.  
Once all my pieces were glued down I went in with my fude ball pen and added some scribbles.  
Here is the completed banner one more time.  

What have you been crafting?
Jess


Sunday, June 12, 2016

Summer of Creative Chemistry Week 2

This week I made two tags.  The first tag uses the stamping with stains technique.

The second tag uses the marbled stains technique, watercoloring with markers, stamping with markers, and a bit of layered misting.

There's still plenty of time to sign up! Even if you've been using Tim Holtz products for years it is well worth the price.

Disclaimer Notice

I've received products/compensation as part of the Gypsy Soul Laser Cuts Design teams. My projects, however, are 100% my own.