Showing posts with label big chat. Show all posts

Friday, January 26, 2018

Make A Wish


Hi Everyone,
I have a full step by step tutorial for you over on the Blank Page Muses Blog today.  
I would love for you to pop over and check it out. 
Jess

Monday, August 7, 2017

Just Be Yourself


Hi Everyone, I am posting for Gypsy Soul Laser Cuts today. 
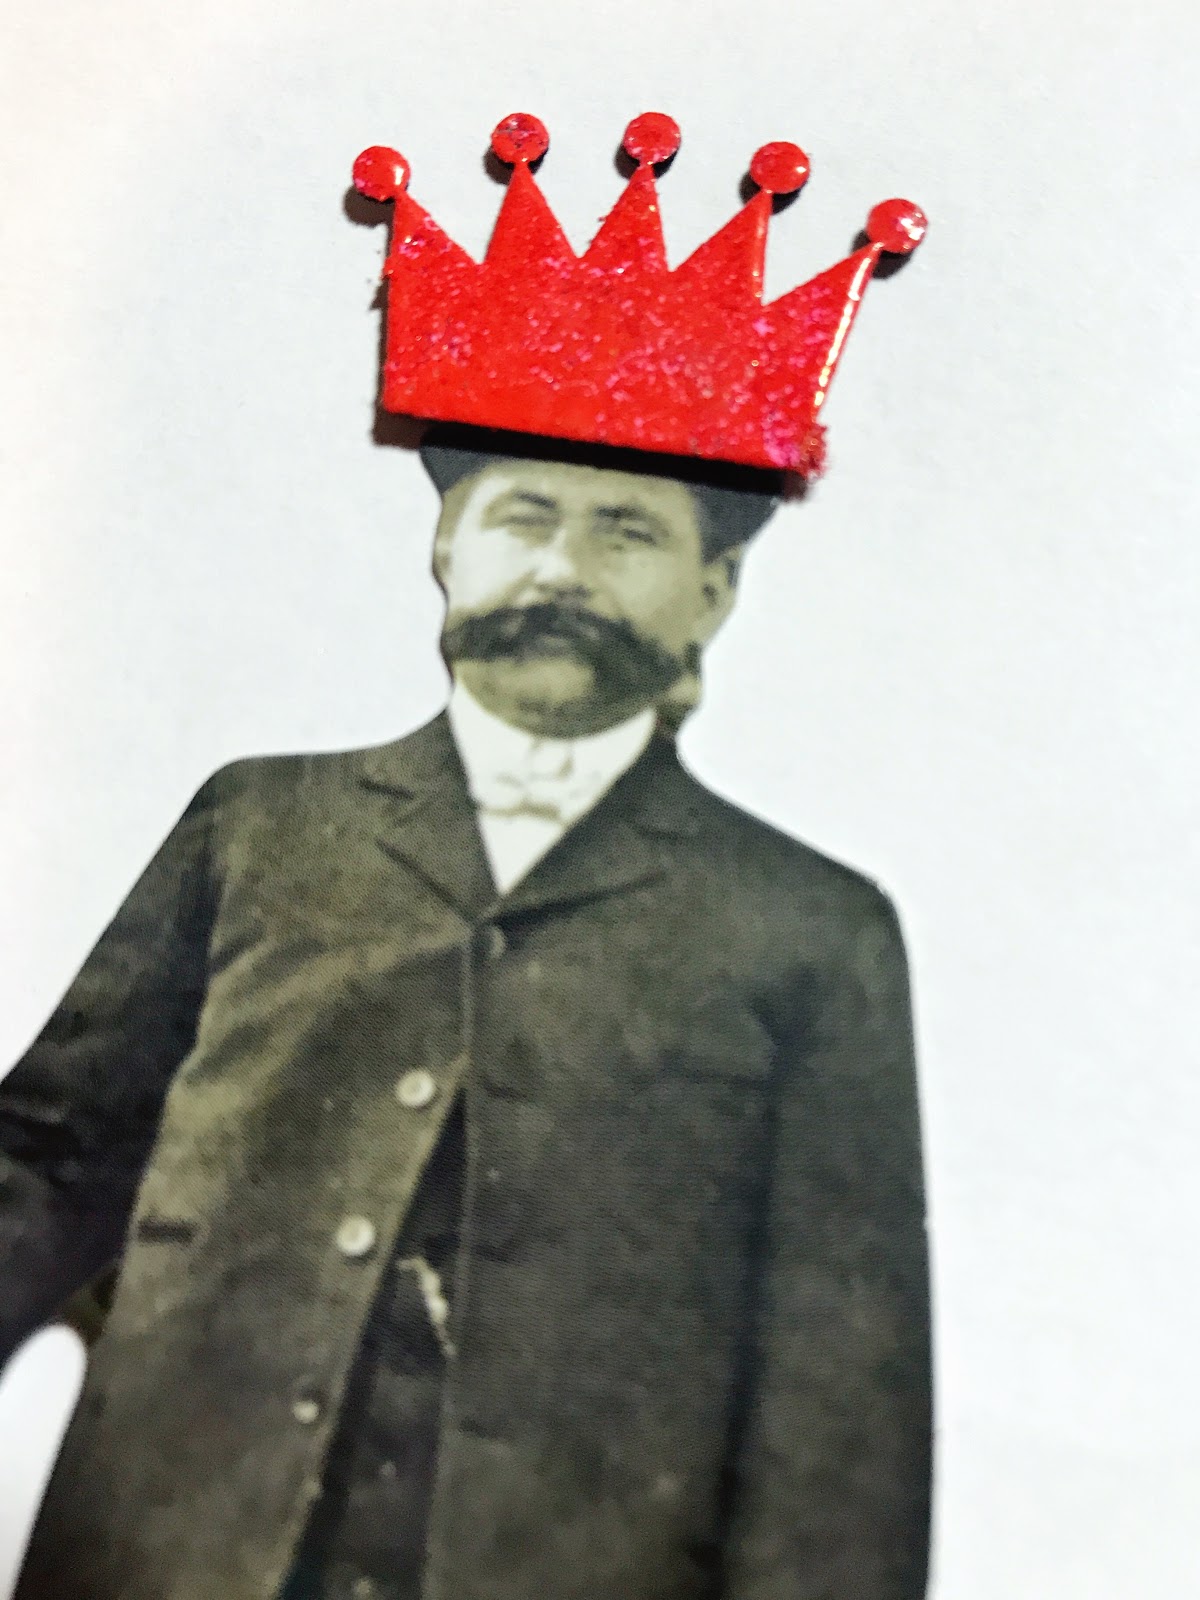
This started off with me just playing around with my paper dolls.The guys all look so serious, so I decided to give them a little bit of personality.  


Use the smallest crown from the Steampunk Shape Set.  I embossed this using Candy Orange and Sweet Valentine from Emerald Creek.  

Put on his fancy pants.  I tried just tracing and cutting them, but it wasn't quite working.  I ended up cutting his pants off and then gluing him back together so his jacket sat correctly.   
Paint your fragment.  I used Dina Wakley's Magenta hereThe other paints are Dina's in Lime and Lemon).  This one is from the Mixed Media Fragments 2 set.  In the final product you can see I also used pieces from the Mixed Media Fragments 1 set.  I used the same technique on all three tags.  I used a foam brush and dabbed on the color to get some texture in the paint. 


Use Distress Ink to create your tag.  I used the same four colors on all three tags. This is a mixture of Picked Raspberry, Peacock Feathers, Twisted Citron, and Carved Pumpkin.   

Flick on paint in black, Dina Wakley's sterling, and penny.  Add Black Soot Distress Ink and Crayon on the edges.  

Flick your fragment with paint at the same time.  I also just tapped the brush in various spots. 
Glue your Fragment to your tag.  Use foam tape to adhere your paperdoll.  Add your sentiment and any other final touches.  


Super fun and really easy project.  
Jess


Monday, March 20, 2017

Mermaid Dreams Canvas

Hi Everyone ,
I think you all know by now that I am a sucker for mermaids. I decided to break out my chipboard mermaid stash to create a mixed media canvas.


 I started with a 5x7 canvas board( I added a skimpy layer of gesso to the board) and several paint colors.  I used my fingers to smear on the paint.

 Once the paint dried I added Glimmermists in several colors.  I sprayed them really close to the board and let them run down.  I dried them with my heat tool.  I added a bit of tissue wrap just for interest on the background.  I adhered it using a gel medium.

Next, I grabbed my Mixed Media Fragments and used the circle piece.  I painted and sprayed it until I got a good green color.  I added a bit of tan using a sponge just to break up the greens.  Using a stencil I pounced my embossing ink through the stencil and then added Burnt Copper Leaves embossing powder.  I reheated some areas of the embossing powder and added gold foil.  I glued the fragment to the board.


I chose one of the larger Mermaid images and embossed her using Onyx Frost.  To make her tail shimmery colors I used Perfect Pearls.
The Crown was finger painted using the Distress Paint and then embossed with Fractured Ice. I used sticky backed pearls for the jewels.  You will see on the final photos that I changed some of the jewels and I used real stones instead.  

Once I glued all of the bits on the board I added in some rubs ons and scribbled some gel pen. 


Here is a photo when I finished it and sitting on my desk.  

Here are a couple beauty shots outside.  


I hope you enjoy!
I'm also entering this into the Simon says stamp Monday challenge.http://www.simonsaysstampblog.com/mondaychallenge/?p=8405 

Sunday, June 19, 2016

Fabric Elements Art Banner

I know I promised weeks ago to post this banner, but I got so excited about Creative Chemistry class that I forgot!  This is a smaller canvas piece than the last one I made.  This is about 7 inches long and the other panel was 12.  I really enjoyed working on the smaller size.  
I used some vintage German Scrap on the top.  It's such a wonderful heavy paper and there are a million shades of gold in there.  
The background is Tim Holtz tissue wrap ironed on to the canvas.  I colored the tissue using distress stains and inks.  I flicked black and white acrylic paint all over it.  Isn't this girl just lovely? I printed her on cardstock and fussy cut her out.  The butterfly wing is from a Dover clip art book.  Mirrored stars are colored with Mushroom alcohol ink for a vintage feel.  
Once all my pieces were glued down I went in with my fude ball pen and added some scribbles.  
Here is the completed banner one more time.  

What have you been crafting?
Jess


Wednesday, July 8, 2015

CC3 Challenge 32- Hello Possibility

I love plugging my way through the Compendium of Curiosities book with Linda Ledbetter and her curiosity crew.  This go around Linda had us try the Frosted Film technique.  I have never tried Frosted Film before.  I have had it sitting in my Tim treasure box for quite some time now.  I have to tell you my first try was a dud, but then I came up with this little beauty.  

I can't tell you the Frosted Film technique(that's part of the challenge), but I can tell you I will definitely be using this technique again.  Look at the dimension on the wings!
The background is made with several shades of green distress ink: Mowed Lawn, Peeled Paint, and Crushed Olive.  I added Fossilized Amber and Vintage Photo on the edges to warm it up.  Then I flicked a bit of water to break the color up.  A few spritzes of Vintage Photo marker added the speckles.  I used the trellis die to cut paper from the Wallflower collection.  The inside bits are from The Robin's Nest.   I love the tiny tattered flower in the corner too.  That is a must own die set.  The crinkle ribbon is dyed using Fossilized Amber and a bit of Tea Dye.  

Here are a couple closeups of her wings.


I love that they are see through.  In case you haven't noticed I have a thing for wings! 
The Funkie Junkie  is the sponsor for the CC3 Challenge this go round.  I am also submitting this to the Frilly and Funkie Say Something Challenge(that's the Funkie Junkie's challenge blog).  

I hope you enjoyed stopping by today!
What have you been crafting?
Jess


Sunday, June 28, 2015

Beautiful cameo

I haven't done a CC3 challenge in a bit.  It's time to remedy that now!
If you have not played you can jump on the bandwagon too.  Linda Ledbetter hosts the challenge  using Tim Holtz's Compendium of Curiosities III book.  Linda and her crew show us how they use the techniques highlighted in the book and then we are invited to play too.  There are fabulous prizes to be won.  Inspiration Emporium is giving a gift certificate to the winner.  Tim and Mario have donated some awesome prizes as well.
This challenge is using the paint resist technique.  The one big rule of the challenge is to not tell you how I did the technique(you need to buy the book to have all the secrets revealed).

I used the technique on the back of my canvas.  The chipboard cameo is from Gina's Designs.  There are 8 different cameos in the pack. 

You can't really tell in the photos, but the cameo and the backing are both shimmery.  There's a bit of stenciling on the cameo backing too. An industrious frame and a bit of paper behind it pop the cameo.  
I used some of the big chat for the words.  A little scuff from my sanding block gives them the right amount of grunge.  
A little metal corner and a resin dahlia complete the project.  
What have you been crafting?
Jess

Disclaimer Notice

I've received products/compensation as part of the Gypsy Soul Laser Cuts Design teams. My projects, however, are 100% my own.