Showing posts with label remnant rubs. Show all posts

Monday, August 21, 2017

Wicked Witch

 Hi Guys, 
I am posting for Gypsy Soul Laser Cuts today.
 Meet the sweetest wicked witch ever.  

Using a gel medium, cover your art doll with the paper of your choosing.  I covered the front and back of my doll using pages from an old shorthand book. 
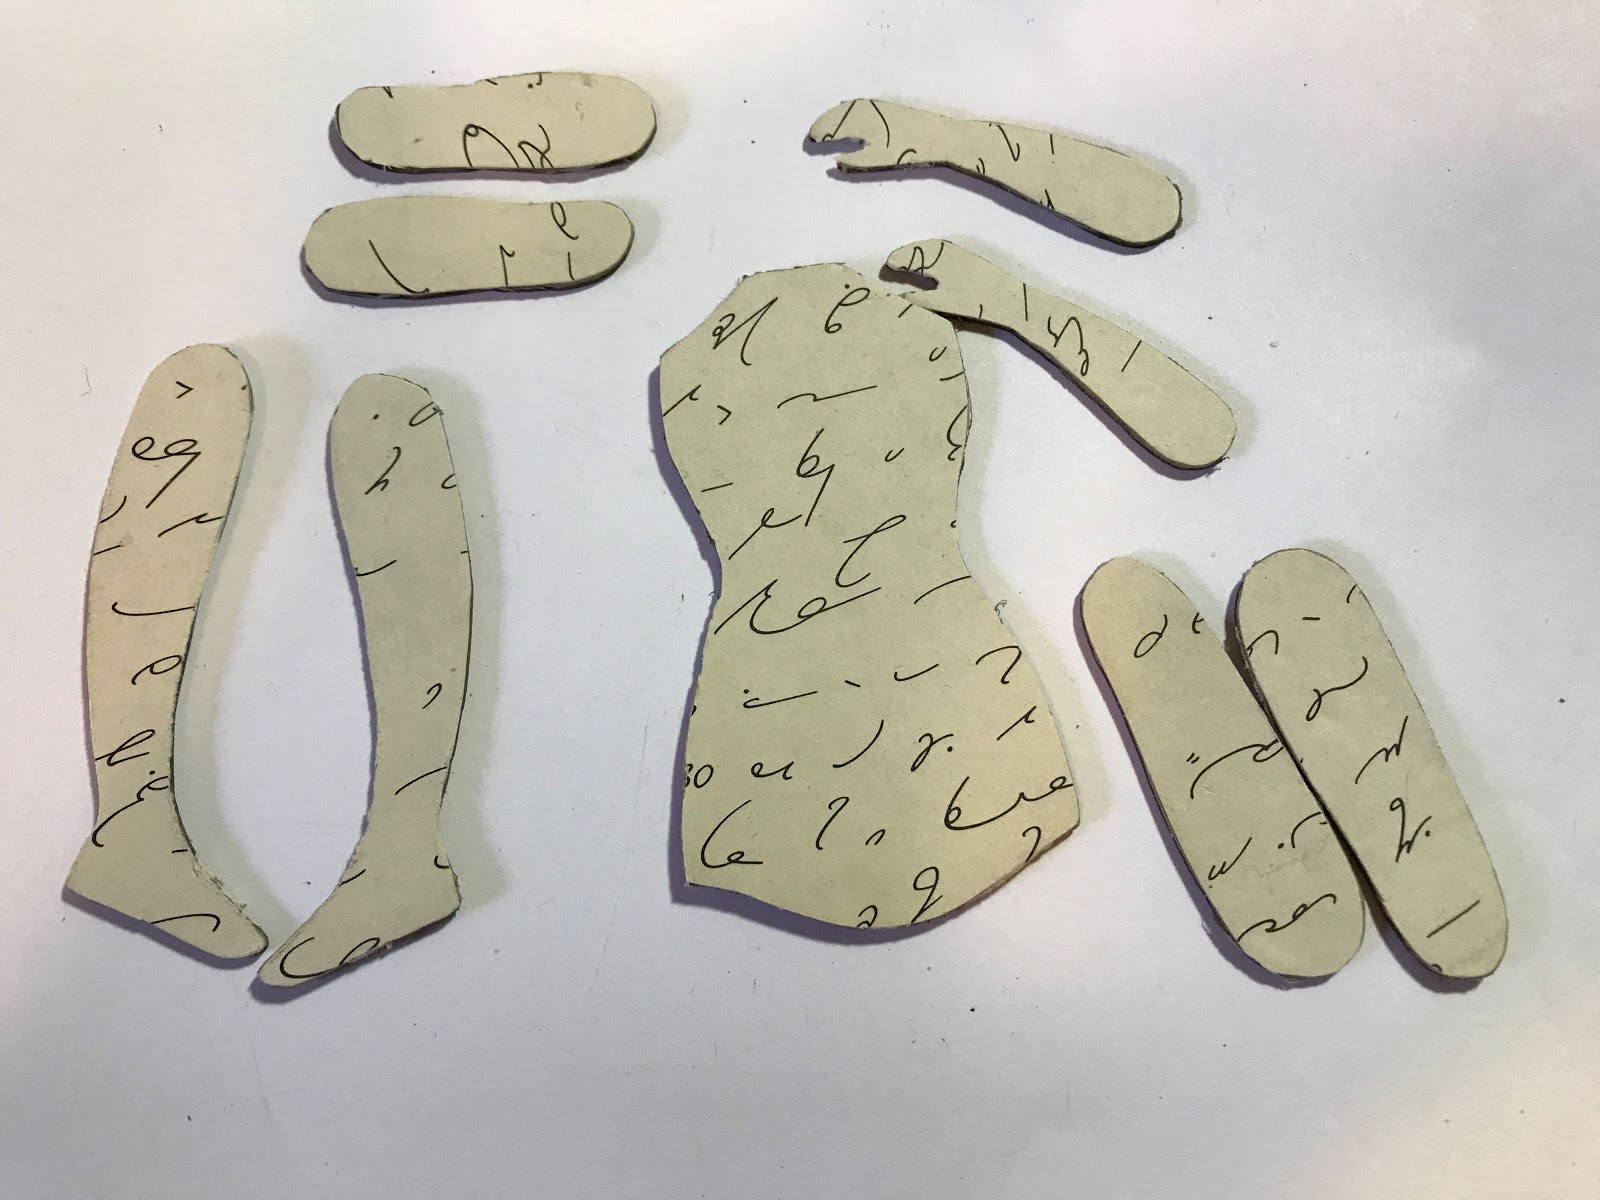
Go around all of your edges with Distress Ink in Antique Linen. Using an awl make holes in your doll for her joints and put her together using brads.  
You might notice she is missing her head. I used an image and then popped a witch hat on her head. 
I just glued the head to the body.  
The witch hat is mounted on a scrap of chipboard that was the edge of something I had from Gypsy Soul.  I ran the hat through my Xyron sticker maker and then just trimmed the chipboard around my new sticker.  The fabric on her hat is that same as her skirt.  I took white cheese cloth and sprayed it with Distress Stains.  The vintage bingo marker has a little spider rub on. 
The Bird Cage is covered with Emerald Creek Embossing Powders.  Instead of carrying a bird, she has a little bat in there.  
I cut her boots put of cardstock.  They are a little wonky since I freehanded them, but witch shoes don't have to be pretty.  

I love the brad on her belt and the necklace details too.
Here she is one more time.
Jess


Medium Art Doll
Bird Cage

Monday, March 20, 2017

Mermaid Dreams Canvas

Hi Everyone ,
I think you all know by now that I am a sucker for mermaids. I decided to break out my chipboard mermaid stash to create a mixed media canvas.


 I started with a 5x7 canvas board( I added a skimpy layer of gesso to the board) and several paint colors.  I used my fingers to smear on the paint.

 Once the paint dried I added Glimmermists in several colors.  I sprayed them really close to the board and let them run down.  I dried them with my heat tool.  I added a bit of tissue wrap just for interest on the background.  I adhered it using a gel medium.

Next, I grabbed my Mixed Media Fragments and used the circle piece.  I painted and sprayed it until I got a good green color.  I added a bit of tan using a sponge just to break up the greens.  Using a stencil I pounced my embossing ink through the stencil and then added Burnt Copper Leaves embossing powder.  I reheated some areas of the embossing powder and added gold foil.  I glued the fragment to the board.


I chose one of the larger Mermaid images and embossed her using Onyx Frost.  To make her tail shimmery colors I used Perfect Pearls.
The Crown was finger painted using the Distress Paint and then embossed with Fractured Ice. I used sticky backed pearls for the jewels.  You will see on the final photos that I changed some of the jewels and I used real stones instead.  

Once I glued all of the bits on the board I added in some rubs ons and scribbled some gel pen. 


Here is a photo when I finished it and sitting on my desk.  

Here are a couple beauty shots outside.  


I hope you enjoy!
I'm also entering this into the Simon says stamp Monday challenge.http://www.simonsaysstampblog.com/mondaychallenge/?p=8405 

Friday, October 23, 2015

Zombies!

I am not a horror movie fan.  I can read the scariest, creepiest, goriest books out there, but show me a movie and I am covering my eyes and ears.  I joined a Halloween ATC swap on Instagram and sat down to make a slightly creepy ATC.  Things quickly took a turn for the worst.

The sheet music background got a spritz of Tea Dye Distress Spray and then a shot of Barn Door.  The Tea Dye made it creepy.  The Barn Door turned it into gore.  Now that my ATCs looked like a crime scene I decided to run with it and grabbed my photobooth strips.
Using my distress markers I took these poor innocent souls and make them soulless zombies.
Just in case you needed to know Frayed Burlap makes excellent under eye circles.


I hope I didn't give you nightmares with this post!
I am entering these into the Something Wicked Challenge on Frilly and Funkie, the Halloween Horror Challenge on Our Creative Corner, and the Halloween Challenge on Try it on Tuesdays.
What have you been crafting?
Jess

Wednesday, October 14, 2015

Undertaker Calling Cards

I love to create for Halloween.  When I saw the Undertaker stamp set from Stampers Anonymous and Tim Holtz I knew it was a must have.  

I made a large cabinet card using the big Undertaker stamp.  I stamped the image on watercolor paper using Black Archival ink and then used Pumice Stone and Crushed Olive to tint the skull.  The hat is colored using Dusty Concord.  
The background is a combination of Dusty Concord, Twisted Citron, and Spiced Marmalade.  I used the Gothic Stencil and Hickory Smoke Ink for detail.  The cabinet card was given a coat of Crushed Olive Distress Paint and splotches of Rusty Hinge.  Then a coat of Black Soot.  I sanded off some of the black so the green shows through.  I inked around the edges using Twisted Citron.  I slid the background sheet in the card and then mounted the head on the card using foam tape.  The hat got some Maya Road ribbon and a resin flower.  The flower has some Slate Alcohol Ink on it.  I fussy cut the Halloween stamp and used my water brush to paint on the Dusty Concord.  A vintage watch part vial has some Meadow Alcohol ink inside and remnant rubs to warn you not to drink it.

Once I did the big cabinet card I thought it would be really fun to make mini cards.  I have been calling them calling cards.  They look like something the Undertaker might hand you to let you know your time is up. I used the same basic techniques on the little guys as I did on the large card. 


This card has some German decorative scrap on the side.  I love the bloody pen nib.  The little skull and feathers on his hat make me think of a voodoo undertaker.  

This guy has a flashcard and a token.  The rose looks like it is made out of bone.  It's almost enough to make you shiver.  


This is my favorite.  The "nice knowing you" stamp is from Martha Stewart.  I love the stamped and embossed spiderweb on the card.  The whole thing is just creepy perfection.  

I hope you don't get one of these calling cards anytime soon.

What have you been crafting?
Jess

Sunday, May 10, 2015

Tim tag for May

Yay! I loved this tag and followed what Tim did almost exactly. I didn't have the burlap paper so I used some burlap ribbon and glued it to my tag.

The ribbon is colored with Evergreen Bough, Weathered Wood, and Gathered Twigs.  


 The tiny tattered floral die is so worth getting. It makes the cutest teeny flowers.


I hope you enjoyed my take on this months tag.
What have you been crafting?
Jess

Disclaimer Notice

I've received products/compensation as part of the Gypsy Soul Laser Cuts Design teams. My projects, however, are 100% my own.