Showing posts with label etc tag. Show all posts

Monday, June 24, 2019

Land of the Free

Hi Everyone, I am posting my final project as a guest designer for the Simon Says Stamp Monday Challenge.  I hope you have enjoyed my projects as much I have enjoyed making them.

This week's theme is Stars and Stripes!


Today I have made a little home decor piece for you.  I started with a mini Tim Holtz Etc tag and covered it with paper from the Correspondence paper pad.  I used collage medium to adhere it to the tag and another coat on top.  Once the collage medium was dry I spattered on some Black Soot Distress Paint nand made some scribbles using a white gel pen.  A little bit of Vintage Photo Distress Crayon added some shading to the edge of the paper.
I spritzed some of the Tim Holtz Christmas Fringe with Tarnished Brass Mica Spray and glued it to the edge of the tag.

To create the center panel I used a vignette panel and covered it with paper.  I used the collage medium again underneath and on top of the paper.  Once again I added black and white details using the paint and gel pen.
Using metal tape I made several lengths of the Mini Provincial 3d Impresslit.  I painted them white and then used Distress Crayon in Walnut stain and Vintage Photos to grunge it up a bit.  I also pounced on a bit of Mushroom Alcohol Ink.  I removed tha backing from the paper and stuck the tape around the edges of the panel creating a frame.  I glued the panel to the center of the tag.

The paperdoll was given a coat of clear gesso and then I added Distress Marker in Faded Jeans and Festive Berries to give her a pop of color.  A teeny star was added to her sash for some bling.  A metal star was added to the top of her flag.   She is popped up on the panel using foam tape.

The stencil chip was painted with Dina Wakley Media Paint in Ancient.  While the paint was still wet I dripped on alcohol ink in Mushroom and Patina.  Because the paint was still wet it looks like it corroded the metal.  A vintage ticket was layered underneath and then the chip was glued down using foam tape.

I used letters from the Tim Holtz Halloween typography set to make the word "free.'  I  sanded the letters and painted on some Tarnished Brass Distress Paint, then wiped it off before it was totally dry.  I used collage medium to glue the letters to the panel.

A flashcard from the Tim Holtz Elementary was added to the bottom of the panel.  The card was dinged up a bit by running it along the side of my media mat.  I added some Tarnished Brass Distress Paint to the edges and glued it down using collage medium.

The clip on top was coated with clear gesso and then alcohol ink in mushroom and patina was added to age it.   A large star completes the clip.

I hope you were inspired to enter the challenge or at least bust out your supplies and make! Have a happy and safe Fourth of July. 
Happy crafting,
Jess


As always Simon Says Stamp will be giving away $50 voucher to shop at the fabulous Simon Says Stamp Store


Do you use Instagram ?  If so please add  #sssmchallenge so we can see your entries there too


You have until Monday 8am Ohio time. 1pm UK time, 2 pm CET to join in 

All of the products I used on today's project that are available from Simon Says Stamp are linked below.


Tim Holtz Christmas Fringe
Tim Holtz Mini Etc Tag
Tim Holtz Vignette Panel
Tim Holtz Mini 3d Impresslit Provincial
Tim Holtz Stencil Chips
Tim Holtz Elementary Flashcards
Tim Holtz Halloween Typography
Tim Holtz Paperdolls
Tim Holtz Vintage Clips
Tim Holtz Paper Pad Correspondence
Tim Holtz Faded Jeans Distress Marker
Tim Holtz Festive Berries Distress Marker
Tim Holtz Collage Medium
Tim Holtz Alcohol Ink Mushroom
Tim Holtz Alcohol Ink Patina
Tim Holtz Distress Oxide Spray Walnut Stain
Tim Holtz Distress Crayon Vintage Photo
Tim Holtz Distress Crayon Walnut Stain
Tim Holtz Distress Paint Tarnished Brass
Tim Holtz Distress Paint Picket Fence
Tim Holtz Distress Paint Black Soot
Tim Holtz Mica Spray Tarnished Brass
Tim Holtz Star Adornments
Uni-Ball Signo White Gel Pen
Prima Clear Gesso
Dina Wakley Media Paint Ancient
Dina Wakley Media Paint Umber

Friday, March 15, 2019

The Social Butterfly

Hi Everyone,
Earlier this year I made the decision to step down from most of my design teams and not to apply to any new ones.  Don't get me wrong, I really enjoy being on teams and I have been on some amazing ones, but I missed making just to make.  I wanted more time to play with my stuff.  Today I pulled out a bunch of my new toys and just made.  I wanted to try a couple experiments, some worked and some didn't but I had the time to do it.  I think play makes you a better artist.  You learn how to use your tools in new and creative ways. 
So, here is the result of today's session.
I used one of the mini etcetera tags from Stampers Anonymous as my base.  I covered it with paper and then coated the whole thing with collage medium.  I sprayed on Worn Lipstick, Cracked Pistachio, and Vintage Photo Oxide sprays.  I dried it with the heat gun and then wiped it down.  I then added grit paste through a stencil and dried it.  Once it was dry I painted the flowers(Distress Paint in Victorian Velvet, Peeled Paint, Twisted Citron; and  Dina Wakley Paint in Blushing) and then spritzed them with my glitter duster.  Using a dry brush I added paint to the background(PaperArtsy Paint in Green Patina and Distress Paint in Tarnished Brass) and then splattered on Black Soot Distress Paint.

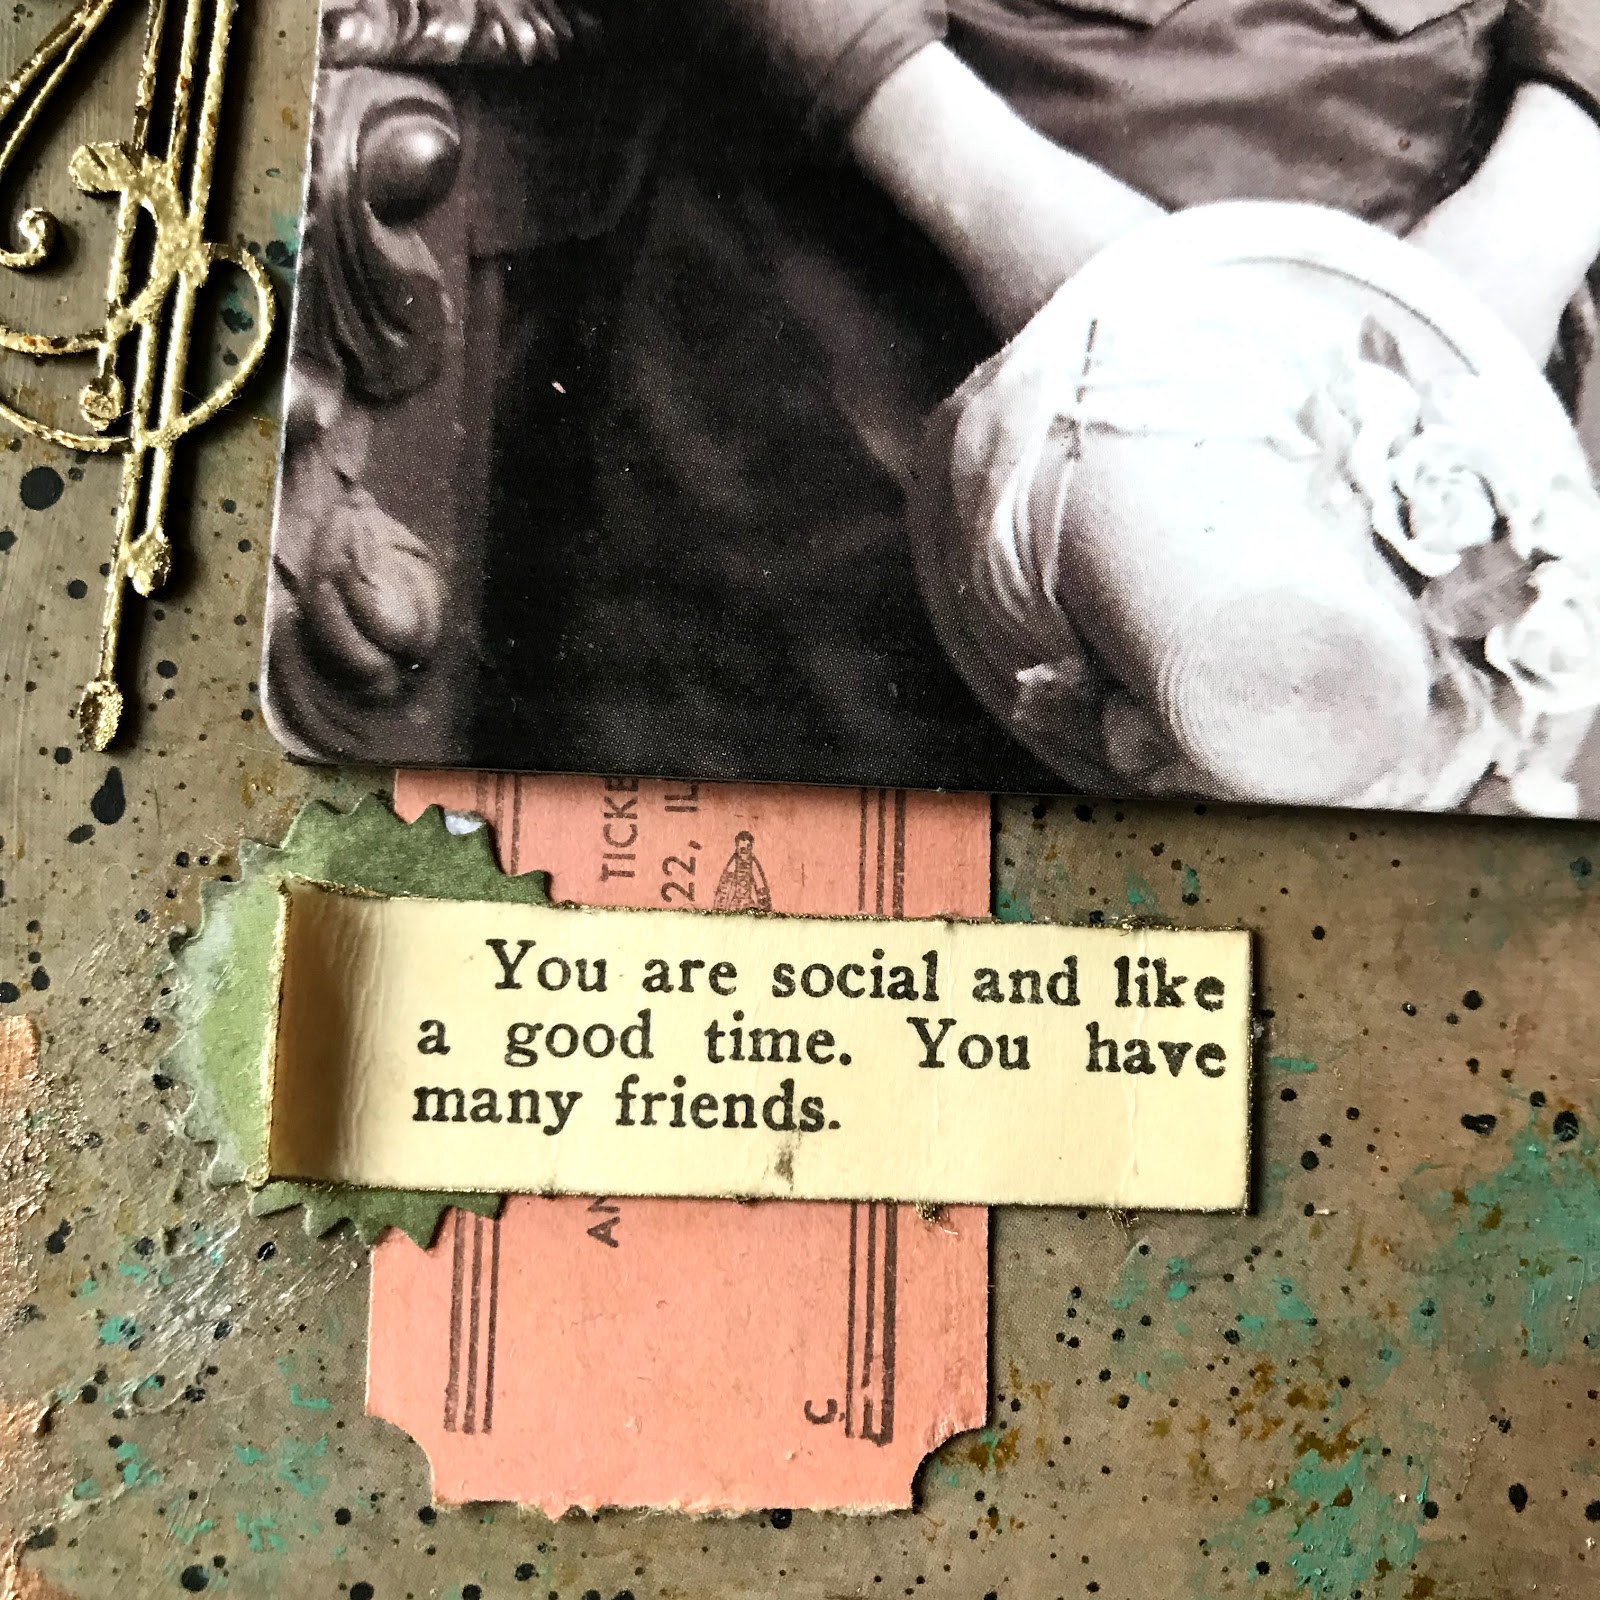
I pulled bits from my vintage ephemera drawers and picked pieces that matched the color scheme of the base.  The vintage fortune gave me the idea to create the social butterfly. 
I picked the Found Relative out of the new pack and started to alter her.  I took two pairs of the new acetate wings from Tim Holtz and coated the back of one with collage medium.  I smooshed Oxide ink in Victorian Velvet, Worn Lipstick, and Spun Sugar on my craft mat.  I ran the wings through and dried them.  I added a couple more layers like this.  Once I had the pink the way I liked it I sprayed the wings with Distress Spray Stain in Tea Dye and used an old Perfect Pearls mister to get the hint of sparkle. I coated a second pair of wings and then smoosh the two together.
I cut slits into the photo and slipped them in.  I glued them to the back of the photo.  I took some teeny vintage flowers and gave her a large bundle right where she had some flowers on in the photo.  I colored the background using a Distress Marker in Tumbled Glass.  I added a double layer of foam tape to the back of the photo so she is raised off the base.  
I embossed a Gypsy Soul Frame with gold embossing powder and slipped it behind the photo so you can just see the flourish.  
There ya go! The social butterfly is ready to go to her supper(did you see that on the vintage ticket) and mingle.  
Have a great weekend,
Jess


Try it on Tuesdays Inspired by a word challenge(the word I was inspired by was social)
  

Thursday, March 15, 2018

Spring in Paris

Hi Everyone,
I am so honored to be a Guest Designer for the Frilly and Funkie blog today. 


The current theme is "Knock on Wood."  I was asked to incorporate some type of wood into my art.  I decided to start with a medium size Etcetera tag from Tim Holtz.
I covered the tag in a piece of paper from the Tim Holtz Wallflower paper pack, using Distress Collage Medium to adhere it to the tag.  
I flicked on Distress Paint in Black Soot, Tarnished Brass, and Picket Fence.
My next step was to tint this image I had of the Eiffel Tower.  I used Distress Markers in Broken China and Mowed Lawn to give it a hand tinted look.    
My first wood element is this mini framed panel from Tim Holtz.  This is one of the small frames that comes in the two pack. 

I painted the frame using Picket Fence Distress Paint and then spritzed it with Walnut Stain Distress Spray Stain.  I used a very tiny paint brush to add Tarnished Brass Paint to the edges.  I rubbed Distress Crayon in Walnut Stain on the frame to darken it up just a bit.  
My second wood element is a Tim Holtz Vignette box.  I whitewashed the box using Picket Fence and then used industrious stickers on the front.  I used alcohol ink in gold and mushroom to color the 
stickers. 
 The outside edge has a wrap of decorative tape from the Tim Holtz Rose pack. 
I filled the box with flowers and Tim Holtz beaded berries that were colored using gold alcohol ink. 
My third wooden element is a Tim Holtz ruler.  I sprayed the ruler with Tea Dye and Walnut Stain Spray Inks.  
Here's another yummy shot of the flowers.

I added Tim Holtz Typography letters that were colored using Distress Paint in Tarnished Brass.  Once the paint was dry I added alcohol ink in Mushroom and Distress Crayon in Black Soot to give them some patina.  

The Tim Holtz paper dolls  were given a pop of color with Distress Markers. 
I added them to the edge of the frame and gave them some flowers.  
For finishing touches I added Prima flowers and leaves.  They were given a spritz of Distress Spray Stain in Walnut Stain. A large strip of vintage Dresden was added to the side too.  

The top corner and bottom corner got a little stencil treatment.  I used a Crafters Workshop stencil and Ranger Texture paste for some dimension.  The color was added using Distress Crayons in Walnut Stain, Vintage Photo, and Black Soot.  

Sari ribbon and a Tim Holtz loop pin add interest to this corner.  
I hope you enjoyed my tutorial and are inspired to enter the challenge.  

Jess


Friday, September 15, 2017

The Strange Story of Amelia Hardy

Hello Everyone,
I love creating for Halloween. I have a creepy project for you today with a full tutorial over on the My Rusty Crown Blog.  Pop over and have a look.  Here's a little taste of what awaits!


Jess

Disclaimer Notice

I've received products/compensation as part of the Gypsy Soul Laser Cuts Design teams. My projects, however, are 100% my own.