Monday, September 24, 2018

Pockets full of inspiration

Hi Everyone,
I think most of you know I am a huge reader.  I love everything about books.  Remember when you used to have to sign out your books at the library by writing your name on the card in the pocket?  Today I have a project for you using library pockets.


Blank Page Muse Products:

Other Supplies:
Library Pockets
Paper Dolls
Photobooth Photos
Distress Inks
Distress Oxide Ink
Archival Inks
Adhesive
Chipboard Sentiments
Bronze Paint
Vintage Sheet Music
Heavy weight thread
Milk Cap
Die Cuts
Mini flashcard
fabric tape
Frosted Crystal Embossing powder
Cardstock
Paper Distresser

Start by using a piece of silver cardstock. Coat the cardstock using Distress Ink and Oxide Ink ( I used rusty hinge and walnut stain).  Once the ink is dry use archival ink( Potting Soil) to stamp the  Small Crackle stamp.  Using a paper distresser rough up all the edges and cover the front of your library pocket.  
Stamp a piece of vintage sheet music with the postal stamp from the Correspondence  set.  Slide the paper into the pocket and glue it in place.  Add your 3d embossed border to the top of the pocket.  Stitch a small "x" onto your photo and glue it onto the crackled background.  Glue on the milk cap and chipboard sentiment. 
Stamp out the small Butterfly using archival ink.  Add bronze paint to the edges and cut the butterfly in half.  Add the wings to a paper doll and slide her into the pocket. 

This will complete your front cover. 


 Line a second pocket up to the backside of your first pocket.  Using a piece of fabric tape attach the pockets together.  Line the backside of your first pocket with a vintage airmail envelope.  Use postage stamps from the Correspondence  set in various spots.
Using Jet Black archival ink stamp a Hot Air Balloon.  Color the balloon using various shades of blue distress ink.  Fussy cut your balloon and use the bronze paint to cover your raw edges.
Adhere the balloon to the page.  Add a paper doll, chipboard sentiment, and die cut globe (from the Sizzix side orders).  Using the smallest  of the Feathers stamp them all around your page.  

   Use patterned scrapbook paper to cover the pocket on your next page.  Add the Pointing Hand and Feathers to the top of the pocket.   

Use the   Small Crackle stamp to add age to a tiny flashcard.  Use bronze paint around the edges. 
Add paper doll with die cut suitcase into the pocket. The suitcase is from the Sizzix Side order and was embossed using the Lumber 3d embossing folder. 
Here are the middle pages. 


For the back of the second page(your back cover), stamp on a plain piece of cardstock. Use the script stamp from the Correspondence  set, the  Small Crackle stamp, Sequin Waste, and the  Feathers.  I used various shades of archival inks in browns and reds to create my background.  Glue the paper to your pocket.  Rip a piece of patterned scrapbook paper and add it to the edge.  Stamp out a couple Feathers using archival ink and fussy cut them,  Add the tiniest hint of blue using distress inks to the feathers and edge in bronze paint.  Cut a small slit in your photo and slide the feathers in to make them appear to be wings.  Glue remaining pieces to complete your book.     
I hope you enjoyed this project as much as I enjoyed creating it.

Monday, September 17, 2018

Collector of Curiosities

Hi Everyone,
I'm up on the Gypsy Soul Laser Cuts blog with a little Halloween decor piece.
 
Here's how you can make your own. 
Cover the Miniature Clipboard with a bit of Tim Holtz paper.  Cover the entire piece of paper with Distress collage medium.  I like the finish it gives and how it takes the various inks and crayons.  Ink the edges using walnut stain Distress Ink and add some splats(using your Tim Holtz Splatter stencil) to look like coffee and possibly slime.  The slimy green is actually Emerald Creek's Apple Martini embossing powder so it's raised up a bit off the paper.  I did emboss the clip part of the clipboard, but decided not to use it in my final design. 
Emboss the edge of your Small Canning Jar.  I made a jar similar to this back in February.  If you'd like to check out the tutorial I have linked it here for you.  With this jar, I wanted it to look a bit grungy and murky.  Pounce mushroom alcohol ink onto the acetate and it will muddy up the "liquid" inside the jar.  A piece of cheesecloth stained with blood(kidding, it's alcohol ink) gets tied to the lid. 
Cut a piece of background paper to go behind your canning jar and add your images.  These guys from the Tim Holtz Scared Silly set were stamped and fussy cut.  The images were stamped on a heavy watercolor paper and colored using Distress Markers.   Make sure you play with your placement before gluing anything down.  
You can see here at this point I was still playing with the idea of leaving it as a clipboard.  I also hadn't added the eyeballs.  It's always good to play with your composition before you glue!
 I decided that the jar on the clipboard wasn't enough and I wanted to beef up my project.  A small Tim Holtz framed panel was the answer.  Cover the panel with a piece of worn wallpaper and add Distress Oxides(walnut stain, ground espresso, forrest moss) so the paper looks water damaged.   
On the frame, randomly paint on Distress Rock Candy Crackle Medium. Once it starts to crackle you can heat it up to speed up the drying process.  Paint the frame using Prima Art Alchemy paint in Metallique Blackberry.  Once the metallic paint is dry use a thin layer of Distress Paint in Black Soot on the entire frame and wipe most of it away. You just want it to sink into the recesses.  In random areas add metallic waxes in opal colors.  This adds another layer of dimension, but doesn't add a ton of color.  The final step on the frame is to use a fine brush and Dina Wakley Gilt paint to go around the edges.  Perfection is not the goal here.  The frame is supposed to look funky and old.  
Glue the frame to the back. 
Add your clipboard to the frame and add a chip quote to the top. 
A Halloween story stick, clipping sticker, and eyeball brad round out the finishing touches. 
I hope you enjoyed this little project.  It was fun to make! I can't wait to pull out all of Halloween decor now.
I'm entering this into the  Simon Says Stamp- That's a Wrap! challenge.  The beast is lovingly packaged in a jar and wrapped up tight!


Monday, September 10, 2018

The perfect compostion

Hi Everyone,
I have a fun post created for Blank Page Muse today. 

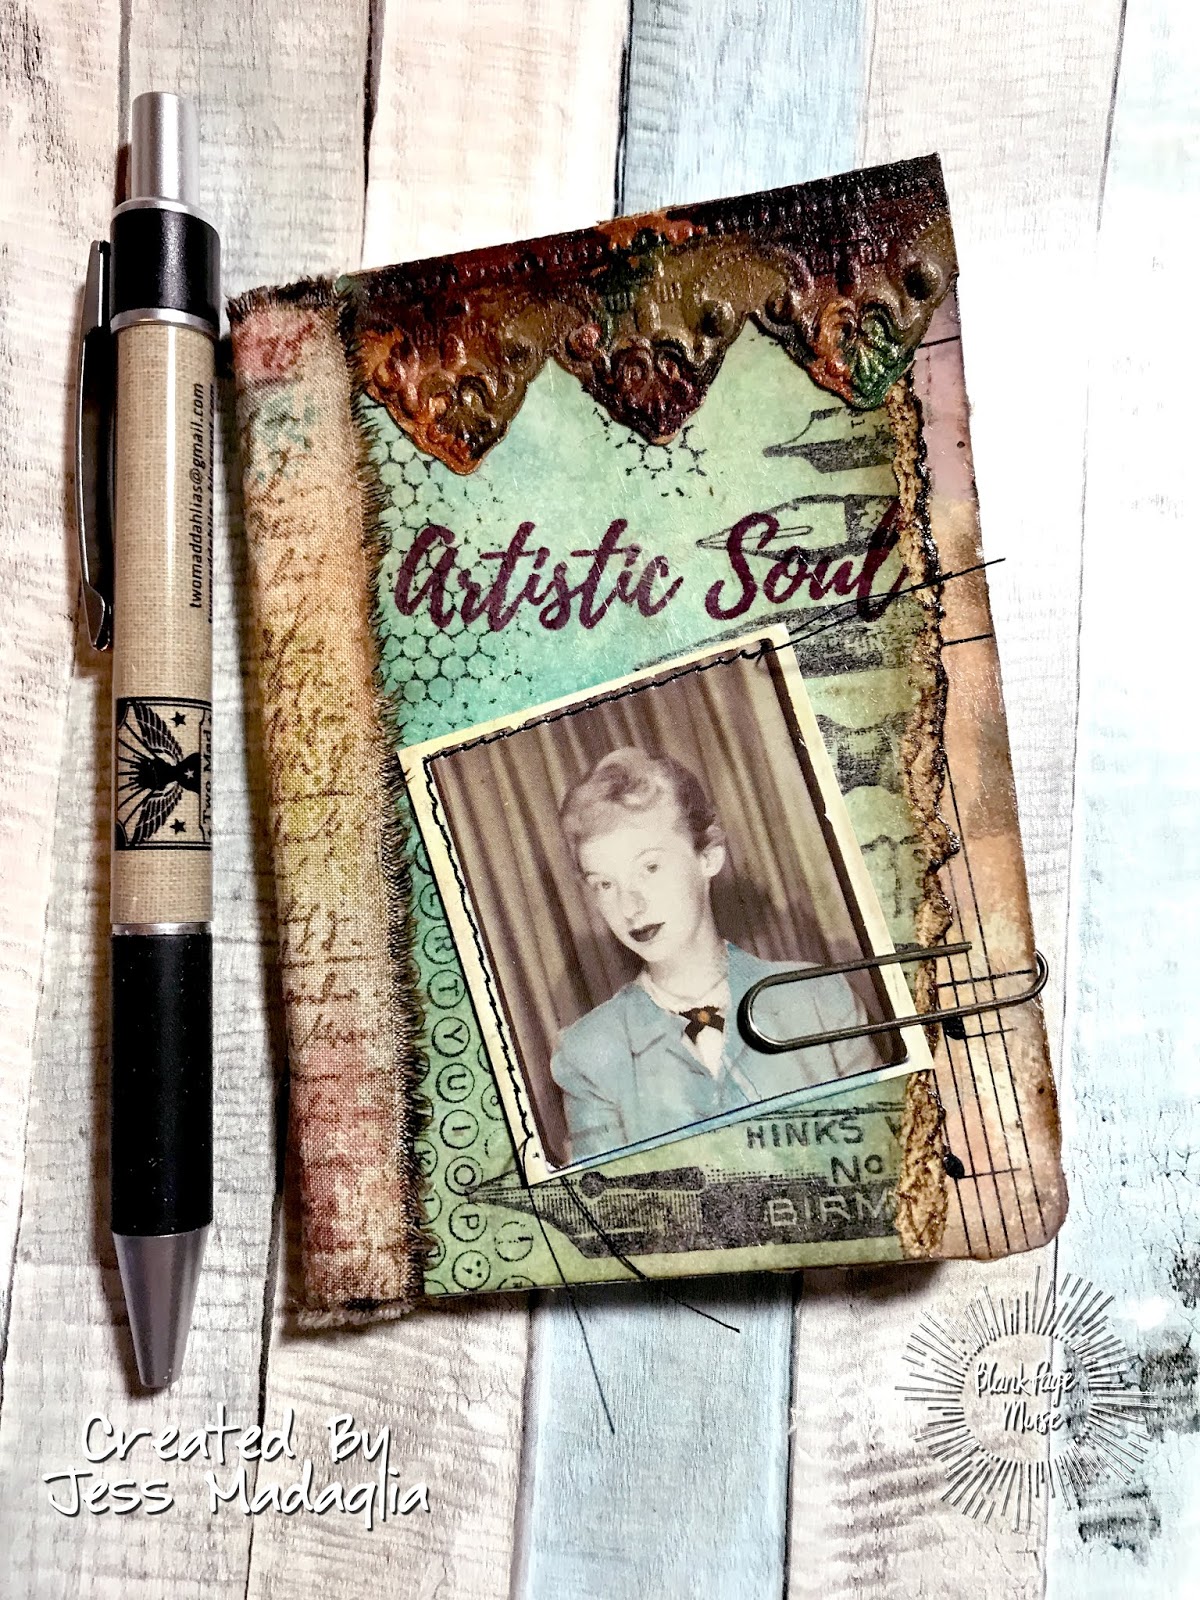
One of my favorite times of the year is back to school time.  I love school supplies.  Pens, pencils, notebooks, markers, oh my! Today I made made a mini altered composition notebook.  These are great for little gifts and the perfect size to pop in your purse.

Here's a little step by step for you. 

Cut a manila tag just smaller than the cover of your journal.  Stamp the pens from the Correspondence SetSequin Waste, and the Typewriter Keyboard in Jet Black Archival ink.  Don't worry about empty space because you will be covering it with your photo.   Use various shades of blue Distress Ink to color your tag. 
Stamp your sentiment from the Soulful Words Sentiments set.  Use a different shade of Archival Ink to add interest.  Rip the edge of the tag and color it using Gathered Twigs Distress Crayon.  
Use a piece of vintage sheet music to cover the front and back of your composition book.  I nk the sheet music using Pumice Stone and Walnut Stain Distress Inks. Add you tag so it is right up against the spine.  Using the Tim Holtz 3d impresslits make your border and glue this on top of the book. To create the aged look I cut out the provincial impresslit out of metallic cardstock.  Using several colors of alcohol ink I dripped them all over the cut piece.  Once the ink was dry I used Ranger Inks Frosted Crystal embossing powder over the entire thing.  This makes the piece look aged and so very cool.   


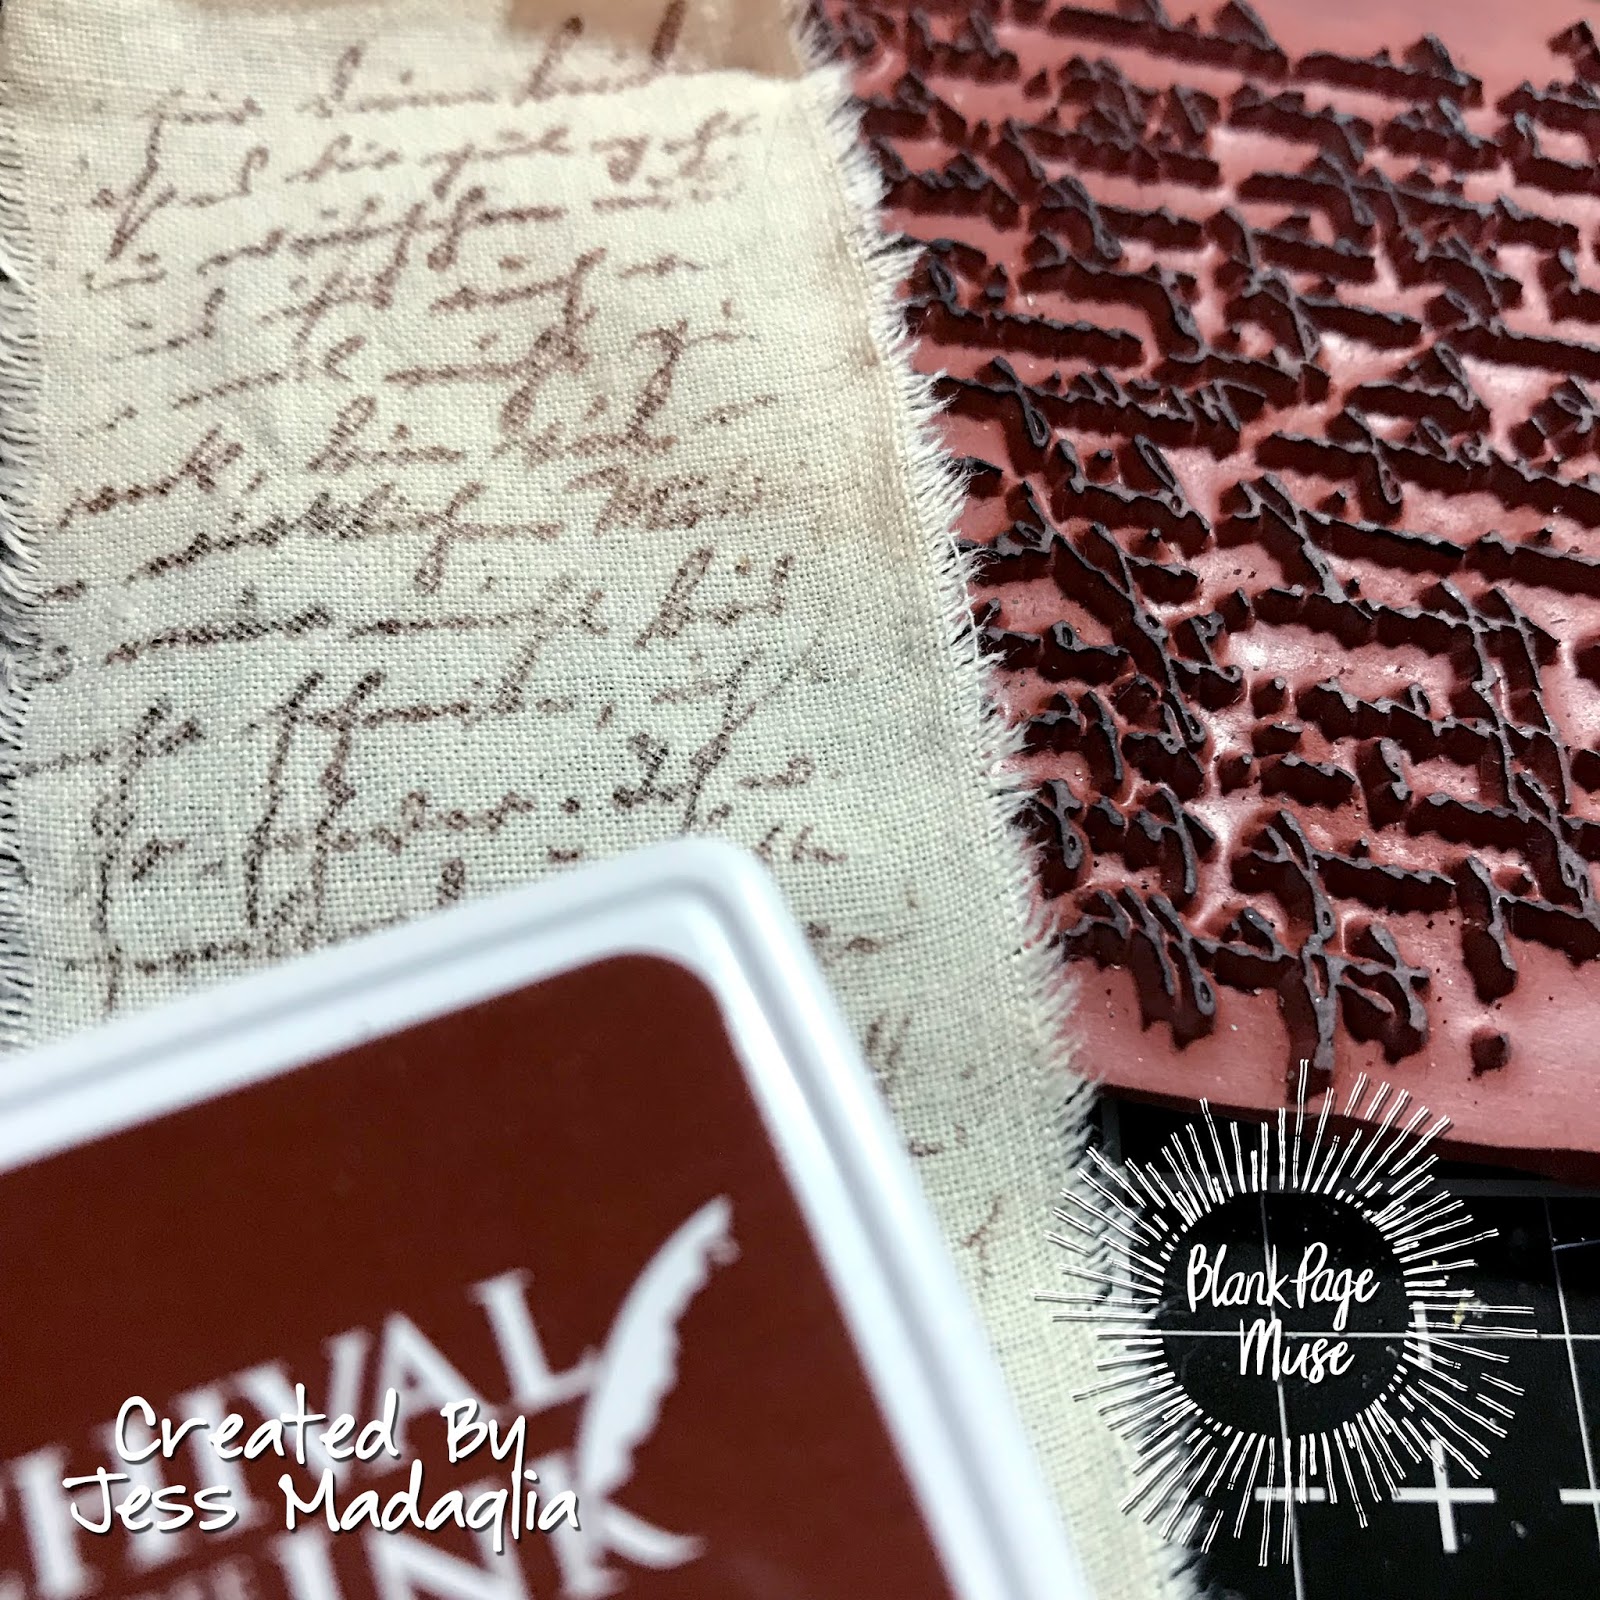
Using the script from the  Correspondence Set stamp a piece of muslin using Archival Ink.  
Spray the muslin with Distress Spray Stains. Dry with your heat tool.  Glue the muslin to the spine of the notebook. 

Adhere a photo booth photo that has been colored and stitched to the cover. Add a vintage paperclip for added visual interest. 

  
Happy Creating! 
Jess

Monday, September 3, 2018

Double, double toil and trouble


Hi Everyone,
I'm up on the Gypsy Soul Laser Cuts blog today.  I have an award for your best witch.


Start by embossing your Small Swirl Medallion using Oil Rubbed Bronze embossing powder from Emerald Creek.
For the base of the ribbon I took a bright green ribbon and sprayed it with Distress Spray stain in Picket Fence to give it a good base coat.  Once the Stain was dry I used various Distress Stains stains( Fossilized Amber, Tea Dye, Walnut Stain) and paints( Distress Paint In Mowed Lawn, Black Soot,, Hickory Smoke; and Prima Art Alchemy in Blackberry and Brass Hardware)  to get the color I wanted.  This is the center of the ribbon that I popped off, but you can see the base colors.  I added a lot more flicks an splatters before I called it complete.
 I added a lot more flicks and splatters before I called it complete.

Assemble your Tiny Shadowbox House.  I always paint and paper my house before gluing it together.  I painted all of the edges black and stippled on Prima Art Alchemy in Brass Hardware, Dina Wakley Paint  in Gilt, and Mowed Lawn Distress paint.  The inside of the house has patterned paper from Authentique that I inked up a bit using Pumice Stone Distress Ink.  
The roof of the house was made using the Tim Holtz mini provincial 3d impresslit  and some gold paper.  Once the paper was embossed I colored it using alcohol inks(latte, mushroom, meadow, and caramel). 
I added a teeny bit of moss to the floor. 
To make the ribbon tails I used muslin. 
Using archival inks I stamped the muslin(Tim Holtz Stampers Anonymous stamps sets(CMS198, CMS306, CMS275, and CMS311) and added color using spray stains.  The edges got a bit of Distress Crayon(Walnut Stain and Black Soot) and bit more Prima Art Alchemy metallic paint.  Once they were dry I just glued them to the back of the ribbon. 

Glue the Small Swirl Medallion to the center of the ribbon.   Then glue the Tiny Shadowbox House to the center of the medallion.  Add in your teeny paper doll witches( I tinted one green) and add a Halloween Quote Token. I used a teeny brad and pushed it right into the base of the house to hold the quote token in place.

Your ribbon is finished and ready to wear.  


Happy crafting,


Monday, August 20, 2018

Creepy Critter

Hi Everyone,
 I'm up on the Gypsy Soul Laser Cuts blog today. 

 I promise next month I will get back to doing step by step photos for you.  Work has been a bear lately and I have hardly had any time to create.  I wanted to get a bit spooky though.  It's cooling off around here-it's been under 100 degrees at least twice!

To begin cover your Reliquary- Arch Top with a thin layer of gesso.  Then layer on your inks.  It is key to allow time for each layer to dry naturally to achieve the faux marble look. Using your blending foam, apply a layer of Pumice Stone Distress Ink and then add a bit of Espresso Distress Ink.  Spritz these layers with water.  Once they are dry add Distress Oxides in Iced Spruce, Hickory Smoke, and Black Soot.  These are applied one at a time and spritzed with water.  I switched back and forth between using the blending foam and just stamping thep pad directly onto the arch.  Using the pad I was able to get some veins in the marble.
Add your paperdoll and bunny head charm.  Set the piece aside to dry.

Cover the Extra Large Tag with a piece of patterned paper.  Use Distress Oxides in Hickory Smoke and Forest Moss to get the mottled effect.  Edge the tag using Walnut Stain Distress Ink.  Socre the bottom of the tag to create a bend. 
Use the large piece from the Layered Flourish Aria.  Paint the back piece using Tarnished Brass Distress Paint.  Paint the front piece using Sterling Distress Paint.  When the paint is dry pounce on Alcohol ink in Patina, Mushroom, and Latte.  Glue the two pieces together and adhere to the top of the tag.  
Using the same colors of Alcohol INk color your gravemaker and attach to the arch using brads.  Glue the arch to the bottom of the tag.  
Cover the base of the tag with moss and add some skulls and bones.  Paint the Meadow Flowers using Forest Moss DIstress Paint.  Stipple on the same alcohol ink color you used before.  Cut the flowers in half and adhere them to the back of the Reliquary- Arch Top.  

Your creepy masterpiece is complete!
I hope you enjoyed this creepy tutorial.


Friday, August 10, 2018

Artist Trading Coins

Hi Everyone,
Jess here today.
Have you jumped on the Artist Trading Coin bandwagon yet? They are super fun and quick to make.  Today I will show you how I made a bunch of coins using a single sheet of cardstock.  


Blank Page Muse Stamps Used:


Other Supplies:
Jet Black Archival Ink
Distress Inks
Tim Holtz Chit Chat Stickers
Adhesive
Gel Pens
Circle Punches


Start by stamping your largest images on a sheet of white cardstock. Using masks, made from post it notes, add your smaller images until you have filled the entire sheet.  
Using the two and a half inch punch(this is the ATC size) randomly punch out circles.  
Once you have punched as many circles out as you can go back with smaller circle punches and punch out more.  Use as much of the paper as possible.  
Here's an example of the different size circle punches I used to create the coins.  
Use Distress Ink to add color to your coin.  Flick water to create drips and splatters. 
Don't forget to ink your edges!
Layer your circles together and glue them down.  Don't feel you have to use the entire circle.  Experiment with your layers.  Trim the circles up if you like.  
Add word stickers and highlight areas using gel pens. 


I hope you enjoy and share your coins with us in the fan group.


Disclaimer Notice

I've received products/compensation as part of the Gypsy Soul Laser Cuts Design teams. My projects, however, are 100% my own.