Showing posts with label finial. Show all posts

Monday, October 15, 2018

Greetings from Regions Beyond


Hi Everyone,

I am up on the Gypsy Soul Laser Cuts Blog today with a wicked little vignette box.
Start by taking a wooden vignette box and layering it on top of your Mini Botanical Journaling Block.  The blocks come in a set of three, so you can play with different sizes.
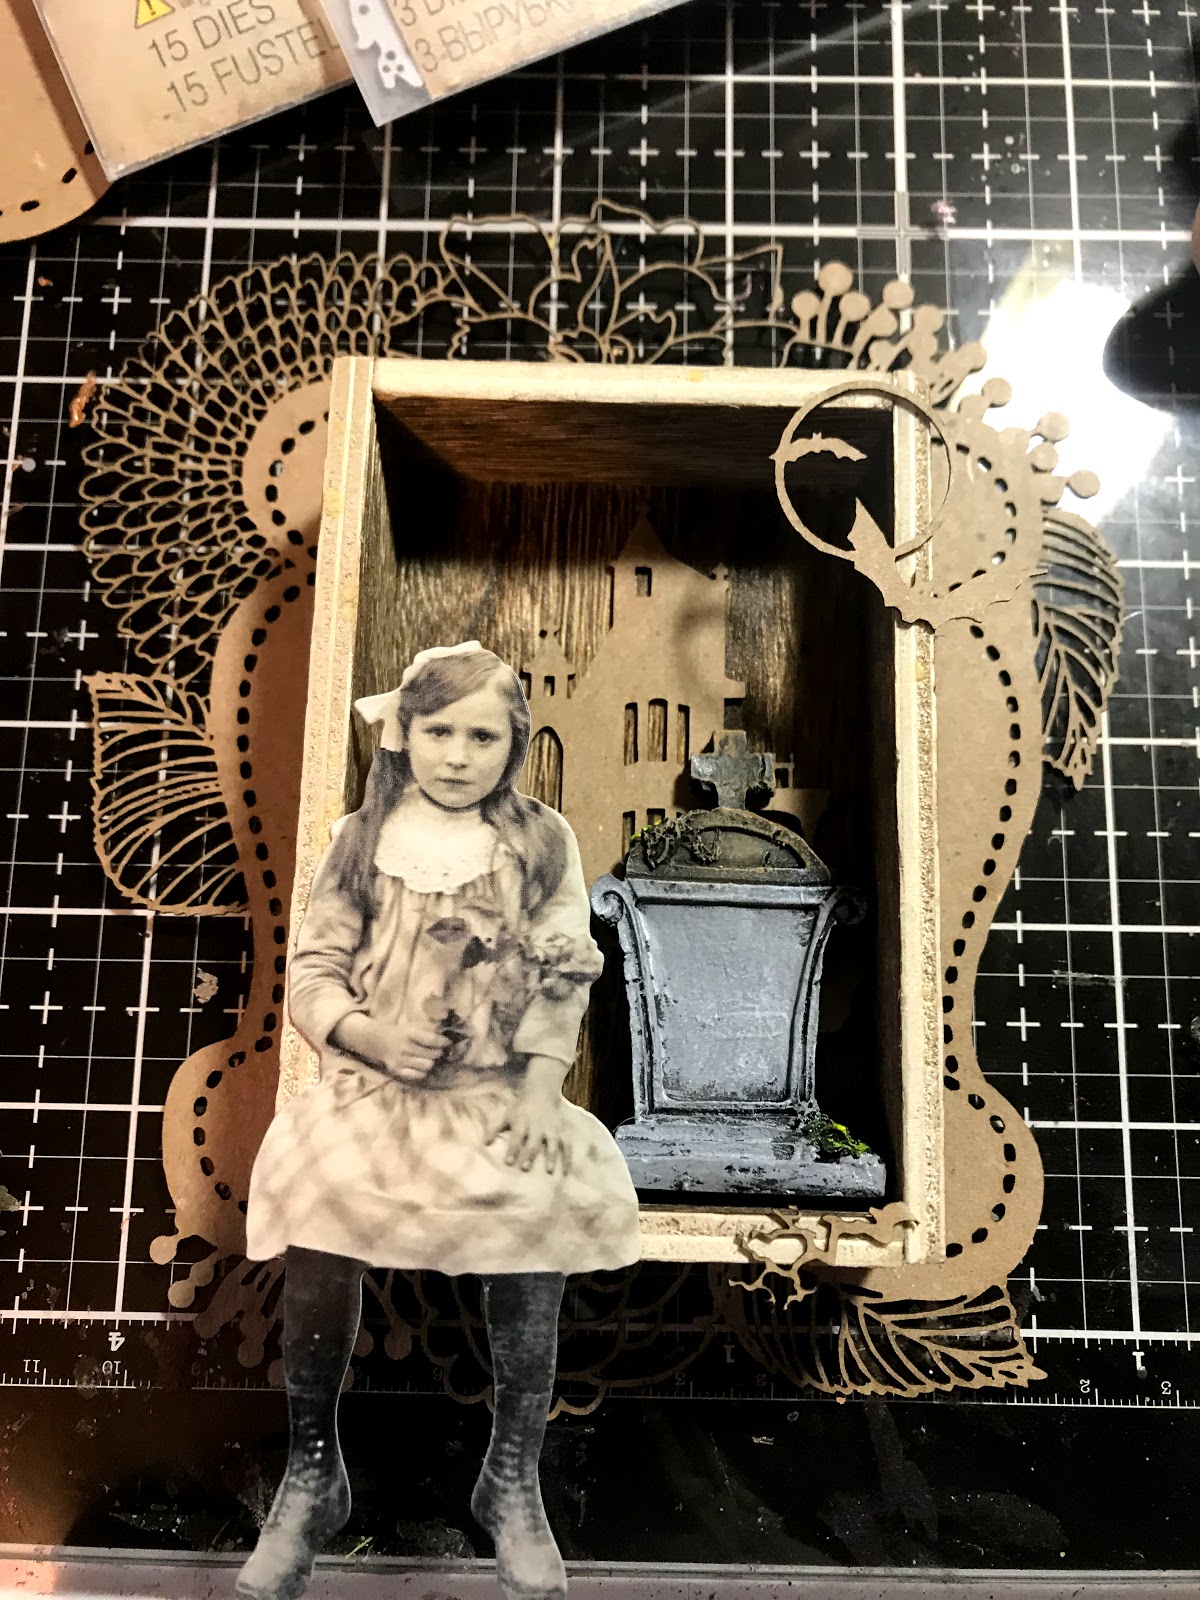
Cut the house out of the Haunted House Oval.  Trim it down so it fits inside the vignette box.  Emboss the piece with Emerald Creek's Mercury Rising embossing powder.

Treat the outside of the box using Distress Oxide inks in Forest Moss, Hickory Smoke, and Ground Espresso. 

Add a crackle medium.  I really glopped it on so it looks chunky. Mixed with the Forest Moss Oxide ink the box looks a bit moldy.  Moldy is good at Halloween time!

Add paper to the back of the box and glue it in place.  Glue the house to the background.  Add fabric tape all around the edges of the shadowbox and set it aside. 
Use the largest of the Mini Botanical Journaling Blocks and cover the entire piece with gesso.
Add your sentiment cut from the Tim Holtz Halloween script, Christmas Script, and Holiday Words.  
Time to start adding Distress Crayon.     
Add crayon and move it around using your fingers.  
Cover the front using the same technique.  Add more saturated colors on the flowers and leaves. A bit of Distress Paint in Tarnished Brass gets smudged all around the edge of the block. 


Cut the bats and moon out of the Haunted House Oval.  Emboss the bats using the mercury rising powder.  Emboss the moon using Charred Gold.  


Glue the shadowbox to the center of the journaling block.  Add the bats to the front of the box.  Glue in a Tim Holtz tombstone with rub ons added.  Glue on the paperdoll.  Don't forget to give her a bouquet of dead flowers wrapped in mummy cloth. Cut a small slit around her hand and she appears to actually be holding the bouquet.

Make a bunch of tiny tattered florals and glue them in a cascade on the top of the vignette box.  A bit of leftover mummy cloth from the bouquet was put to good use up here.  A tiny skull bead aged with mushroom alcohol ink adds an element of surprise. 

Add a wooden finial that has been painted with Black Soot Distress Paint and a bit of Tarnished Brass. A bit of fabric tape that is around the edge of the box is wrapped around the finial.  Mummy cloth and a few more flowers complete the base. 
Here's the back of the Mini Botanical Journaling block all done up.
Happy Haunting!
Jess


Haunted Halloween  Challenge Frilly and Funkie


Sunday, June 18, 2017

Leo and Shelly- love at first sight

This month over at the Emerald Creek Dare blog we are having a Surf and Turf challenge.  Here is my quirky take. Meet Leo and Shelly.  As soon as they saw one another they knew it was love.  

  A little while back I created this stage.
It made me think of old circus sideshows.  I created the project I am sharing today to add to the cast of characters.  

I started with my Tim Holtz vignette box and gave it a quick wash of watered down white acrylic paint.  
I added a layer of Fractured Ice embossing powder.
Doesn't it look like wood that has been exposed to the elements for too long?

The front edges of the box got a layer of Charred Gold.
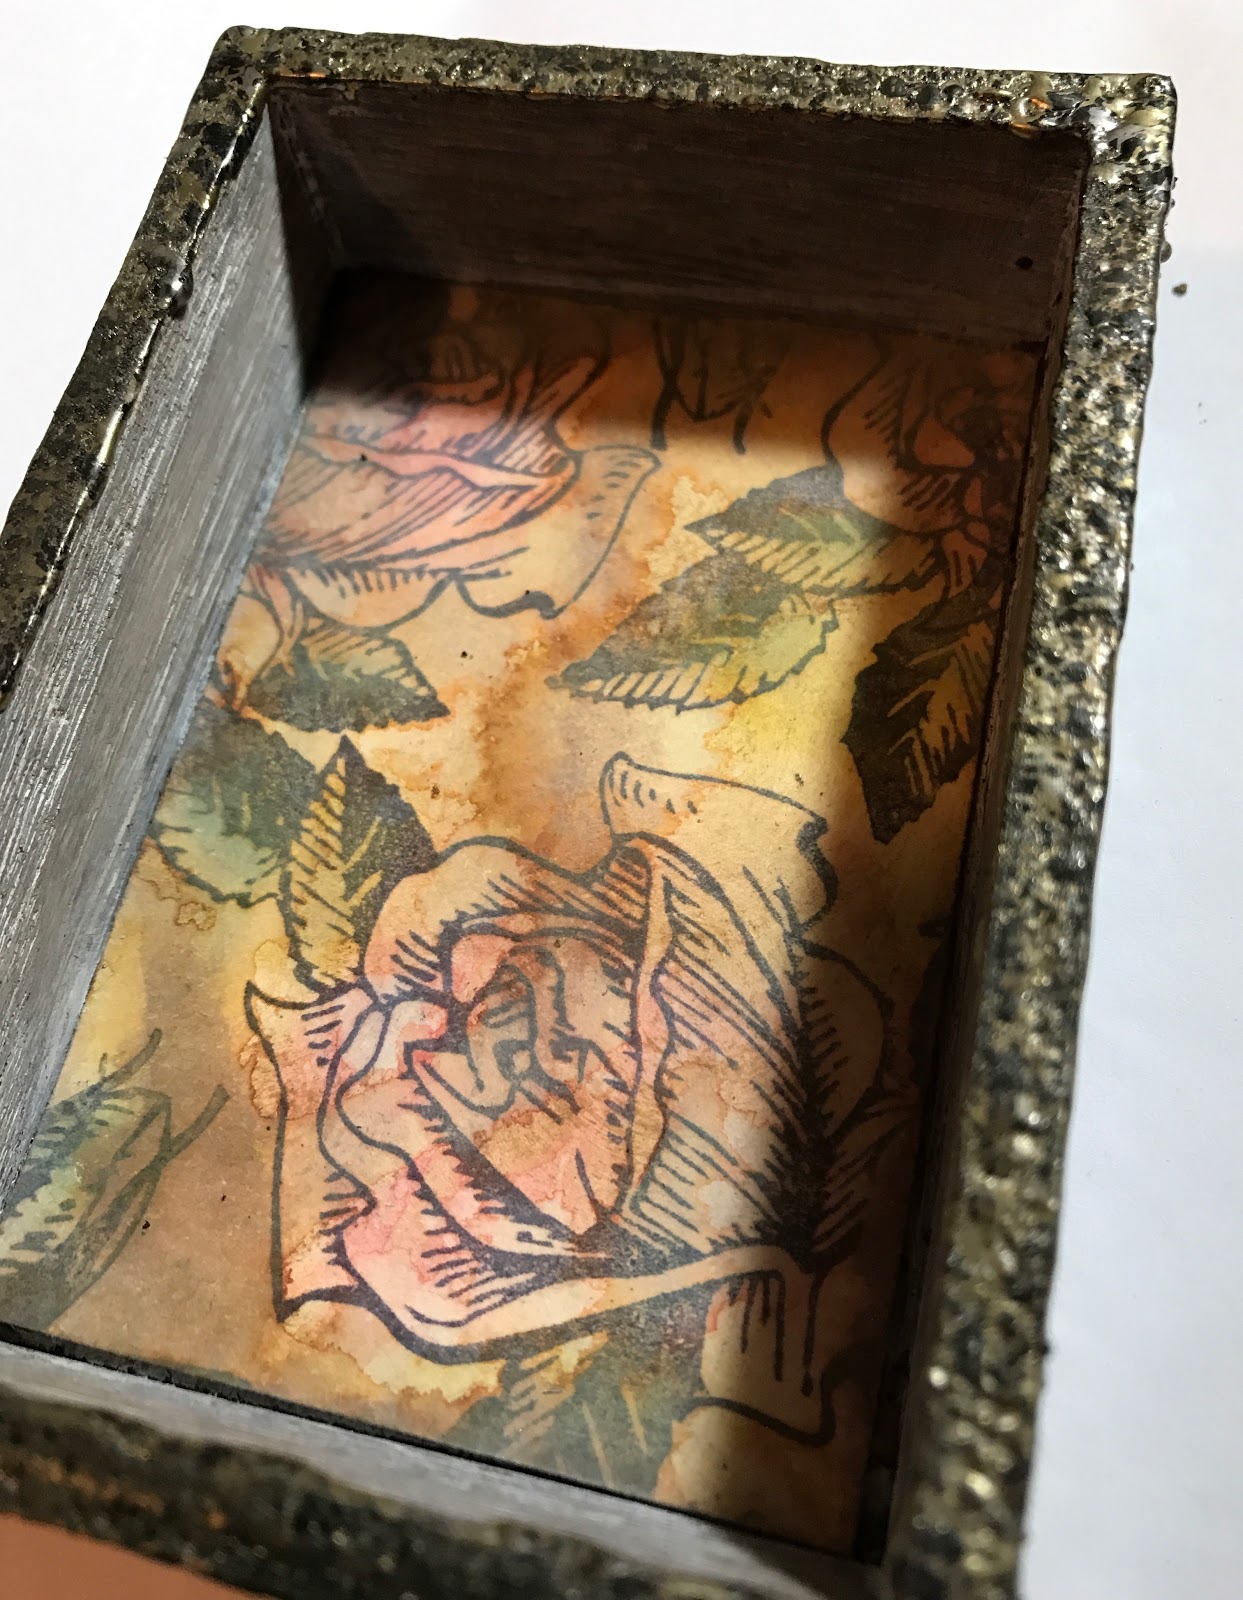
For the inside of the box I used Distress Mixed Media Heavy stock paper.  I stamped my Fresh Picked Rose Stamp using Hydrangea Archival Ink. 
Using my Distress Oxides I colored the Roses(Worn Lipstick, Mowed Lawn, Broken China) and then added a bunch of Vintage Photo to make it look weathered.
I wanted the background to look like water stained old wallpaper.  

The rest came down to details.  
Shelly's shell head is the Cerith Seashell Stamp.  I stamped it on shrink plastic and colored it using my Dina Wakley Scribble Sticks.  
I have no idea where this image came from, but I love it! I added a little resin rose for the added touch of dapper. 
The finials are covered with Charred Gold and Distress Crayon to take some of the shine off.   The big charm is the Handmade charm just turned around with a clipping sticker on it.  The same Oxide inks I used on the background are on the sticker.  A teeny key and lock charm are tied on with blue twine.  
Don't forget to pop over to the blog and enter the dare yourself.  You can win a gift card to the Emerald Creek store! 
Jess


Monday, October 6, 2014

Halloween shadow box

We've had a couple days that were under 100 degrees here so Fall must be coming!  Time to start working on Halloween goodies.
I have had this box kicking around for some time.  I knew when I got it I wanted to alter it, but I was saving it for just the right project.

I started by painting the box with a very light coat of black paint.  Once that was dry I painted it with my Ten Second Sudios patina paint to make it look rusty.  Once the rust was dry I put on a coat of Crackle Distress Paint.  The crackle flaked off on parts, but I think it works perfectly with this project.
I added bits and bobs until I came up with this...

Creepy, right?!
I have a box of these little birdcages that I found at Goodwill.  The bird is white and the gold is nice and shiny.  A little black paint took care of that.  Now I had my raven.  
Next came Charlotte.  I have a couple of these giant Charlottes that a great friend gave me.  I haven't used one before this project.  I added a Remnant Rub spider to her shoulder.  
A skull in a corked dome. Evidence number 73362.  

The skeleton image was spritzed, crumpled, dried, and inked before being used in the back.  I stamped "nevermore" down the side.
A rusty finial and a painted bingo number complete the top.
The bingo part was red so I had to paint it.   You can still see some red peeping out.  I think it adds to the creepy factor.  
Check out that rusty, chippy, cracked paint.  Awesome.  

There you have it.  
Don't get too scared. 
What have you been crafting?
I am entering this project into a couple challenges.

Jess


Disclaimer Notice

I've received products/compensation as part of the Gypsy Soul Laser Cuts Design teams. My projects, however, are 100% my own.