Showing posts with label word band. Show all posts

Monday, March 18, 2019

Spring toadstool fairy exploding canvas


Hi Everyone,
I'm up on the Gypsy Soul Laser Cuts Blog today.
The weather has been so nice here.  Flowers are blooming and pretty soon we will start seeing the baby ducks in our little neighborhood lake.  It's also the time of year when I start to make fairies.  Ah, who am I kidding I love to make fairies all year round!

A couple years back I made an exploding canvas and I totally loved the process.  I decided it was time to make a new one and this time I gave it a little twist.  I knew I wanted a tiny fairy so my canvas had to be small  too.
I started by covering a 5x5 canvas with Tim Holtz Collage paper.  I used collage medium to adhere it to the canvas and coated the top too.  I dried it with a heat gun.  Once the collage paper was dry I used texture paste and a flower stencil to add detail to the top and bottom corners.
I sprayed the canvas using Distress Oxide Spray in Peeled Paint, Vintage Photo, and Iced Spruce.
 I added paint splatter in black(Distress Black Soot) and gold(Dina Wakley Ancient).   I used Distress Crayon in Lucky Clover to enhance the texture paste flowers. At the end I decided to add a bit of Worn lipstick and Picked Raspberry Crayon to the flowers too. 
Once the paint was dry I flipped the canvas over and used a different collage paper to line the inside of the canvas.  I blasted it with the heat gun and then cut the canvas up.  You can see the cut lines.  This is the scariest part of the whole process, but the outcome is fabulous.  
Before I started prepping my canvas I took the Mini Shadowbox set and put together a couple of the boxes I thought might fit into the frame.  Once I had one that fit right I started working on the canvas.  I didn't want to get this far into the thing just to discover that what I thought it would look like in my head would not work out at all. 
After the canvas was cut I glued the pieces to the front of the canvas creating an opening.  
For the hollow, I wound up using the smallest of the shadowboxes.  The fun thing about the box this size is that it doesn't take much paper to cover it.  I spritzed a manila tag with Worn Lipstick Oxide Spray and let it air dry.  The air drying seems to make it oxidize a bit better(it also could be my imagination).I gave it a quick mist of water on either side and ran it through my 3d Kaleidoscope  embossing folder.  This one tag covered the entire outside of my box with some to spare! I sanded the tag a bit and added some Distress Crayon in Gathered Twigs to highlight the raised areas.  
For an added detail I ran metal plumbing tape through my impresslit folder.I colored it using gold, latte, and caramel alcohol inks.   

I cut the manila tag to cover the outside of the shadowbox I used the faux dresden to cover the edges.  The edge of the dresden is the perfect size to cover the edge of the chipboard. 


The inside of the box was lined with paper and washi tape.  I really just wanted the little flowers to peep through in the back there.  I added some spun cotton toadstools, moss, and a teeny paperdoll.  The new Tim Holtz  wings work perfectly on this guy.  
To finish the canvas I colored seam binding using the Worn Lipstick Oxide spray and a bit of Tea Dye Distress Spray.  I made a fluffy bow and added a word band. In the top corner, opposite from the bow, I added a flower cluster with some additional moss.    


Happy Spring! 
Jess


Monday, June 5, 2017

Special Delivery


Hi Everyone,
I'm up on the Gypsy Soul Laser Cuts Blog today. 
Once again I was a bad design team girl and didn't take step out photos.  Here's the thing, these cabana houses are so easy to assemble I just got carried away.  They just fold together.  A tiny bit of glue or double sided tape and they are done in a flash. 

I started by using some tissue wrap and crazing collage medium to adhere it to the house.  Once the collage medium was dry I used Distress Crayons  and Scribble Sticks to add color.  
I love making my tissue have wrinkles.  I smush and scrunch it until I have enough wrinkles. 

The roof was stamped using the Emerald Creek Kimilese stamp and then colored using Distress Oxide inks in Mowed Lawn and Vintage Photo.  
The roof edges and the bottom of the house have some washi tape.  


The little postman paper doll was colored using my distress markers and given some wings.  The teeny letter and wooden heart complete him.  The house got a bingo marker house number;a word band colored using my distress crayon in Chipped Sapphire; and a clipping sticker.  My teeny house is done. 
The cabana houses come in a set of 5! Such an awesome deal. I've shared another one I made over on my Instagram page(@twomaddahlias).


Thursday, November 20, 2014

Christmas Cabinet Card

I have missed out on the last two Compendium of Curiosities 3 challenges. I am squeezing this one in under the wire!  You must check out this challenge.  It is so fun if you are a Tim Holtz addict.  Tim and Mario have donated prizes for each of the challenges.  This particular challenge is also sponsored by The Inspiration Emporium.  The crew over there rocks.  Amazing customer service!
Without further ado here is my take on the Cabinet Card Pocket.
I have been in a Christmas mood and decided to use this worn cover as my base.  An adorable found relative is the base photo.  I tinted Santa's outfit and her coat, but you cant really tell since I piled on the ephemera.  I essentially tossed the Tim Holtz kitchen sink on here- remnant rubs, a mirrored star, pen nib, crinkle ribbon, industrious stickers, some paper ephemera, naturals ribbon in the red and cream, and the cabinet card itself.  
 
Do you see a little surprise on the top?
It's a secret Santa tag! Love these new holiday flashcards.  I have been dying to use one.  
Another Paula bow on the side and a token to add some fun.  I bound my inside pages using bakers twine. 
The light doesn't really do the color of the cover justice.  I used Barn Door, Tea Dye, and Walnut Stain Sprays.  I also added some Perfect Pearls mist to give it a gold shimmer. 

A few more closeups for you.


I hope you like it as much as I do! 
What have you been crafting?
Jess


Tuesday, August 26, 2014

Tim Holtz style ATCs

A Vintage Journey blog is having a touch of Tim challenge.  They want us to create ATCs.  I made some ballerina ATCs a while back and I always forget how much I enjoy making them.
This ATC started as an oops tag.  I used some crackle texture paste on the bottom of a manila tag and decided I didn't like how it looked.  It has been sitting on my desk for month.  I trimmed it to ATC size and used Distress Stain in Ripe Persimmon, Spiced Marmalade, and Weathered Wood. I used my Harlequin Stencil with Black Soot distress ink on top.  Remnant rubs and a vial label add detail to the top.  A rosette with a shrink plastic skull finish this card.

This little witch is from Lisa's Altered Art.  The background on this ATC is tissue wrap spritzed with Distress Ink and Dylusions.  The top is a pediment die cut using the painted industrial technique.
Tattered tulle adds to the creep factor on this card.  I love the pink and black.  Not your traditional Halloween colors.

 I did one non Halloween card too.  The background on this one has Distress Embossing powder.  A teeny Paula bow is on the side.  I just love these birds.

I hope you enjoyed my ATCs.
What have you been crafting?
Jess


Thursday, July 10, 2014

12 Tags of 2014 July

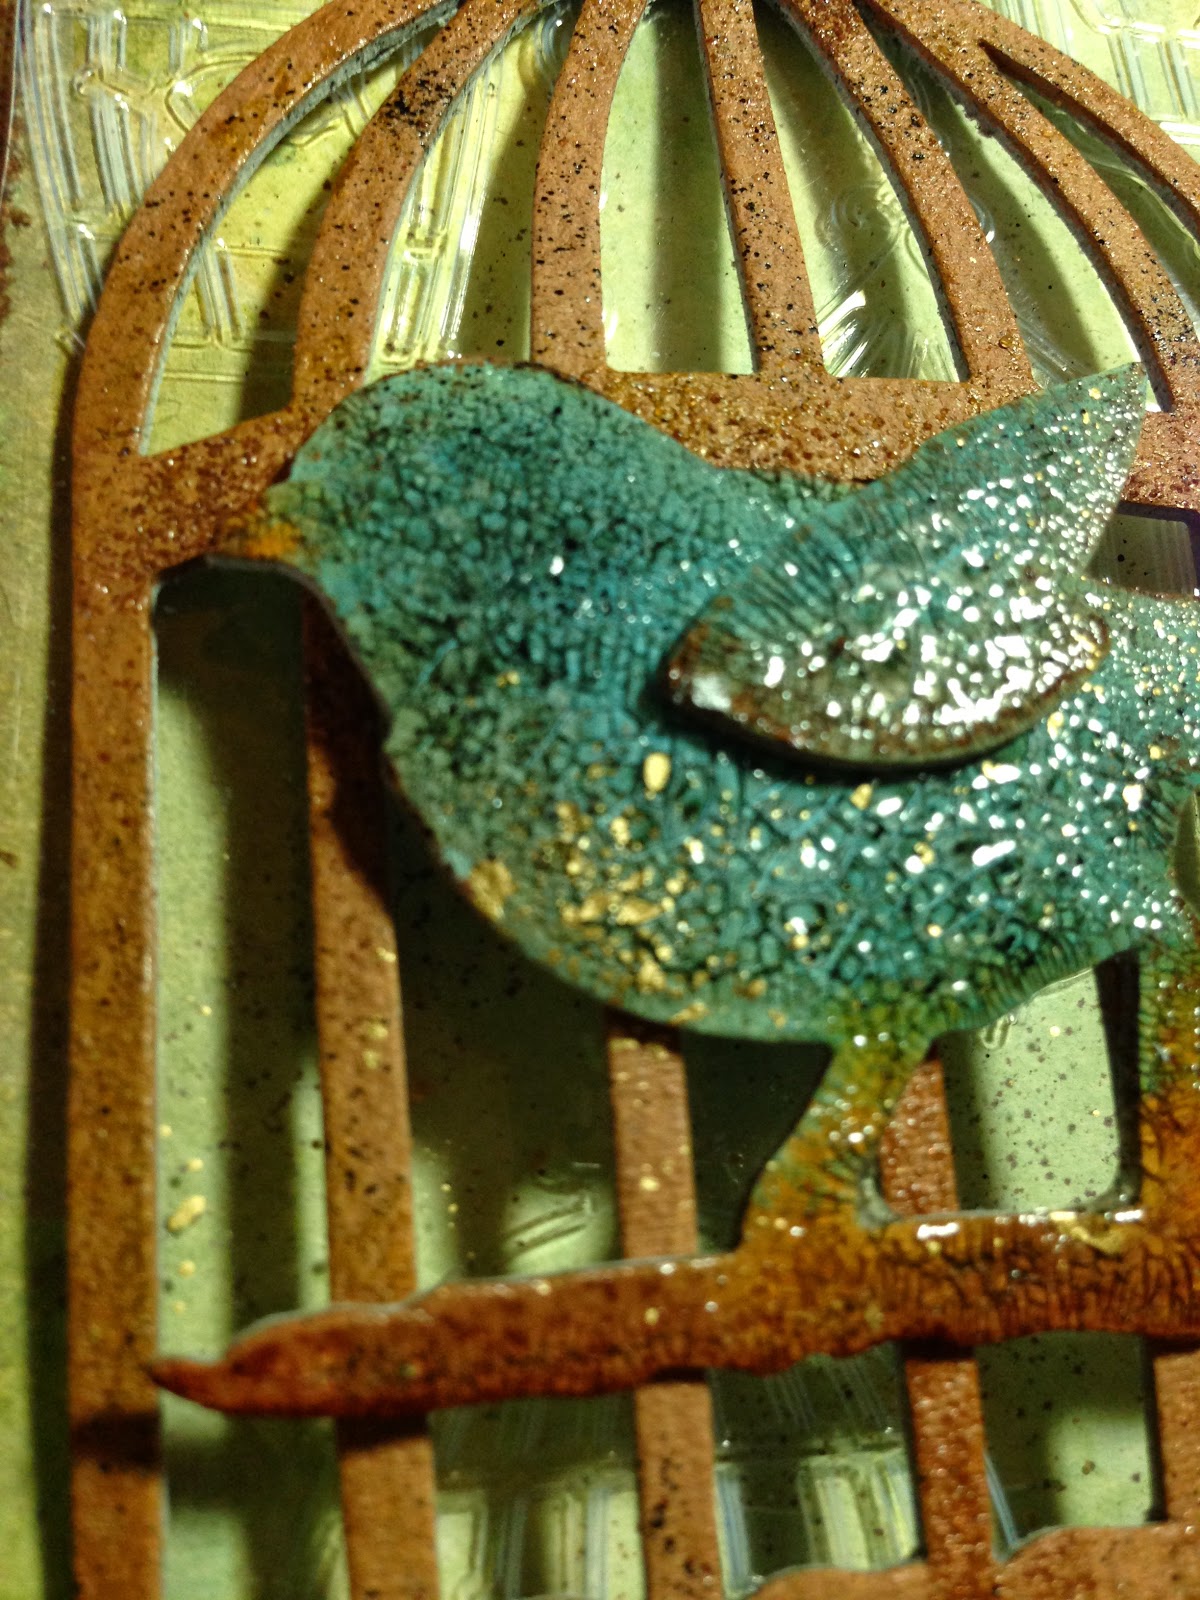
Time for July's tag.  I didn't have the ocean inspired die cuts, so I used my trusty birdcage instead.  

I hope you like my take!
What have you been crafting?
Jess


Disclaimer Notice

I've received products/compensation as part of the Gypsy Soul Laser Cuts Design teams. My projects, however, are 100% my own.