Showing posts with label flashcard. Show all posts

Friday, August 18, 2017

Butterfly Dreams

This month our theme at Emerald Creek is Anything Goes.
Do you ever get an idea and just run with it? I was playing with the Butterfly Stamp and it happened to fall on her head.  I just kind of ran with it.   
I used a ton of embossing powders to make all of the butterflies.  Here's the rundown of colors: 
I colored the butterflies using Distress Markers, Distress Crayons, and Dina Wakley Scribble Sticks.  
I used one of Tim Holtz's Etc Tags.  These are a super thick board and come in three sizes.  This is the smallest tag.  I started with a thin layer of gesso that I smeared on with my fingers.  I added some paper using my Distress Collage Medium. 
I covered the board with Dina Wakley Media Paints and Distress Paints. 
Once the paint was dry I stamped my Kimilese 3 Stamp in Jet Black Archival ink. I added another couple pieces of paper on top since my original layer was pretty well covered.  I also splattered paint all over the tag. 
Once this was done I just piled on the embellishments.  I placed my girl on first and then decorated around her.  I love her necklace made out of Amethyst Gemstones and a teeny Tim Holtz butterfly. 
I love the little butterflies I made out of Shrink Plastic.  


Don't forget to pop over to the Emerald Creek Blog for your chance to enter this month's dare and win $50 to the store.  
Jess


Friday, April 29, 2016

Distress Crayon Collage Tutorial


I've been having a lot of fun using paper napkins.  I have never used them for crafting, but a group I trade with opened my eyes to this awesome medium.  I have been asked to put together a tutorial, so here it goes. I am making bookmarks here, so they will look smaller than the image above, but I did everything exactly the same.
For the first layer you will need your Distress Collage Medium, one of the underlayers of the printed napkins, and cardstock(I am just using the cheap stuff from the craft store).  Spread a thin layer of the Collage Medium all over your paper and cover it with the napkin.  I squish it on there so I get wrinkles and bumps.  Add a second layer of Collage Medium on top of the napkin.  You can let it air dry or use your heat tool to dry it.  
Scribble on several colors of Distress Crayon and blend with your fingers.  The crayon moves so smoothly over the collage medium. 
You can see I didn't worry about getting it all the way to the edges.  I am going to keep layering, so I am not worried about patches of blank space. 
Use a stencil to add on texture paste.  You can let it air dry or dry it with your heat tool.  Don't forget to clean your stencil right away.  
The texture paste on the left has been scribble on with Distress Crayons.  The image on the right has a paper napkin burnished onto the texture paste using my finger ans a bit of collage medium.  So there are two ways you can do this step.
I added my image and then stamped around it using Jet Black Archival and Hydrangea.  
I added a Small Talk sentiment and used the Black Soot Crayon around the edges. 
To complete the bookmark I used a black and white pen in a random fashion all over the piece.
Here's the one with the napkin.  Same techniques, but it has a totally different esthetic.
Here are some of the others pieces I have made using this technique.


I am entering these into a few challenges:

I hope you enjoyed the tutorial and try it for yourself!
Jess


Friday, April 15, 2016

A flashy upgrade

I love the bright and quirky projects that Andrea Ockey Parr creates.  She made some altered flashcards a while back and I was inspired to try it for myself.  It was so fun mixing ink, paint, stamps, and more.  I am not a huge math fan.  These cards made me enjoy math just a tad more.


I'd like to submit these to:

Happy Crafting!
Jess


Wednesday, July 8, 2015

CC3 Challenge 32- Hello Possibility

I love plugging my way through the Compendium of Curiosities book with Linda Ledbetter and her curiosity crew.  This go around Linda had us try the Frosted Film technique.  I have never tried Frosted Film before.  I have had it sitting in my Tim treasure box for quite some time now.  I have to tell you my first try was a dud, but then I came up with this little beauty.  

I can't tell you the Frosted Film technique(that's part of the challenge), but I can tell you I will definitely be using this technique again.  Look at the dimension on the wings!
The background is made with several shades of green distress ink: Mowed Lawn, Peeled Paint, and Crushed Olive.  I added Fossilized Amber and Vintage Photo on the edges to warm it up.  Then I flicked a bit of water to break the color up.  A few spritzes of Vintage Photo marker added the speckles.  I used the trellis die to cut paper from the Wallflower collection.  The inside bits are from The Robin's Nest.   I love the tiny tattered flower in the corner too.  That is a must own die set.  The crinkle ribbon is dyed using Fossilized Amber and a bit of Tea Dye.  

Here are a couple closeups of her wings.


I love that they are see through.  In case you haven't noticed I have a thing for wings! 
The Funkie Junkie  is the sponsor for the CC3 Challenge this go round.  I am also submitting this to the Frilly and Funkie Say Something Challenge(that's the Funkie Junkie's challenge blog).  

I hope you enjoyed stopping by today!
What have you been crafting?
Jess


Thursday, April 23, 2015

A bibliophile's cabinet

I know I have said it before, but I love to read.  I love books and everything about them.  When I first got this china cabinet from Gina's Designs I was thinking I would make it a place to store my Frozen Charlotte collection, but it morphed into something else when I started picking out my papers.
Once again my book and writing papers took over.  I ended up making a little library vignette.


Little readers sit on top digging into giant reads.
Tiny books flank either end of the cabinet.

The top shelf has a little doll.  She reminded me of what people think of when they hear the word "librarian."  There are some reproduction flashcards and children's book illustrations on here too.  distressed the edges and wrinkled them a bit so they would look like they have been used.  

The bottom shelf has an awesome Nathaniel Hawthorne fact card someone sent me.  There's also one of my prized card catalog cards.  
Here's another angle so you can see the whole shelf.  

The drawers got some little knobs made out of buttons wooden buttons and then I added the October Afternoon pins on there.  
I hope you like my cabinet as much as I do.  

What have you been reading?
Jess

I am entering this into the 


Sunday, February 8, 2015

Be mine- A Valentine tag

It's time for the 21st CC3 Challenge! The lovely Linda Ledbetter hosts this challenge and it is amazing.  We have been making our way through Tim Holtz's third volume of the Compendium of Curiosities.   There's a fantastic prize from The Inspiration Emporium this go around too.

I can't tell you how I made the tag(that's part of the challenge), but I can show you my interpretation .


The stamped image was fussy cut and colored using distress markers and a water brush.  

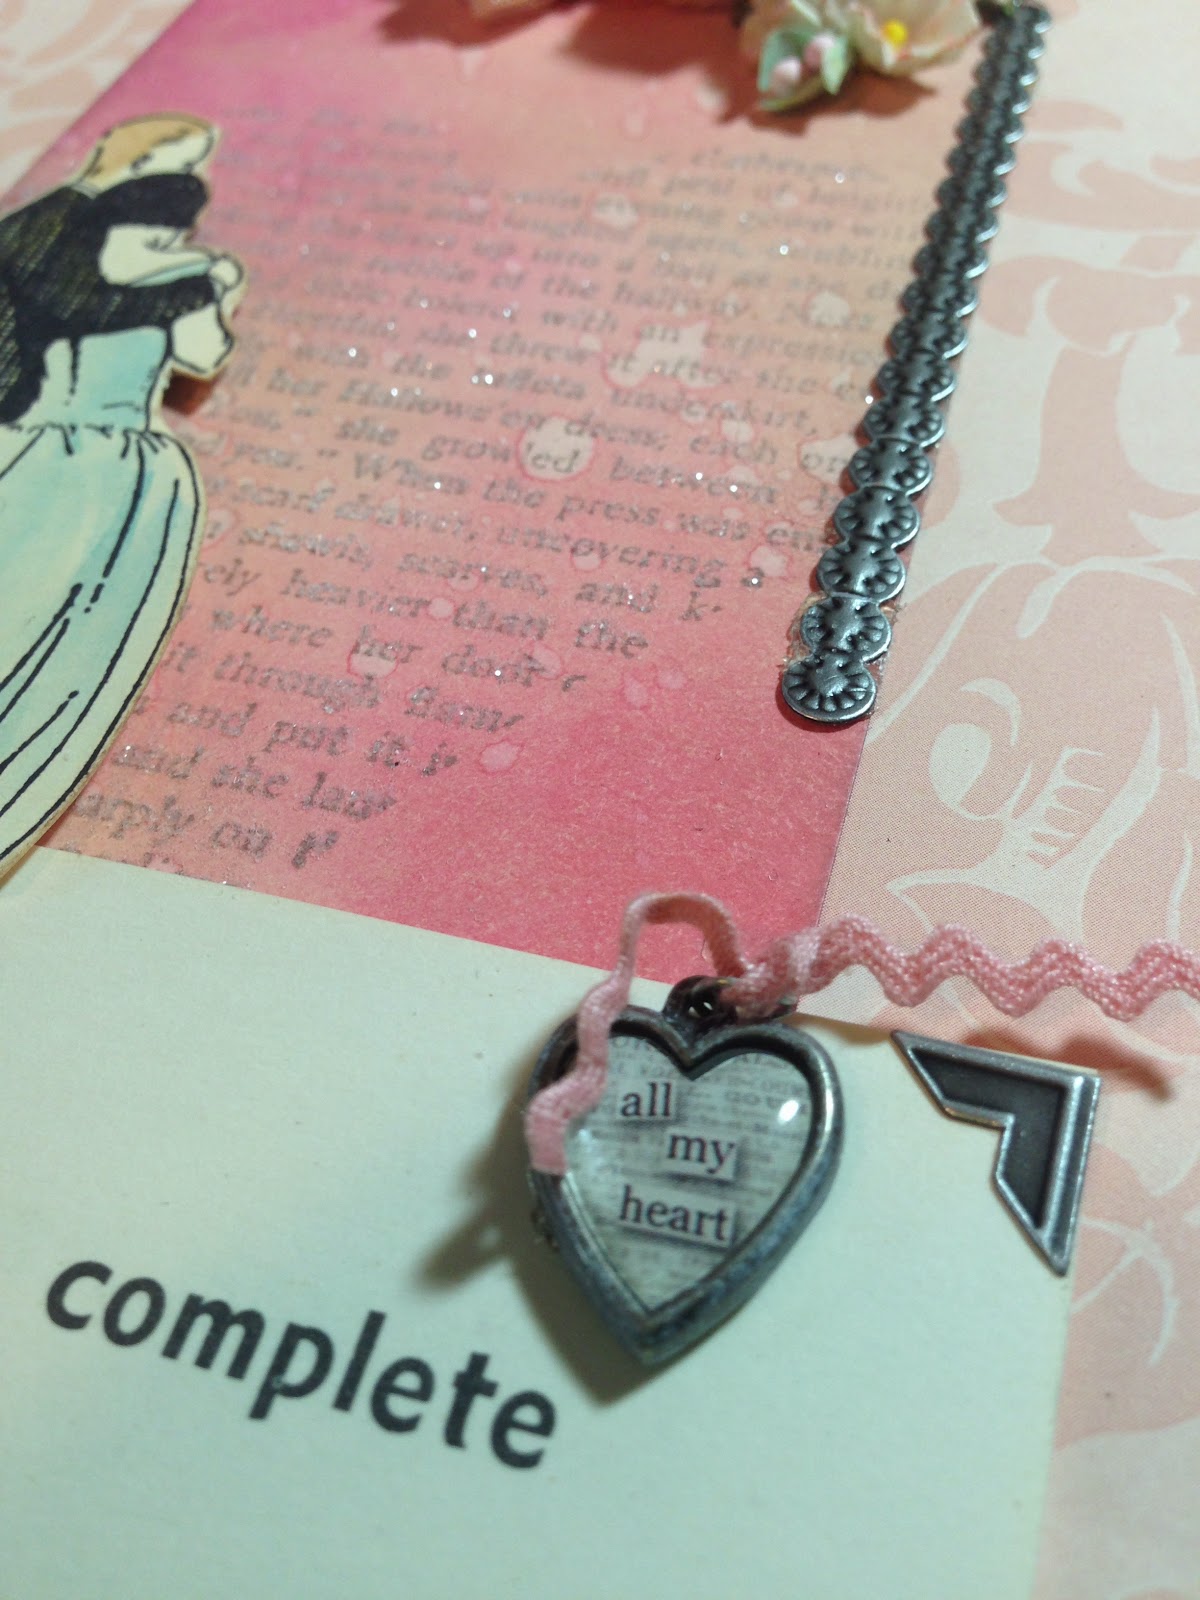
The flash card is a vintage German card.

The forget me nots were a nice little romantic touch at the top. 


I am also entering this into MMMC Think Pink Challenge
Craft Hoarders Anonymous Challenge -ink, seam binding, stamping, emboss, flowers
Our Creative Corner Tic Tac Toe(stamp, emboss, ribbon)

What have you been crafting?
Jess

Disclaimer Notice

I've received products/compensation as part of the Gypsy Soul Laser Cuts Design teams. My projects, however, are 100% my own.