Thursday, March 9, 2017

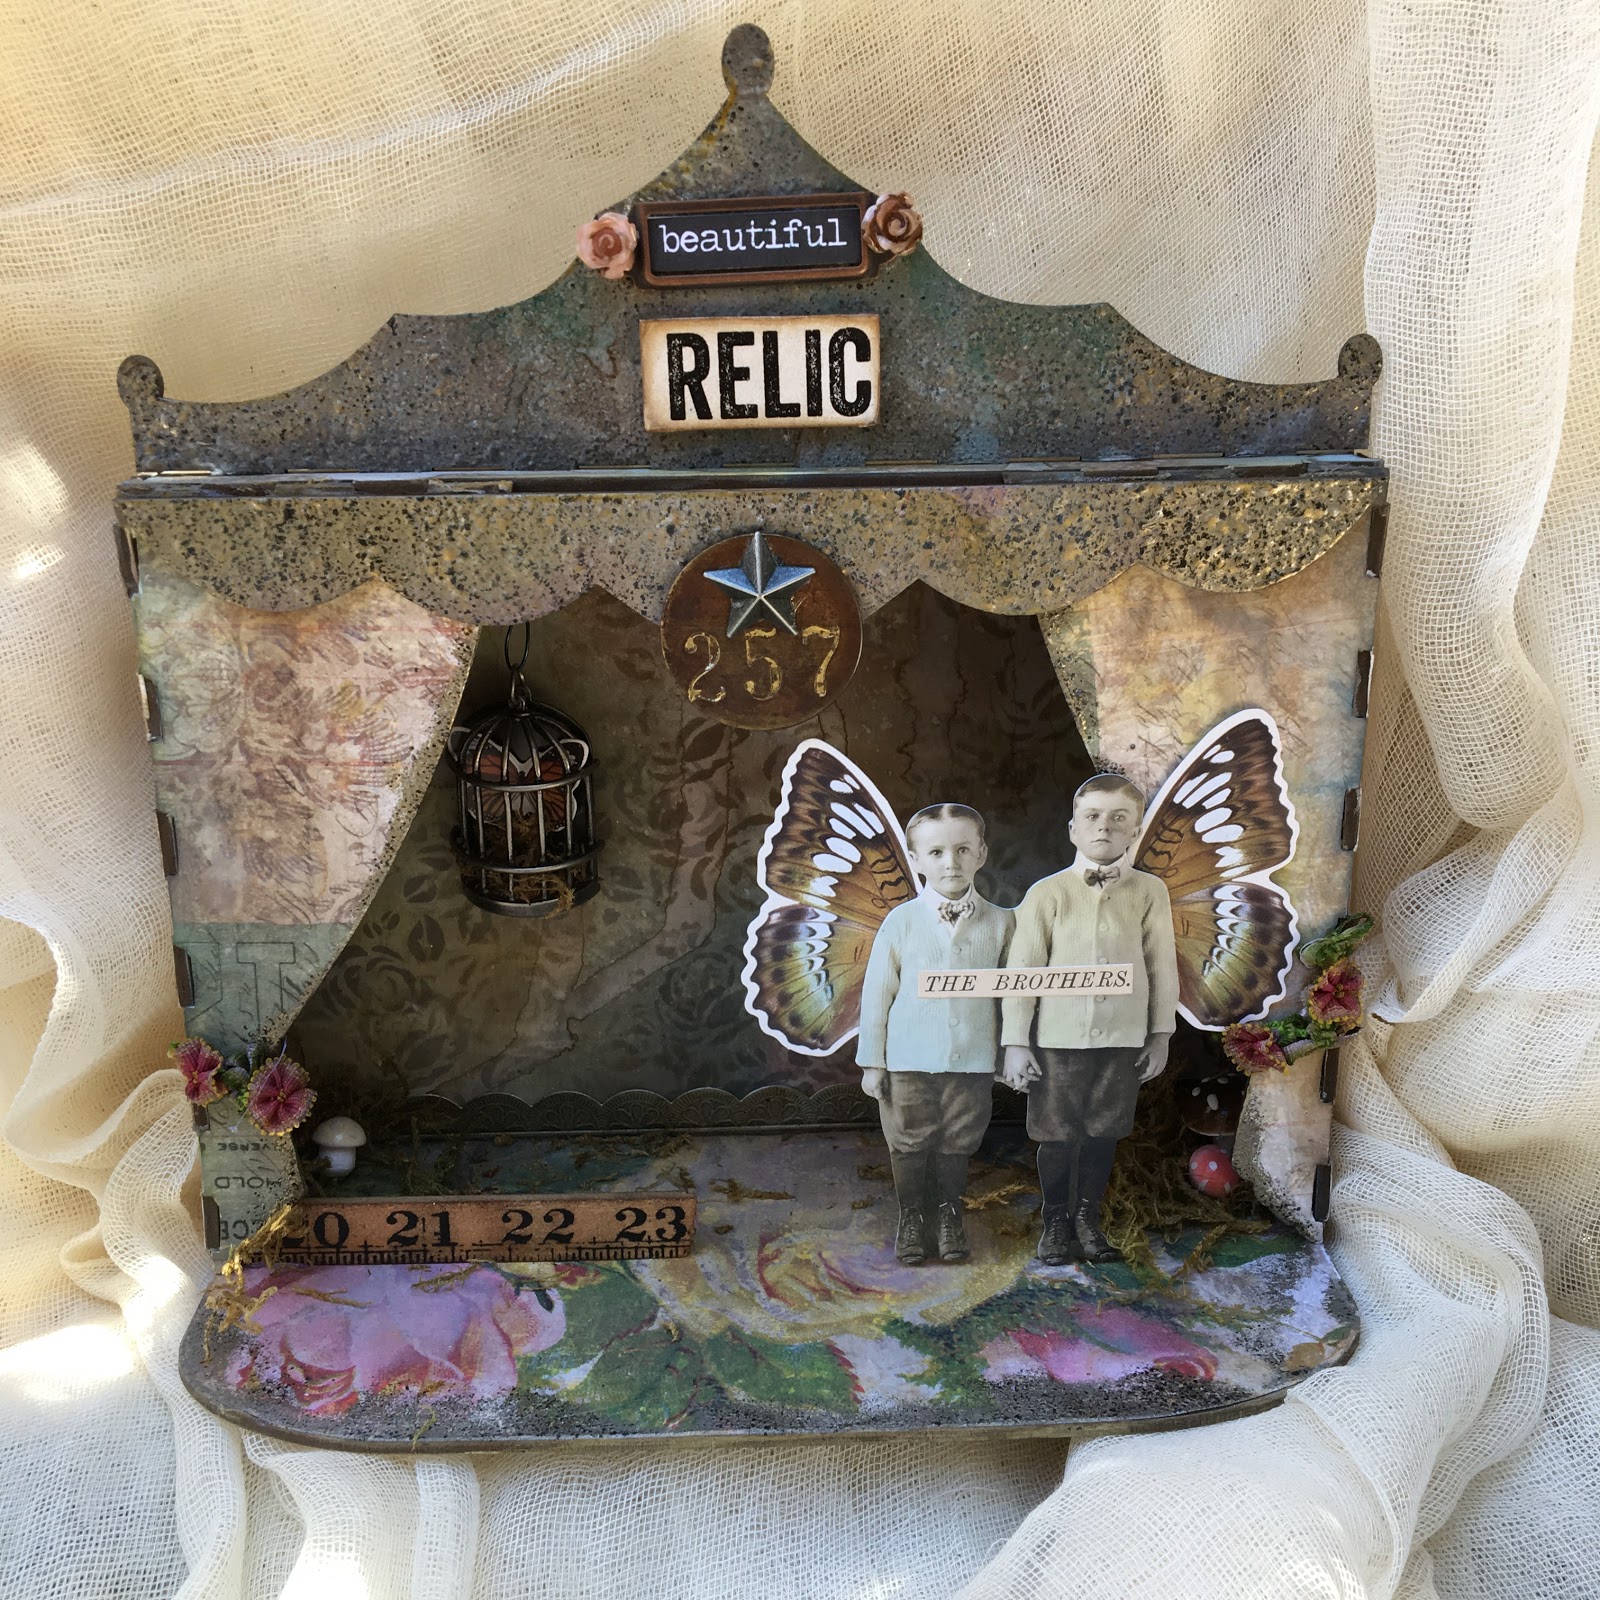
Beautiful Relic Stage using Distress Oxides

I started out this morning playing with my Distress Oxides and made this tag.

I wanted to put a Paper Doll on it, but the one I chose was too big.  My tag evolved into this.


I used a stage from Gypsy Soul Laser cuts as my base.  I covered the base, the sides, and  the curtains with paper from Tim Holtz's Wallflower pad.  I used a piece of Prima paper for the back.
I used Distress Oxide ink in Vintage photo along the top and then sprayed it with water to make the runs.  The sides, curtains, and base received the same treatment but I used various colors of the Oxides. 
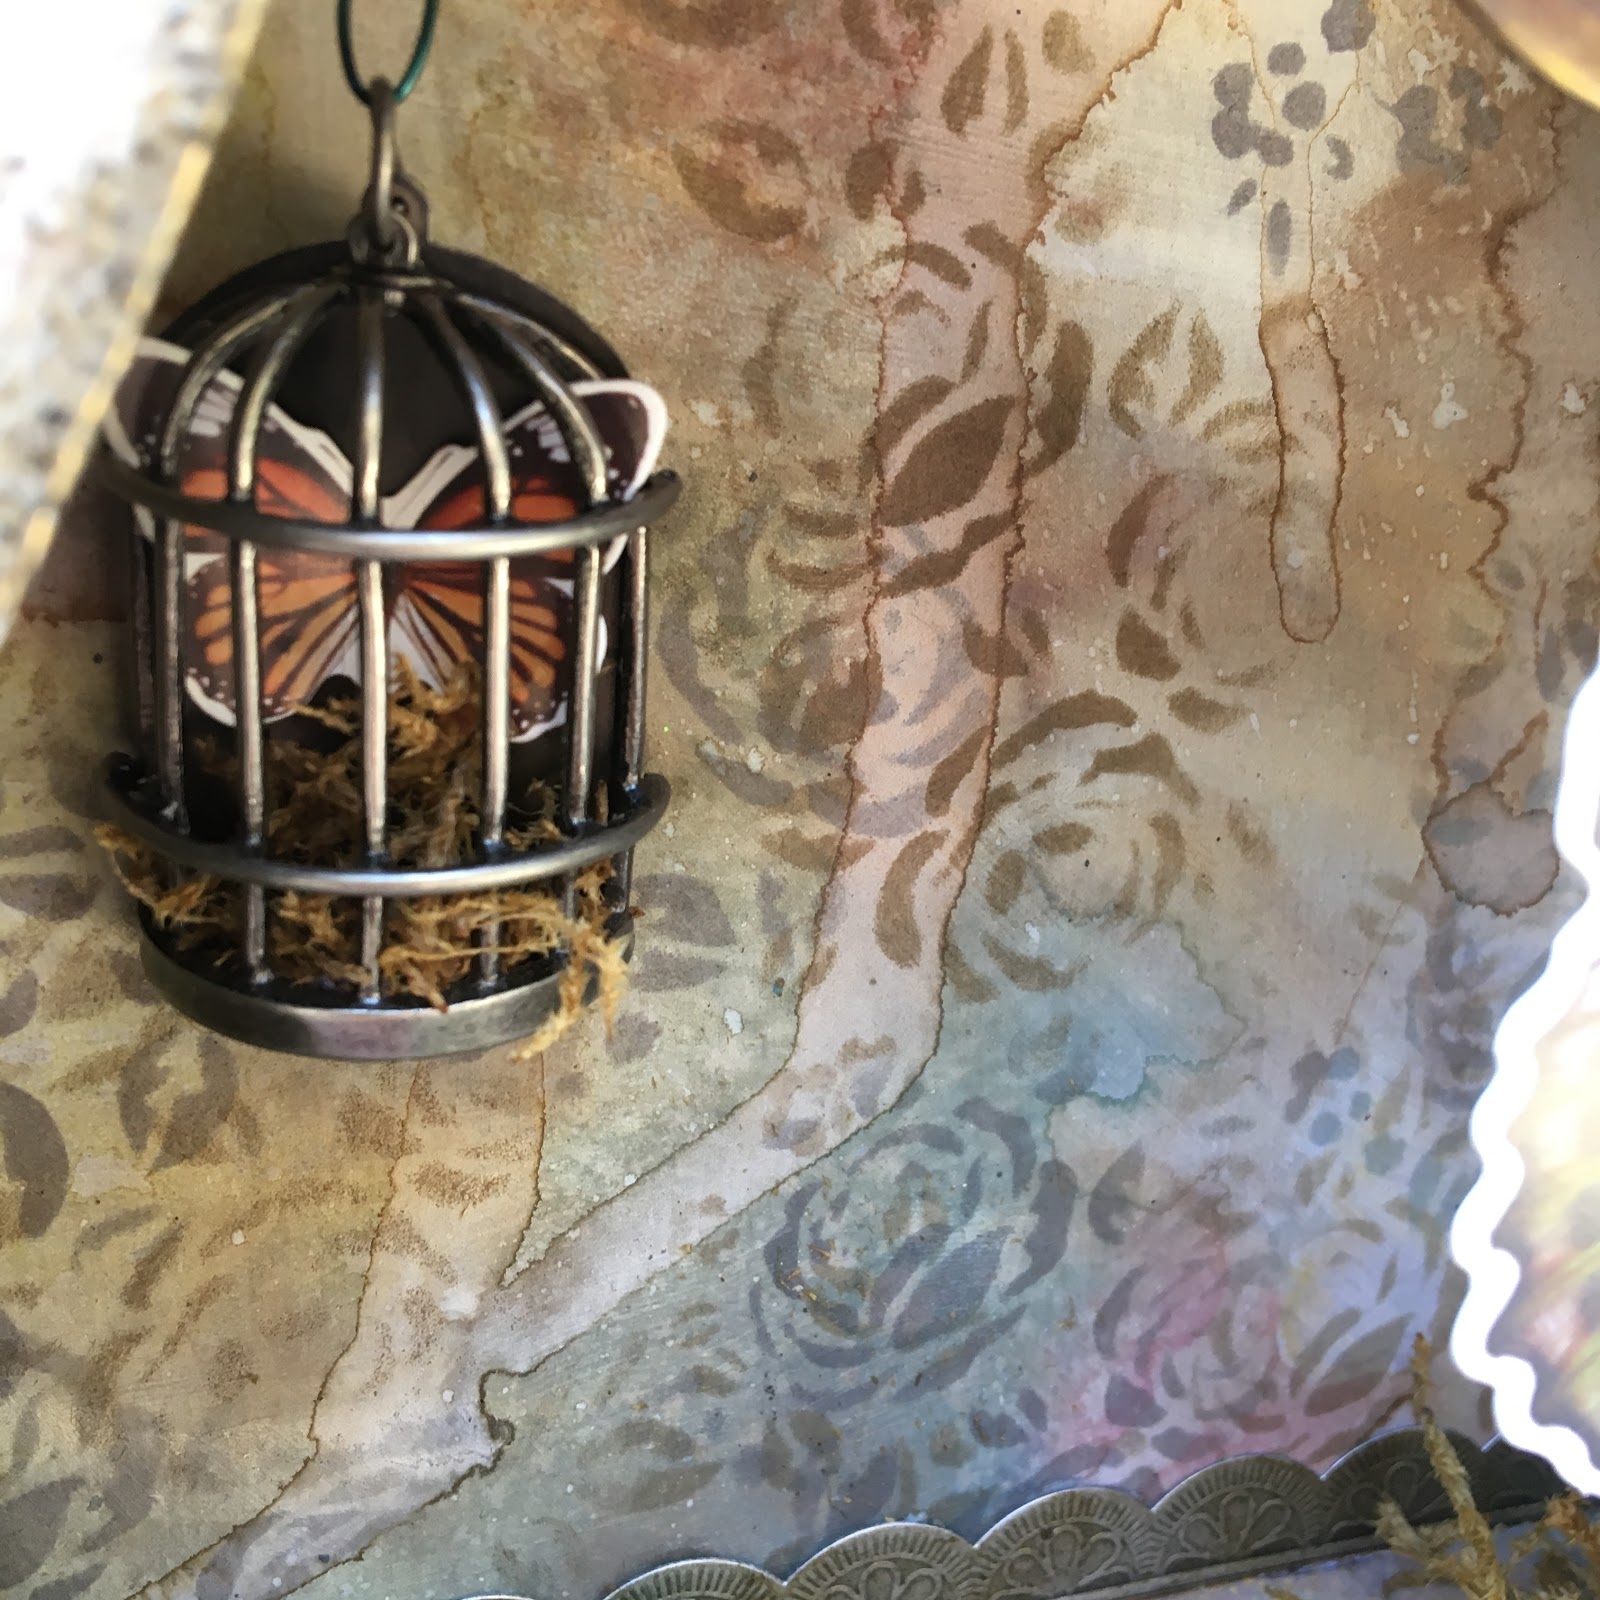
The back was coated with a very thin layer of gesso.  I then blended and sprayed the Oxide inks until I achieved a patina I liked.  Once it was all dry I used my mini stencil with Archival inks in Watering Can and Hydrangea for the flowers.  It looks like old water stained wallpaper.
The top and the bunting are embossing using Charred Gold powder.  I used oxide inks and crayons to get the different shades.  
I added some moss and mushrooms to add to the decayed look of the piece.  I am normally really particular about making sure the raw chipboard edges are painted, but I think it added to the look I was going for.  
I need to get back to playing with my inks now :)
A Vintage Journey- All Aboard
Country View Challenges- Inspired by Tim Holtz
 Simon Says Stamps Monday- Make your own Background
Creative Carte Blanche- Numbers, Numbers, Numbers


Monday, March 6, 2017

Spring Chics

Ah,  spring. I have some spring chics for you today.
 I made these for Gypsy Soul Laser Cuts.  Be sure to stop by the blog and see the other wonderful creations the DT has been making.


I started by coating my tag with a layer of collage medium and add bits of ripped tissue wrap.  Next I scribbled a light layer of  Distress Crayon in several colors.


In the one you see here I used colors that reminded me of a sunset.  I placed a stencil over the tag and rubbed away some of the crayon using an almost dry baby wipe.

I buy the cheapest baby wipes I can find.  They tend to be rough and pretty dry(not exactly what you'd want to use on a baby's bottom, but awesome for crafting). For the final step on the tag I added speckles of black and gold paint.  I also used some gold paint and just smeared it with my fingers.

Obviously, this is a close up of one of the other tags, but you can see the speckles. 


I took one of the bird nests from the For the Birds set. I inked the top part using brown Distress inks. The bottom piece is embossing using Emerald Creek's San Tropez Tan.


I cut out a vintage lady and plopped her in the nest.  I decided the tag needed a bit more interest so I used a stencil and distress crayon to make the tracks down the side. Once the sentiment was added I randomly scribbled around on the tag.


I decided she needed some friends so I made a couple more tags using the same technique and different bits of the For the Birds set.
This girl had her house made with Emerald Creek's Salted Navy and Hammered Metal embossing powders.  

This one used the San Tropez Tan on the top and I ran my Distress Crayons over it to make it darker in areas.  

I hope you like the girls and try to make some of your own!
Simon Says Stamp Make your own Background Challenge
A Vintage Journey- All aboard challenge

Monday, February 20, 2017

Salvaged Heart Reliquary

Hi Everyone,
I have been a very bad design team girl.
You know when you get in the creative zone and you just go.  That's what happened here.  I got an idea and I ran with it.  Bad part, I forgot to take step by step photos.  Ugh! I am so bad about that.  I will tell you about all of the amazing goodies I used to create it!

The Gypsy Soul Laser Cuts- Reliquary Arch Top is the base of this project.
I painted the arch using Ten Second Studios Patina Paint on the back plate. A little bit of Dina Wakley's Umber paint surrounds the heart. 
The top was painted with junky craft store acrylic paint in turquoise.  I added Perfect Pearls in various spots and then painted the entire top with Tattered Angels Stained Glass Paint in Aqua.  The stained glass paint gives it a very subtle shine.  I loaded this thing with layers of paint and patina spray and it never buckled or peeled.  It is such a heavy chipboard. 

The heart and flames are from Sandra Everston's Relics and Artifacts collection.  I covered the heart with Tim Holtz tissue wrap and adhered it using collage medium. I painted the edges using Distress Markers and then added a bit of Stained Glass Paint in Aqua.  The center of the heart is covered with Perfect Pearls.  
The flames are painted with Dina Wakley in Penny, Sterling, and Umber.  A bit of Tattered Angels High Impact Paint in Platinum added the last bit of shine.  
The wire connecting the heart and flames together was painted Umber.  The heart is wrapped with a thin green wire.  
The brads are coated with Charred Gold embossing powder from Emerald Creek.  


Please stop over to the Gypsy Soul Laser Cuts  blog to see what we have been up to.
Jess
I am entering this into the CCB February Challenge
Creative Carte Blanche- love is in the air

Thursday, February 16, 2017

Painting the Roses Red

I'm painting roses red today, no really! I will show you how I did it too. 
Start by stamping the Freshly Picked Rose Stamp in Antique Linen Distress Ink.
Color in your rose using various distress markers.  I scribbled on my craft mat and then picked up the color using a water brush.  The Antique Linen just kind of disappears when you color with the darker inks.  You don't have to be perfect.   

Once your image is dry you want to stamp the  Freshly Picked Rose Stamp in a black archival ink.  Don't aim to go directly on top of your original image, stamp just slightly off. 

Cover your entire card with a thin layer of Vintage Distress Collage Medium. Once the medium is dry use your Vintage Photo Distress Crayon around the edges of your rose paper.  Stamp your sentiment.  

Emboss the edge piece using Charred Gold Embossing Powder.  

Adhere your rose to a piece of red core-dinations paper.  Adhere the rose piece to the card.  Glue on your bunny key.  
Don't tell the queen what you did.  But now you know the secret to painting roses any color you wish!
You can enter the Emerald Creek Dare this month and win some money to the store.  Check it out.  
Jess

I am also entering this into the Frilly and Funkie Out of the Cold Challenge
Simon Says Stamp Monday- use your favorite tool challenge(my heat gun is always close at hand).
Simon Says Stamp Wednesday- Fantastic Florals Challenge


Wednesday, February 15, 2017

Disclaimer Notice

I've received products/compensation as part of the Gypsy Soul Laser Cuts Design teams. My projects, however, are 100% my own.